Introduction
The normal method of cleaning was not effective. In this case the Dustbuster itself needed to be removed and cleaned.
Tools
-
-
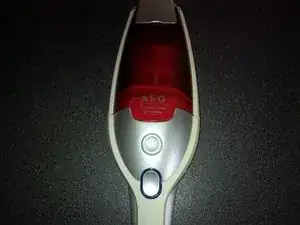
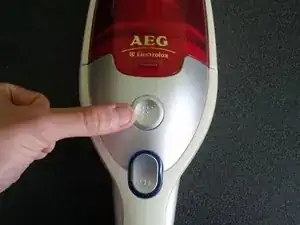
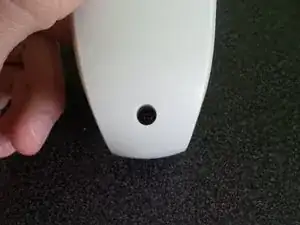
Open the lid by pressing the grey button and lifting it away.
-
Clean each of the plastic parts with soap and water, and then leave them out to dry.
-
-
-
Follow these steps to open the electronic casing.
-
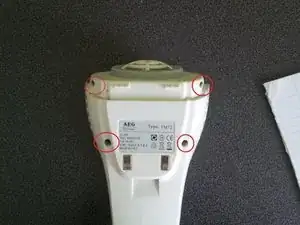
Remove the four screws as shown in picture two.
-
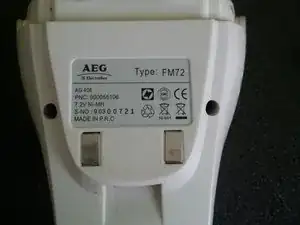
Remove the fifth screw at the bottom as shown in picture three.
-
-
-
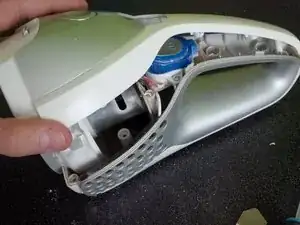
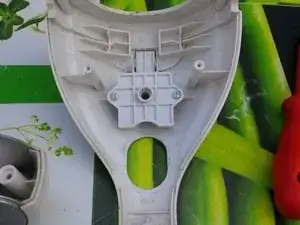
Gently pry the device open, using an iSesamo opener.
-
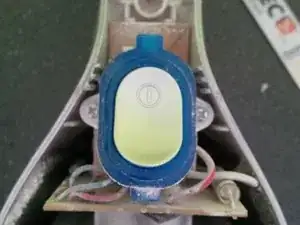
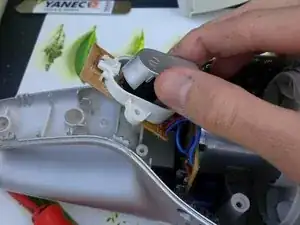
Now the I/O button can be removed.
-
Completely replacing this entire part requires desoldering wire connections.
-
-
-
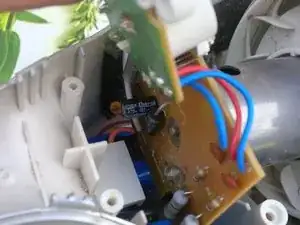
Now the electronic components can be cleaned using an air compressor.
-
In picture one, you can see the PCBs. Under the PCB, you'll see blue batteries. These are 2 x 3 AA rechargeable batteries .
-
If the dust bag needs to be replaced, remove its securing screws.
-


To reassemble your device, follow these instructions in reverse order.
