Introduction
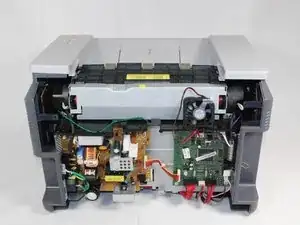
This guide will require you to disassemble the rear and side panels of the printer in order to access the circuit board.
-
-
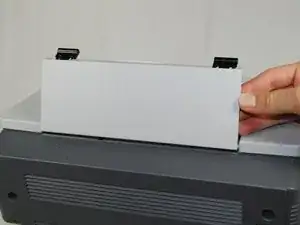
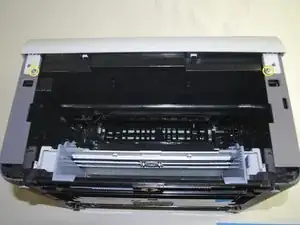
Remove the front panel by gently freeing the holes on the panel from the pegs attached to the main printer body one at a time. Make sure to remove the entire front panel, not just the flap on the paper tray.
-
-
-
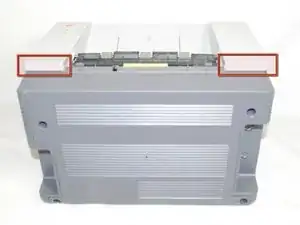
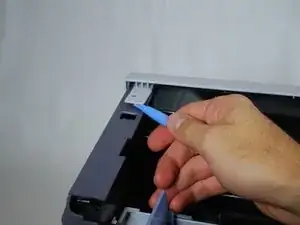
Using a plastic opening tool, gently lift one side of the top panel from its peg.
-
Repeat the process for the other side.
-
Lift the top panel from the front to remove it entirely.
-
-
-
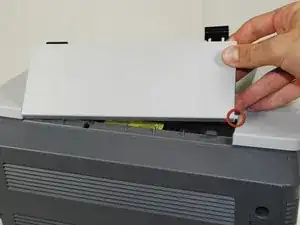
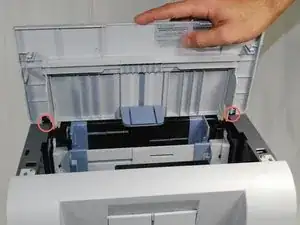
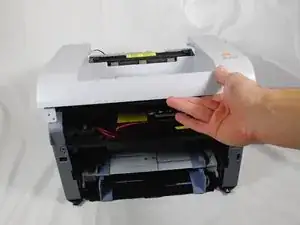
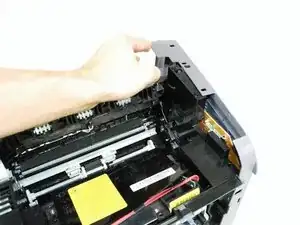
Lift the right panel up from the raised stops.
-
Rotate the panel gently as indicated in the picture to remove the panel entirely.
-
-
-
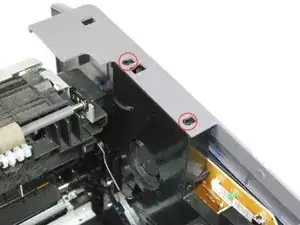
Using a Phillips #2 screwdriver, remove the four 1" screws attaching the gray plate to the printer.
-
Remove the plastic cover by sliding it carefully under the silver hinges on the right.
-
-
-
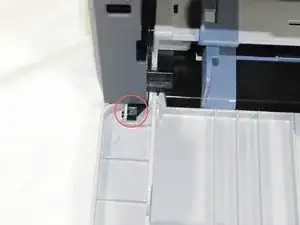
Using a Phillips #2 screwdriver, remove the 1" screw attaching the circuit board to the printer.
-
-
-
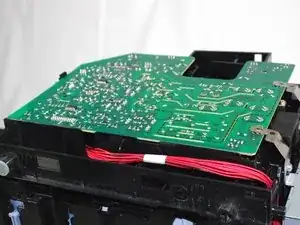
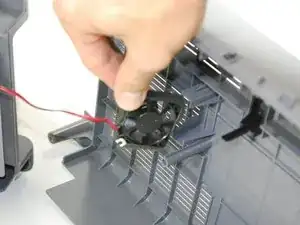
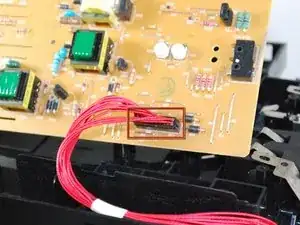
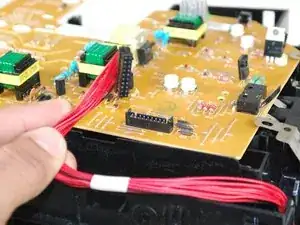
Turn over the circuit board to access main wiring.
-
Unplug the wiring from the circuit board gently.
-


To reassemble your device, follow these instructions in reverse order.