Introduction
-
-
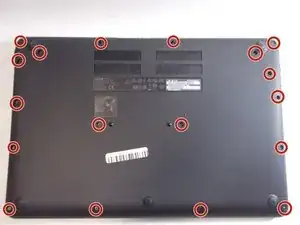
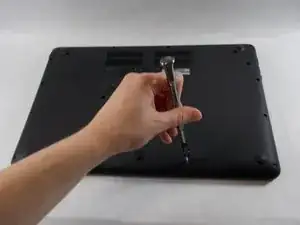
Using the Phillips #1 screwdriver, remove eighteen 7 mm screws from the back panel of the device.
-
-
-
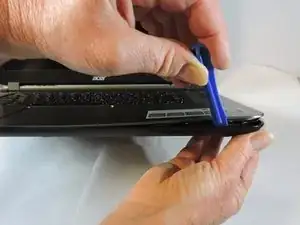
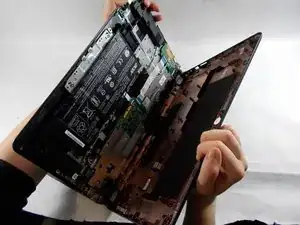
Use a plastic opening tool around the edges of the laptop and remove the back panel from the device.
-
-
-
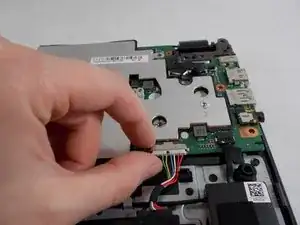
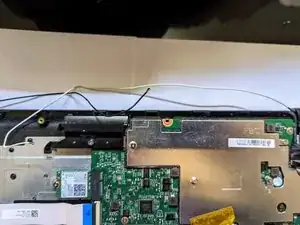
Push on the sides of the connector with a plastic spudger to separate the cable from the motherboard.
-
-
-
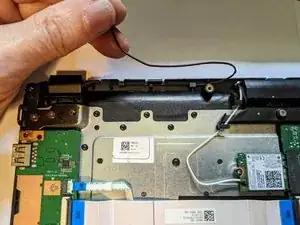
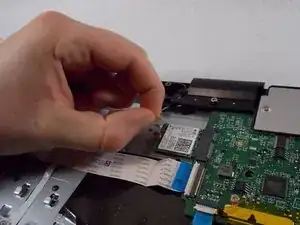
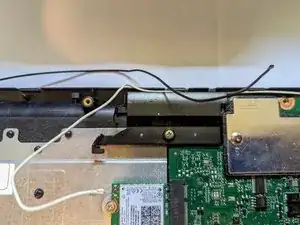
Firmly pull the end of the black wire attached to the Wi-Fi card upwards and remove it from the device.
-
Repeat with the white wire.
-

Conclusion
To reassemble your device, follow these instructions in reverse order.