
Introduction
Prerequisite only guide. How to separate the logic and power boards from the metal protective shield.
-
-
Lay the monitor on a flat surface, facedown.
-
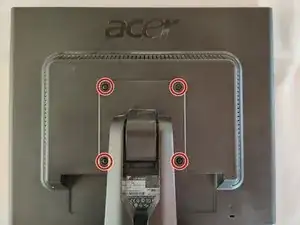
Use a #1 Phillips screwdriver to remove the 4x 10.2mm screws securing the stand to the back panel.
-
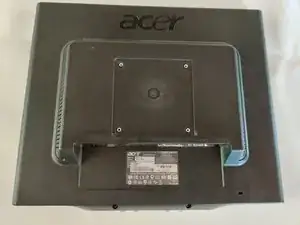
Remove the stand from the back panel by pulling it up.
-
-
-
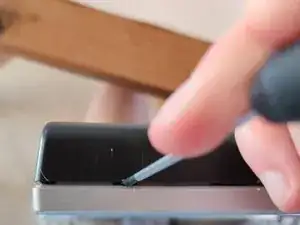
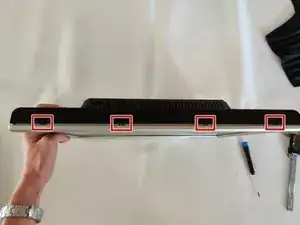
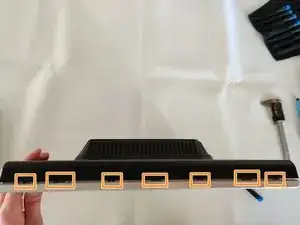
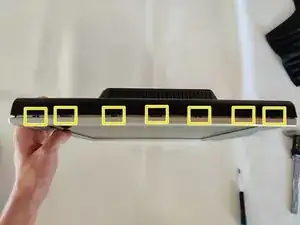
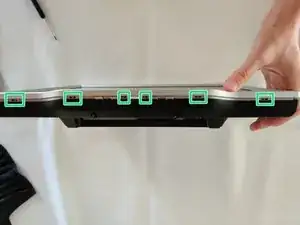
Work your way around the monitor, putting the flathead screwdriver into the space between the front and back covers, and prying up.
-
Ideally you want to pry at the locations that have the little gaps, which are locking mechanisms.
-
-
-
I've highlighted the locations of the locking mechanisms for the back cover, try prying in these locations for the best results.
-
Right side of the monitor.
-
Top of the monitor.
-
Left side of the monitor.
-
-
-
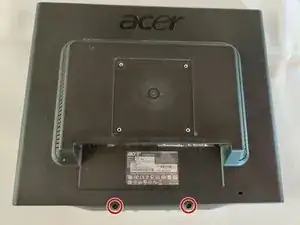
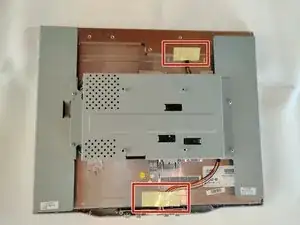
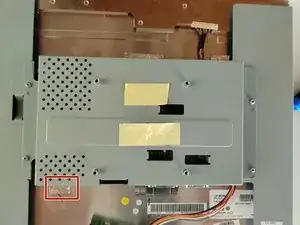
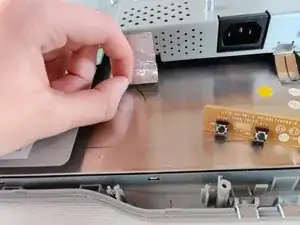
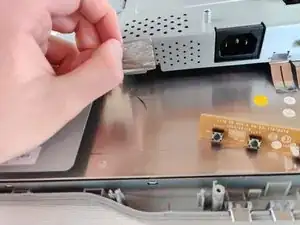
Remove the 2 pieces of yellow tape.
-
The bottom one have a thin sheet a metal on the underside which you need to take off too, if it does not come off with the tape.
-
-
-
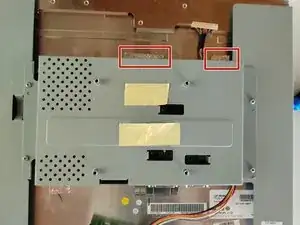
The button board is secured to the front frame by 2 plastic locking mechanisms.
-
To remove, insert a Flathead screwdriver into the gap to push the locking mechanism back a little, while pulling up on the board.
-
-
-
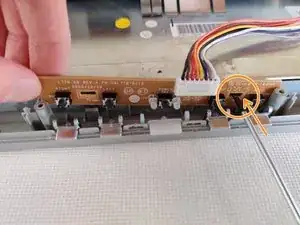
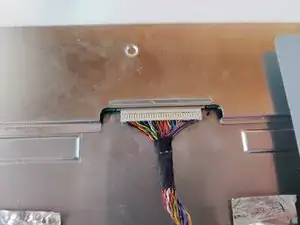
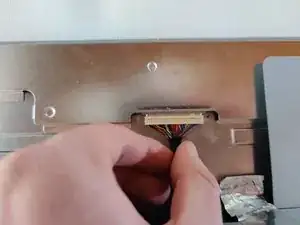
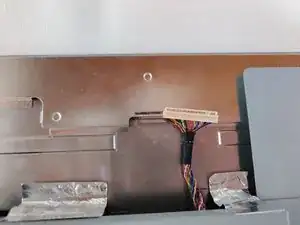
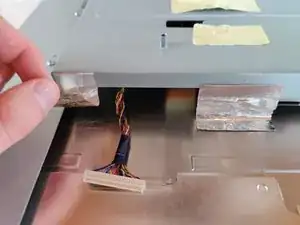
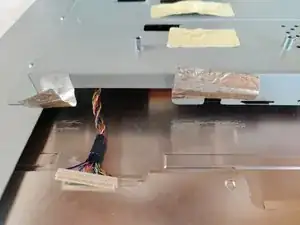
Remove the bundled cable connector that is going to the top of the monitor. Grab the black tape that holds all the individual wires together, and pull gently.
-
-
-
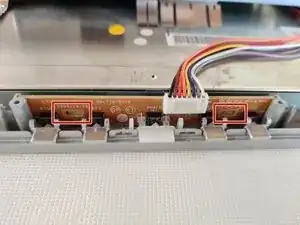
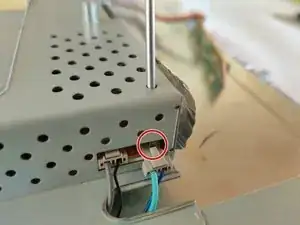
Remove the 4 connectors that bring power from the powerboard to the LCD.
-
The connectors have a plastic locking tab on them, and the available space make them very difficult to pull out.
-
-
-
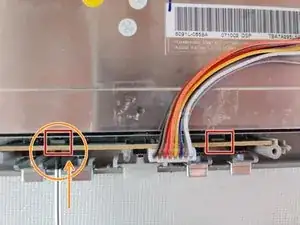
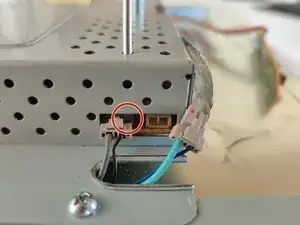
Insert a Flathead screwdriver into the holes on the top of the shield. Lodge the tip between the socket and the connector and slowly push the connector out of it's socket.
-
-
-
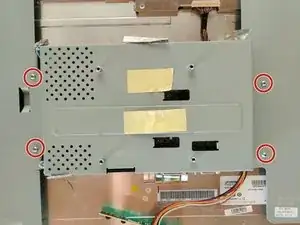
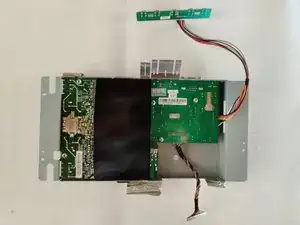
Use a Phillips #1 to remove the 4x 8.5mm screws that are securing the shield to the display assembly.
-
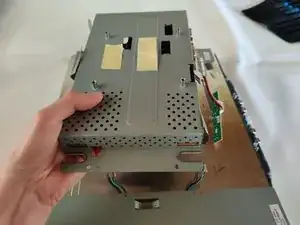
Pull the shield up carefully.
-
-
-
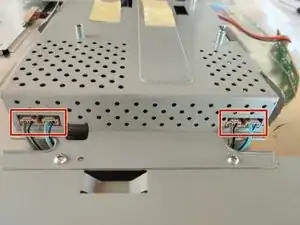
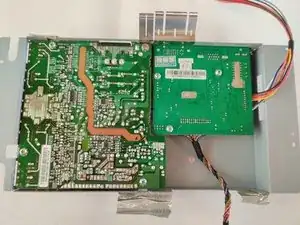
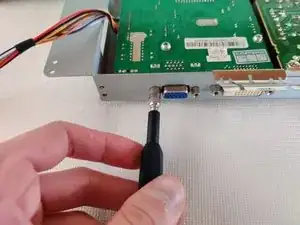
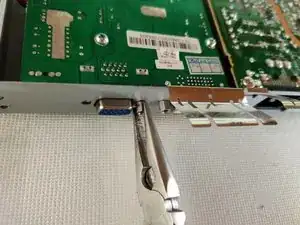
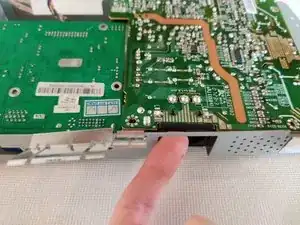
Use a 5mm nut driver to remove the 4 hex coupling screws that hold the VGA and DVI sockets to the shield.
-
-
-
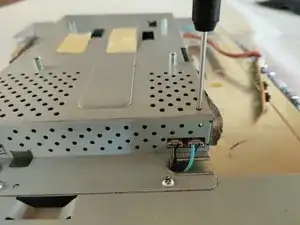
Use a Phillips #1 screwdriver to remove:
-
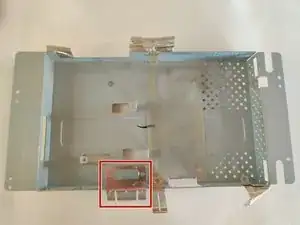
3x 8.4mm screws holding the logic board down.
-
3x 8.4mm screws holding the power board down.
-
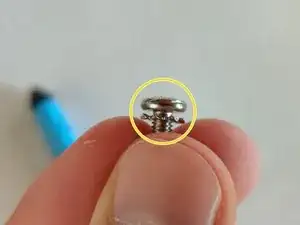
The last screw holding the power board down is a 10mm screw with some kind of contact washer on it.
-
-
-
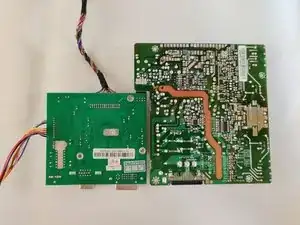
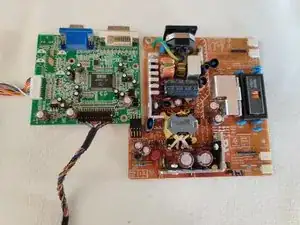
Lift up the logic and power boards at the same time, just enough to slide them backwards out of the shield.
-


To reassemble your device, follow these instructions in reverse order.
One comment
Hi there Sam,
just want to ask a small quick question. Please, what could cause the monitor to not come-up/display ?
once i get it plugged to the electricity, it makes a very low noise inside and will not display anything the power on light also doesn't display!
please help me out
Innocent -