
Introduction
This is a step-by-step guide to show how to remove the circuit board that is attached to the speakers. It can be done in just a few simple steps with the help of a spudger and a few screw drivers.
-
-
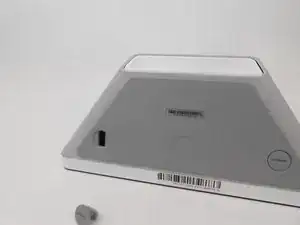
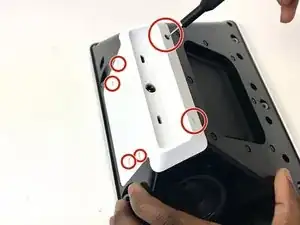
Turn the two screw plugs counterclockwise with a metal spudger until they are 90 degrees from their original position.
-
Pull each of the plugs out.
-
-
-
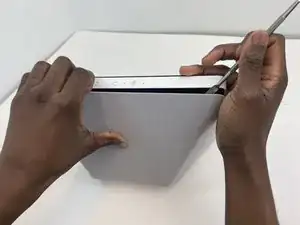
Use the metal spudger to pry and create space between the sound foam and the frame.
-
Once you have sufficiently pried the foam from the frame on each side, detach the sound foam from the frame with your hands.
-
-
-
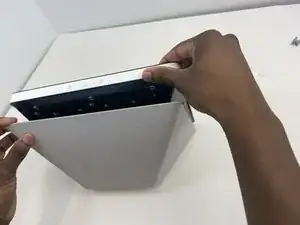
Unscrew the white case using the TR1 screwdriver bit to remove the 4mm screws.
-
Pull on the top until the case becomes fully dislodged.
-
-
-
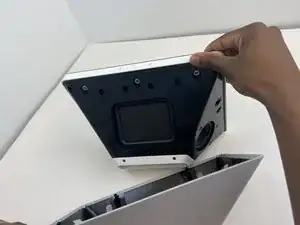
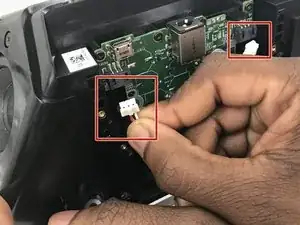
Pull out the two white plugs by firmly grasping them and pulling in a downward motion until they become disconnected.
-
-
-
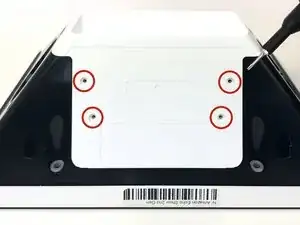
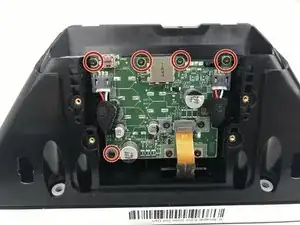
Unscrew the 4mm, red-marked screws with the TR6 screwdriver bit.
-
Detach the ribbon from the circuit board by grasping from the top of the ribbon and pulling away from the board.
-
-
-
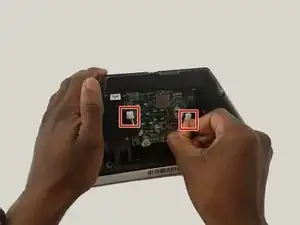
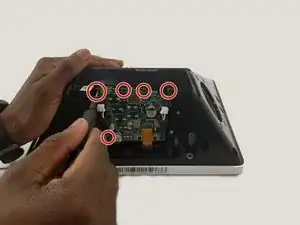
Unscrew the red-marked, 4mm screws with the J1 screwdriver bit.
-
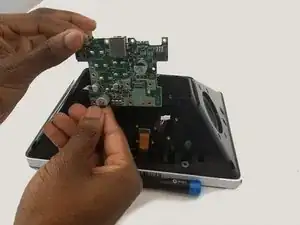
Carefully slide the sound card up and out of the black casing.
-


To reassemble your device, follow these instructions in reverse order.

Since you didn’t use prerequisites, my comments on these steps have not transferred. Please be sure to see where I gave feedback and apply here.
Alex Watkins -