Introduction
-
-
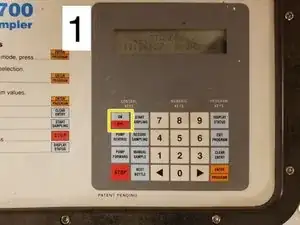
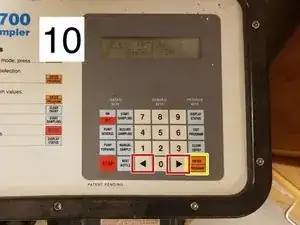
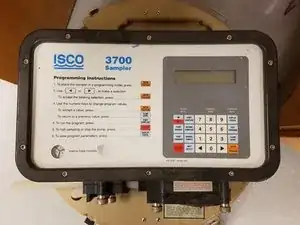
1. Turn on the autosampler. Screen will read "...STANDBY..."
-
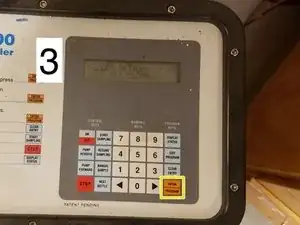
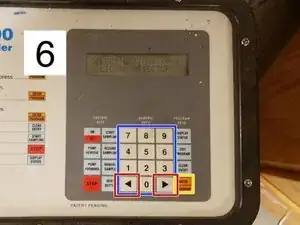
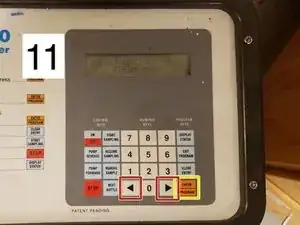
2. Press "ENTER/PROGRAM" button. Use arrows to highlight "CONFIGURE". Press "ENTER/PROGRAM" button
-
-
-
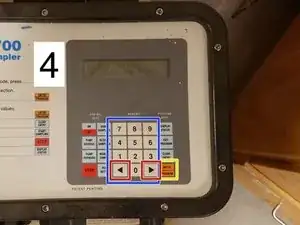
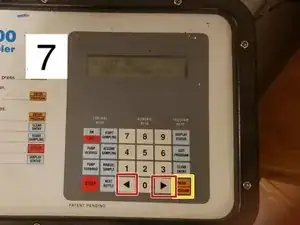
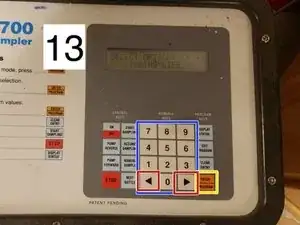
3. Press "ENTER/PROGRAM" to "SET CLOCK". Use the numeric keys to set the time and date. You can use the arrows to move. When finished. Press "ENTER/PROGRAM" button.
-
-
-
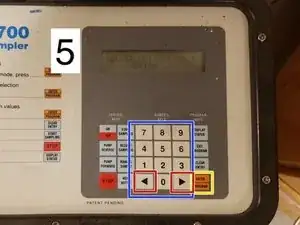
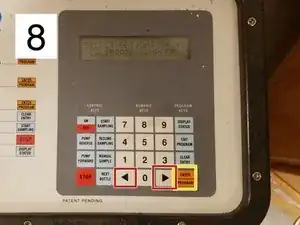
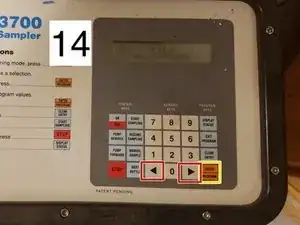
4. Press "ENTER/PROGRAM" to configure "BOTTLES AND SIZES".
-
Use arrows to select "PORTABLE" sampler. Press "ENTER/PROGRAM" to configure bottles and sizes.
-
Use arrows to select "24" botles. Press "ENTER/PROGRAM" button.
-
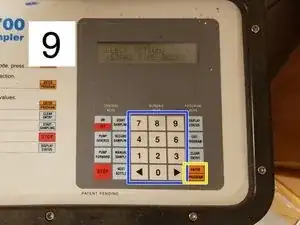
Use numeric keys to enter "1000" mL for the "BOTTLE VOLUME". Press "ENTER/PROGRAM" button.
-
-
-
5. Press "ENTER/PROGRAM" to configure "SUCTION LINE".
-
Use arrow to select "3/8" inch for "SUCTION LINE I.D." Press "ENTER/PROGRAM" button.
-
Use arrow to select "VINYL" for "SUCTION LINE" type. Press "ENTER/PROGRAM" button.
-
Use numeric keys to enter "25" feet for "SUCTION LINE LENGTH". Press "ENTER/PROGRAM" button.
-
-
-
6. Press "ENTER/PROGRAM" button to configure "LIQUID DETECTOR".
-
Use arrows to select "ENABLE" "LIQUID DECTOR". Press "ENTER/PROGRAM" button.
-
Use numeric keys to enter "3" "RINSE CYCLES." Press "ENTER/PROGRAM" button.
-
Screen will read "ENTER HEAD MANUALLY?" Use arrows to select "NO". Press "ENTER/PROGRAM" button.
-
Screen will read "RETRY UP TO X TIMES WHEN SAMPLING?" Use numeric keys to enter "3". Press "ENTER/PROGRAM" button.
-
-
-
7. Press "ENTER/PROGRAM" to configure "PROGRAMMING MODE".
-
Use arrows to select "BASIC" mode. Press "ENTER/PROGRAM" button.
-
-
-
8. Press "ENTER/PROGRAM" to configure "CALIBRATE SAMPLER".
-
Use arrows to select "DISABLE" "CALIBRATE SAMPLER". Press "ENTER/PROGRAM" button.
-
-
-
9. Press "ENTER/PROGRAM" to configure "START TIME DELAY". Press "ENTER/PROGRAM" button.
-
Screen will read "X MINUTE DELAY TO START." Use numeric keys to enter "0" minutes. Press "ENTER/PROGRAM" button.
-
-
-
10. Press "ENTER/PROGRAM" to configure "ENABLE PIN". Press "ENTER/PROGRAM" button.
-
Use arrow to select "NO" for "MASTER/SLAVE MODE?" Press "ENTER/PROGRAM" button.
-
Use arrow to select "NO" for "SAMPLE UPON DISABLE?" Press "ENTER/PROGRAM" button.
-
Use arrow to select "NO" for "SAMPLE UPON ENABLE?" Press "ENTER/PROGRAM" button.
-
Use arrow to select "NO" for "RESET SAMPLE INTERVAL?" Press "ENTER/PROGRAM" button.
-
Use arrow to select "NO" for "INHIBIT COUNTDOWN?" Press "ENTER/PROGRAM" button.
-
-
-
11. Press "ENTER/PROGRAM" to configure "EVENT MARK". Press "ENTER/PROGRAM" button.
-
Use arrow to select "CONTINUOUS SIGNAL". Press "ENTER/PROGRAM" button.
-
Use arrow to select "PUMP CYCLE". Press "ENTER/PROGRAM" button.
-
-
-
12. Press "ENTER/PROGRAM" to configure "PURGE COUNTS". Press "ENTER/PROGRAM" button.
-
Use numeric keys to enter "XX" for "PRE-SAMPLE COUNTS". Press "ENTER/PROGRAM" button.
-
Use numeric keys to enter "XX" for "POST-SAMPLE COUNTS". Press "ENTER/PROGRAM" button.
-
-
-
12. Press "ENTER/PROGRAM" to configure "TUBING LIFE". Press "ENTER/PROGRAM" button.
-
Screen will read "X PUMP COUNTS, WARNING AT XXX000". Press "ENTER/PROGRAM" button.
-
Use arrows to select "NO" for "RESET PUMP COUNTER?". Press "ENTER/PROGRAM" button.
-
Use numeric keys to enter "XXX000" for "PUMP COUNTS TO WARNING". Press "ENTER/PROGRAM" button.
-
-
-
13. Press "ENTER/PROGRAM" to configure "PROGRAM LOCK". Press "ENTER/PROGRAM" button.
-
Use arrows to select "DISABLE" "PROGRAM LOCK". Press "ENTER/PROGRAM" button.
-
-
-
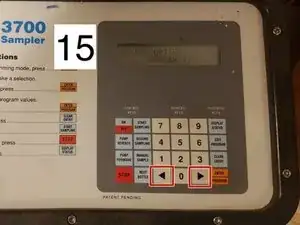
15. The next configuration option is "SAMPLER ID". Skip this configuration step by using the arrows.
-
-
-
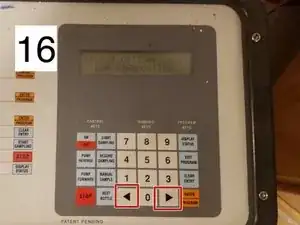
16. The next configuration option is "RUN DIAGNOSTICS". Skip this configuration step by using the arrows.
-