Introduction
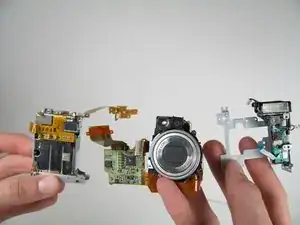
This guide shows how to break down the camera into three parts: battery casing, zoom lens, and flash assembly.
-
-
Open the memory card cover by moving the slide switch toward the top end of of the camera.
-
Remove the memory card from the slot.
-
-
-
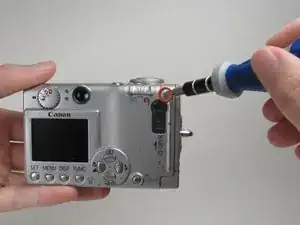
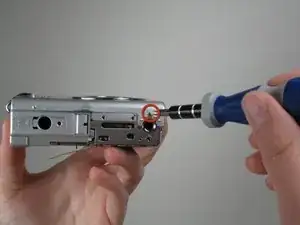
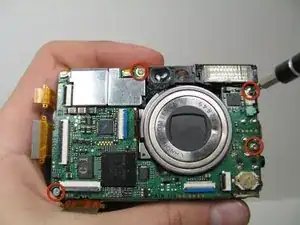
Unscrew the four Phillips screws from the side of the casing and one screw from the bottom using a #0 Phillips screwdriver.
-
-
-
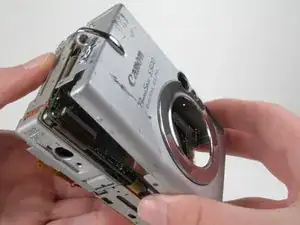
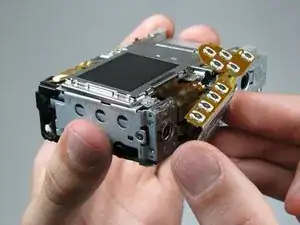
Gently separate the top of LCD from the rest of the camera using your thumb.
-
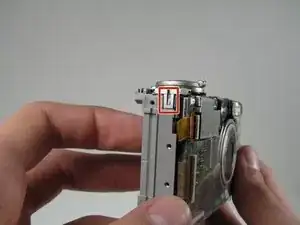
Place the Spudger in the hole of the electrical ribbon.
-
Gently pull the ribbon down using the Spudger until it is free from the camera but still connected to the LCD.
-
-
-
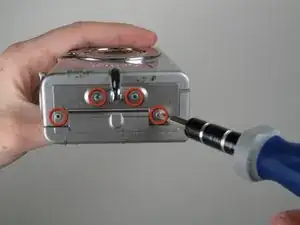
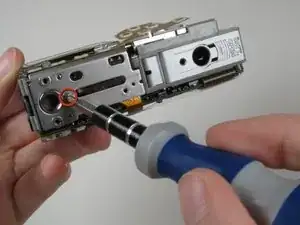
Unscrew single Phillips screw with a #0 Phillips screwdriver.
-
Free the bottom panel and attached ribbon from the rest of the camera.
-
-
-
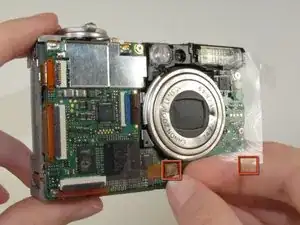
Turn over the camera.
-
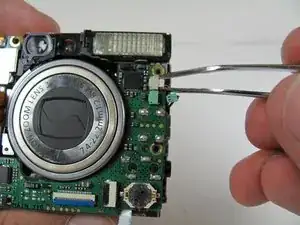
Lift the clear plastic from the face of the camera, peeling the adhesive just below the zoom lens.
-
-
-
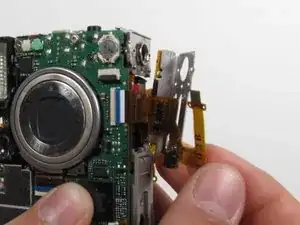
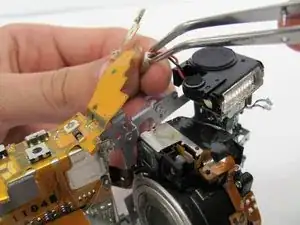
Place the Spudger between the orange ribbon and the black ribbon gate.
-
Lift the ribbon gate using the Spudger.
-
-
-
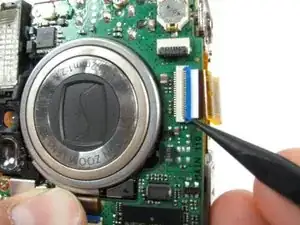
Place the Spudger in the corner of the ribbon above the hole.
-
Remove the ribbon from the ribbon gate by pulling the Spudger away from the gate.
-
-
-
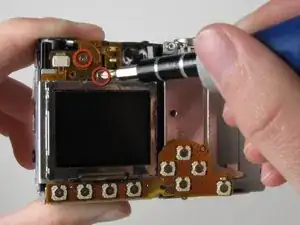
Turn the camera over so you can see the LCD.
-
Remove single Phillips screw below the LCD using a #0 Phillips screwdriver.
-
-
-
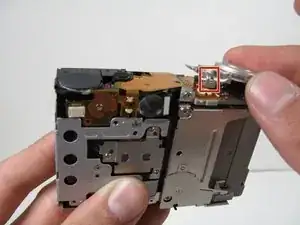
Insert the Spudger into the hole of the ribbon.
-
Move the Spudger away from the gate to fully remove ribbon.
-
-
-
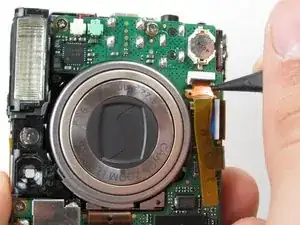
Lift off the capture button by wiggling it back and forth while pulling upward.
-
Be careful not to damage the two clips.
-
-
-
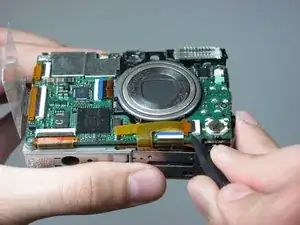
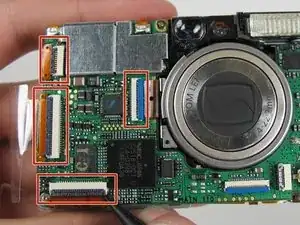
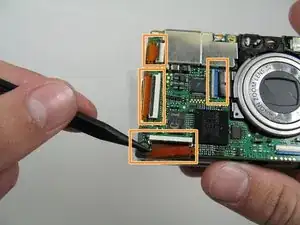
Flip open the four ribbon gates using the Spudger.
-
Gently pull out the ribbon cables from the gates using the Spudger.
-
-
-
Gently lift the logic board.
-
Place the Spudger so that it is between the logic board, the white ribbon cable, and the rest of the camera.
-
Remove the white ribbon cable by pulling the Spudger away from the camera, keeping it parallel to the logic board.
-
-
-
Turn the camera over so that the back is facing you.
-
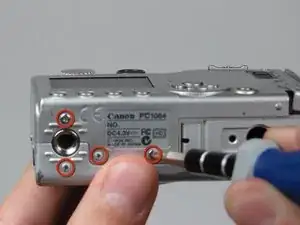
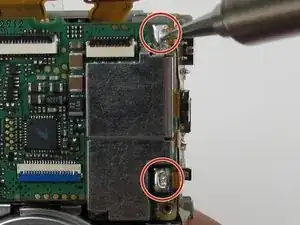
Unscrew the three Phillips screws using a #0 Phillips screwdriver.
-
-
-
Lift off the Memory Card casing, sliding the ribbon cable through the camera. Keep pulling until the Memory Card and ribbon cable have been removed from the camera.
-
Note that the ribbon cable is coming from the external front portion of the camera. Make sure that the ribbon cable will not get caught on anything.
-
-
-
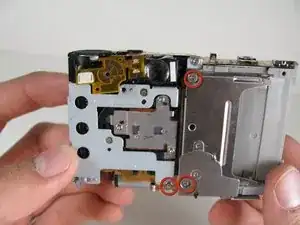
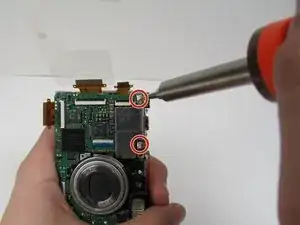
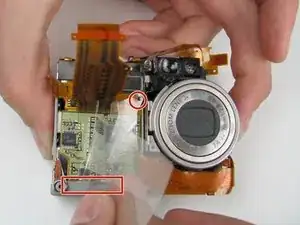
Unscrew one Phillips screws from the side and three Phillips screws from the back panel using a #0 Phillips screwdriver.
-
-
-
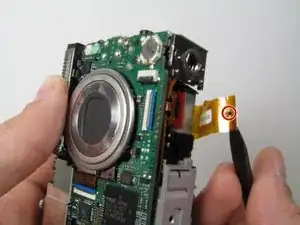
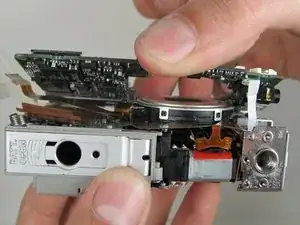
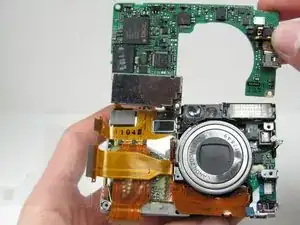
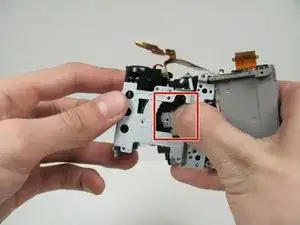
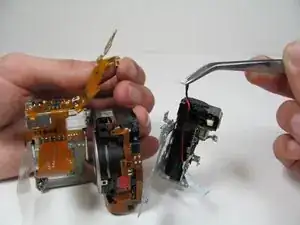
Firmly push on the back of the zoom lens, removing it from the left portion of the camera.
-
Lift the zoom lens away from the left portion of the camera so that there are three components connected by a ribbon cables.
-
-
-
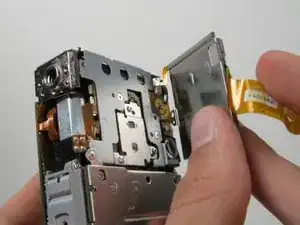
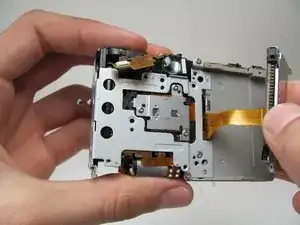
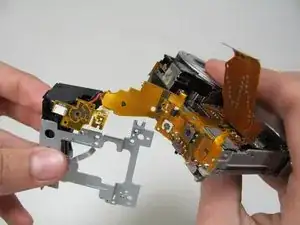
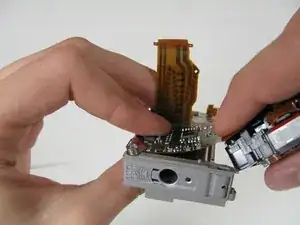
The camera should now be able to be set in this orientation without too much stress on the cables.
-
-
-
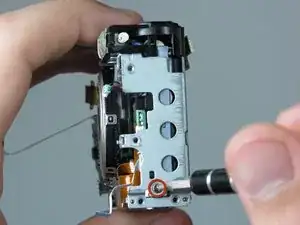
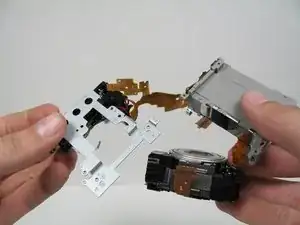
Pick up the remaining battery casing and zoom lens.
-
Pull off the clear plastic.
-
The clear plastic is secured by adhesive along the bottom edge and a small hook.
-
-
-
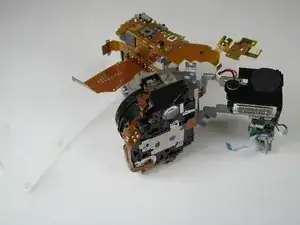
The remaining pieces from left to right are: the battery casing, zoom lens and flash assembly.
-


To reassemble your device, follow these instructions in reverse order.