Introduction
Use this guide to access or replace the flash assembly on your Canon Powershot SD1200 IS camera.
-
-
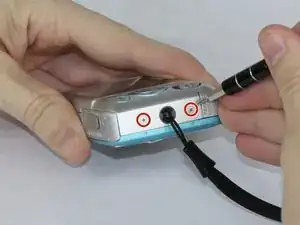
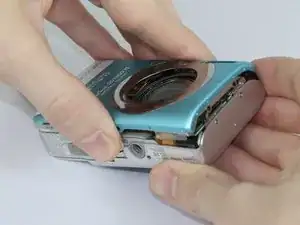
Remove the two screws from the side of the camera casing with the strap. (4mm Phillips 00)
-
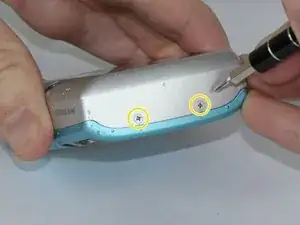
Remove the two screws from the bottom of the camera. (4mm Phillips 00)
-
Remove the two screws from the right side of the camera opposite the strap. (2mm Phillips 00)
-
-
-
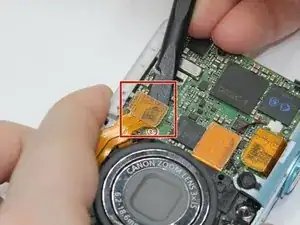
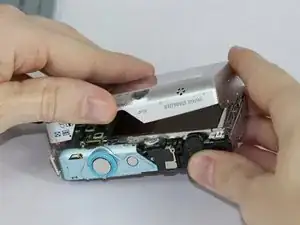
Use the spudger to lift the retaining flap on the Zero Insertion Force (ZIF) tab securing the thick ribbon cable.
-
Slide out the ribbon cable using fingers or tweezers.
-
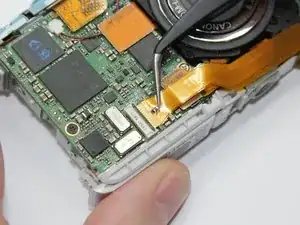
Using tweezers, disconnect the small ribbon cable below the flash assembly from the No Fuss Connector by simply pulling the ribbon cable straight out.
-
-
-
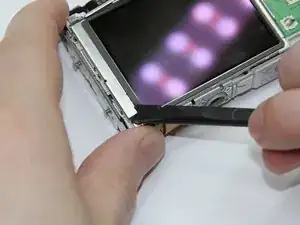
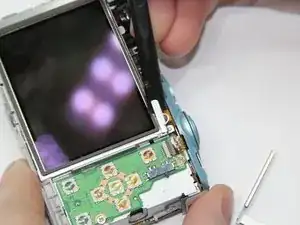
Remove the L shaped brackets from the left and right side of the LCD screen with the spudger tool.
-
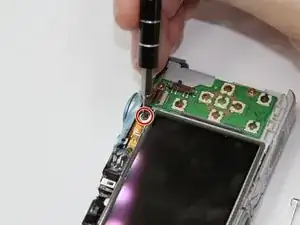
Remove the screw below the shutter button. (2.5mm Phillips 00)
-
Holding the sides of the LCD screen, lift the screen up and away to remove.
-
-
-
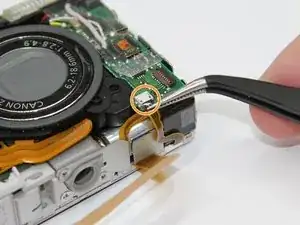
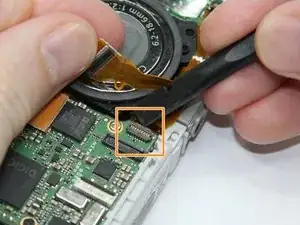
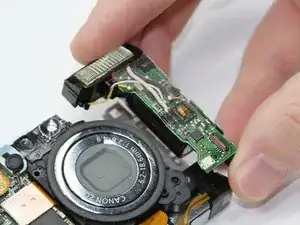
Use the spudger to pry up each side of the lens assembly Flat-Topped Connector at the bottom of the motherboard.
-
Holding back the lens assembly ribbon cable, use the spudger to lift the Zero Insertion Force (ZIF) connector tab . Slide out the ribbon cable.
-
Use the spudger to lift the Zero Insertion Force (ZIF) connector tab located on the flash unit. Remove the ribbon cable.
-
-
-
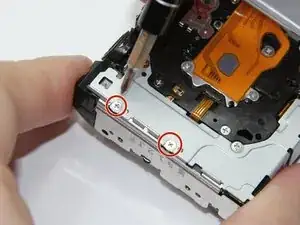
Remove the two screws (2 mm Phillips 00) along the back edge of the camera frame directly behind the flash assembly.
-


To reassemble your device, follow these instructions in reverse order.