Introduction
This guide will show you how to access the components of the manual zoom to repair or replace broken elements.
-
-
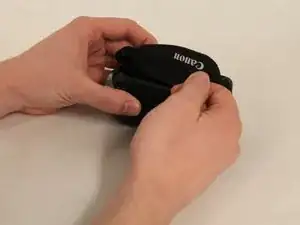
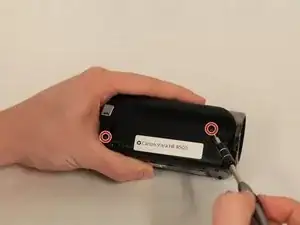
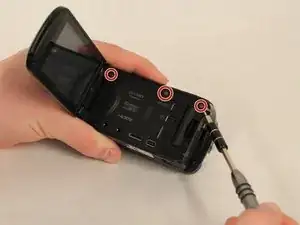
Remove the two 4mm Philips #000 head screws from the bottom of the camcorder.
-
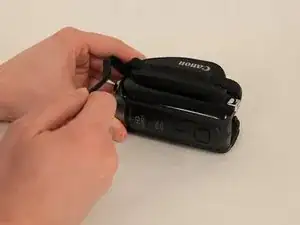
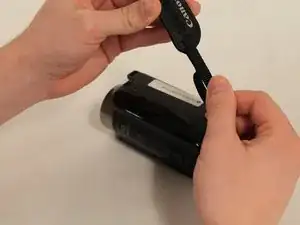
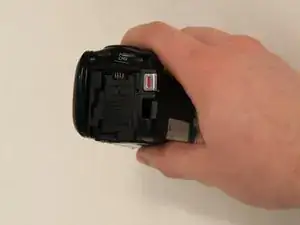
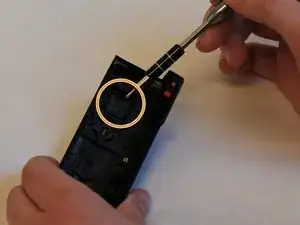
A hidden 4mm Philips #000 screw is shown under the black plug shown.
-
-
-
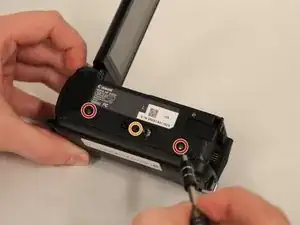
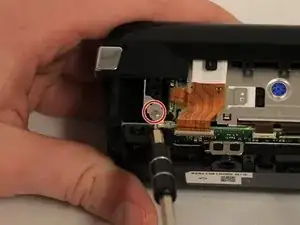
Carefully place the camcorder where the inside of the device is facing upwards and remove the 3mm Philips #000 screw shown.
-
-
-
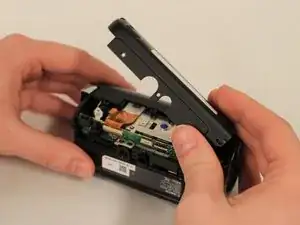
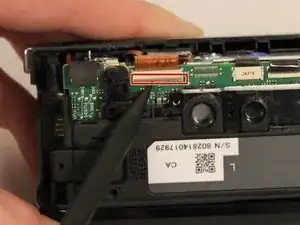
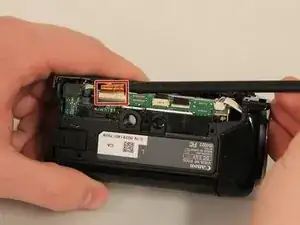
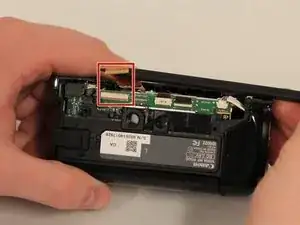
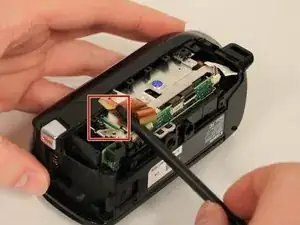
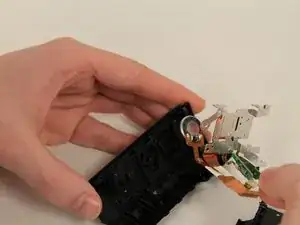
Using the Spudger, carefully remove the two ribbon cables that are connected to the top of the device.
-
-
-
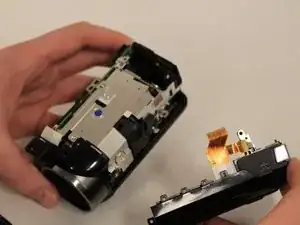
Holding the full top piece remove the six 5mm Philips #000 screws holding the metal frame to the top piece.
-
-
-
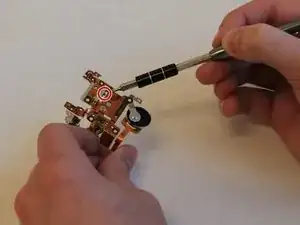
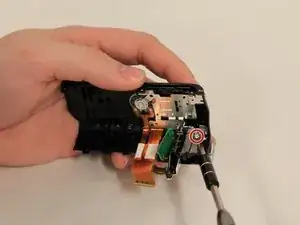
Examine the grey zoom input tab located on copper plate.
-
Examine the black plastic zoom slider, on the top cover of the camera
-
Repair or replace damaged components and clear all debris from mechanisms.
-


To reassemble your device, follow these instructions in reverse order.