
Introduction
This import allows you to add working accessories to expand functionality such as a microphone or a flash.
-
-
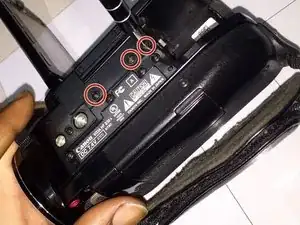
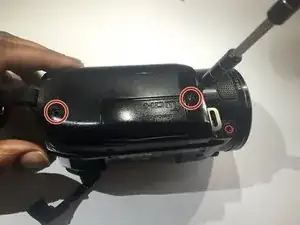
Flip the camcorder upside down and remove the three 3x4 mm Phillips screws highlighted in the diagram.
-
-
-
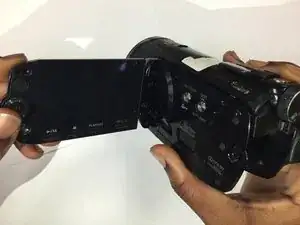
Open the LCD screen.
-
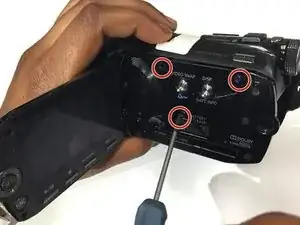
Remove the three 3x4 mm Phillips screws securing the black panel plastic case.
-
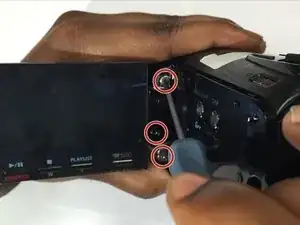
From the inner corner in between the panel and the LCD screen, remove the two 2x2.5 mm Phillips screws and the 3x4 mm Phillips screw.
-
-
-
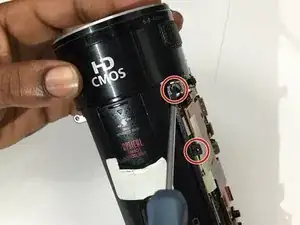
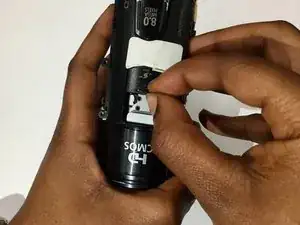
With the canon logo facing you, remove the plastic casing located in the back of the lens. Underneath this casing, you will find a hinge with a screw.
-
Remove the 2x2.5 mm Phillips screw holding hinge in place.
-
-
-
Using your hands, remove the inside panel.
-
After removing the panel, remove the two 1x2.5 mm Phillips screws.
-
-
-
Turn the camcorder back to step one position and remove remaining screws on the bottom platform. There will be four 2x2.5 mm Phillips screws.
-
-
-
Remove the strap from mount.
-
Remove the two 1x2.5 mm Phillips screws revealed under the strap on the side panel.
-
-
-
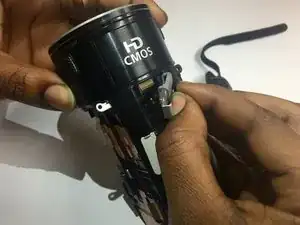
Pry the side panel from the base of the camcorder by using the plastic opening tool.
-
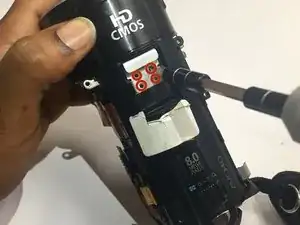
Remove the two 2x2.5mm Phillips screws located at the top.
-
-
-
Remove the two 3x4 mm Phillips screws located under the coverings labeled AV & DCIN. These covers can be found when the back of the camera is facing you.
-
-
-
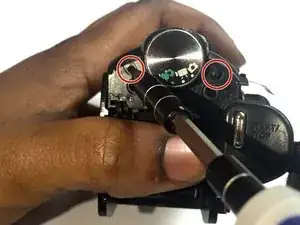
Slide open the "Optical Image Stabilizer" cover located at the top of the camcorder.
-
Remove the four 3x2.5 mm Phillips screws underneath.
-
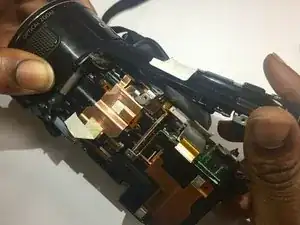
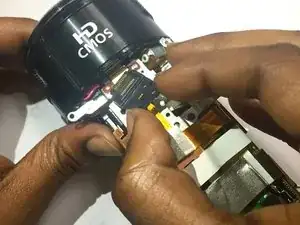
Using your fingers, remove the metal casing.
-
-
-
Lift the top cover of the camcorder using your fingers.
-
Remove the the Mini Advance Shoe with your fingers
-


To reassemble your device, follow these instructions in reverse order.