Introduction
Is your switch unable to move due to a foreign liquid? Does the switch feel like its seated improperly? Check out this guide on removing and replacing the switch.
Parts
-
-
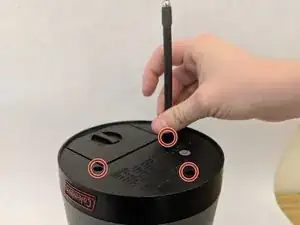
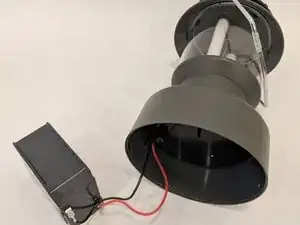
Carefully turn the lantern upside down.
-
Remove the three 1.2 mm Phillips #0 screws from the base of the lantern.
-
-
-
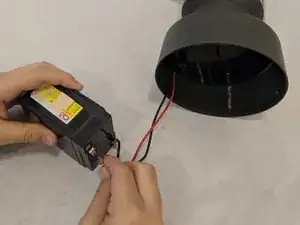
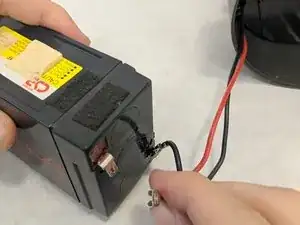
Carefully detach the negative wire from the battery terminal first.
-
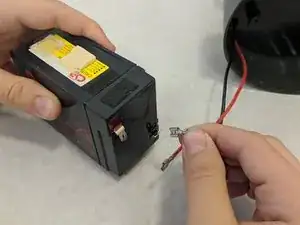
Next, detach the positive wire from the battery terminal.
-
-
-
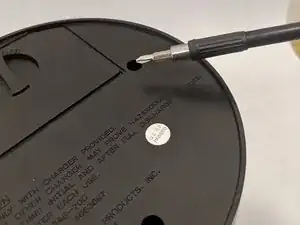
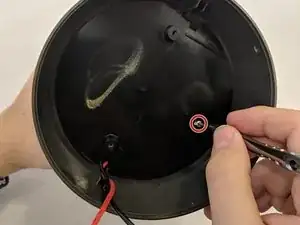
Remove the single 1.2 mm Phillips #1 screw on the bottom of the lantern.
-
Remove the plastic barrier.
-
-
-
Unscrew the single 1.2 mm Phillips #1 screw holding the motherboard to the plastic lantern housing.
-
-
-
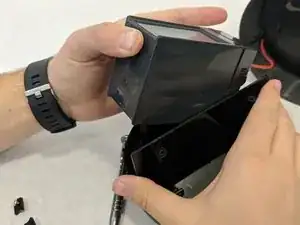
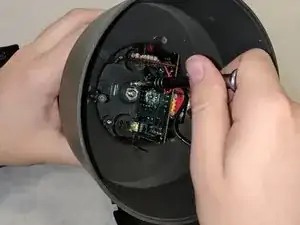
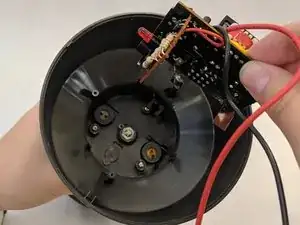
Gently grab the main board by the exposed PCB.
-
Pull the main board straight out of the housing.
-
-
-
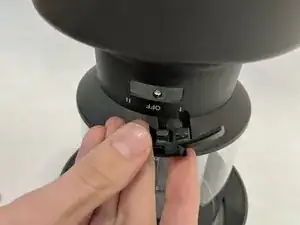
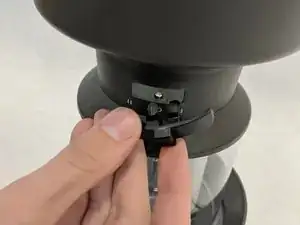
Remove the switch by pushing down on the ends while simultaneously pulling it out of the slot.
-


To reassemble your device, follow these instructions in reverse order.