Introduction
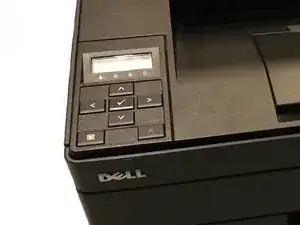
Replacement guide for the control panel/ screen module for the Dell 1350cnw printer
-
-
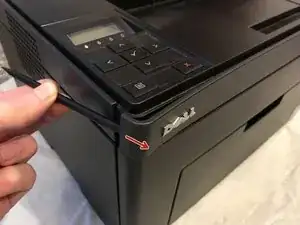
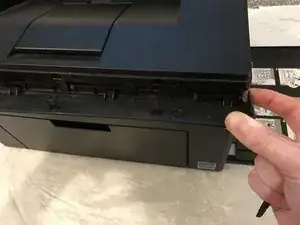
Insert prying tool behind each end of the plastic strip. Pry outwards to unclip and pull the ends forwards away from the printer.
-
Note - Unclipping the right-hand end requires opening the toner cover for access.
-
-
-
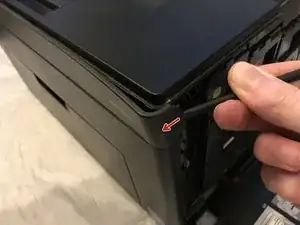
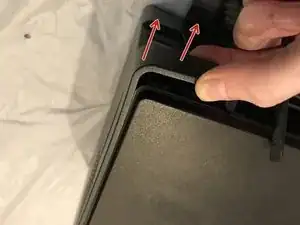
Insert prying tool between the front band and top cover of the printer, and pry forwards to release the clips holding the top edge in place.
-
-
-
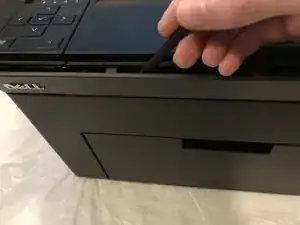
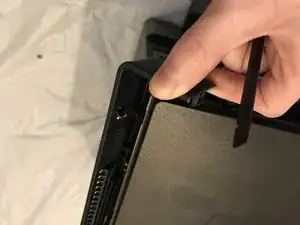
Unclip the back end of the plastic trim by prying away from the printer back panel.
-
Pull the trim piece towards the back of the printer.
-
Tilt the top edge away from the printer and lift away to remove.
-
-
-
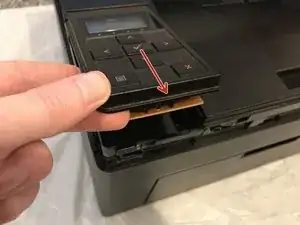
Pry up front edge of the control panel module to unclip.
-
Lift up front edge and pull module forwards slightly to unhook rear edge.
-
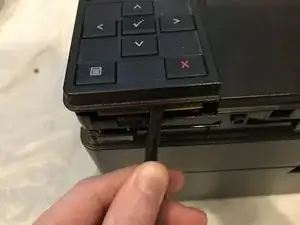
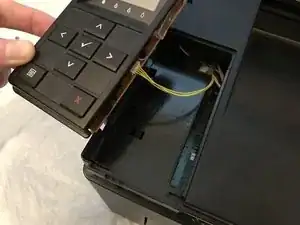
Pull out cable connector to unplug the display/ control panel module.
-


To reassemble your device, follow these instructions in reverse order.