Introduction
-
-
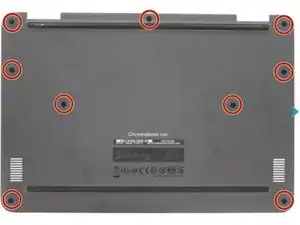
Remove the 9 screws from the back cover with the Phillips #0 screwdriver. NOTE* You do not need to remove the screws completely as you just need to loosen them enough to remove the cover.
-
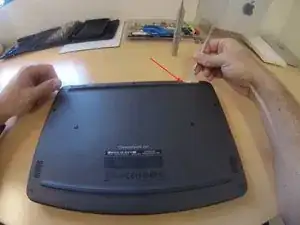
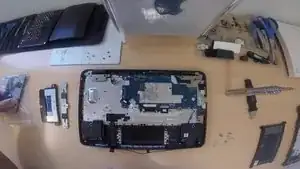
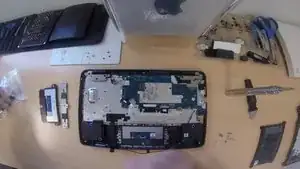
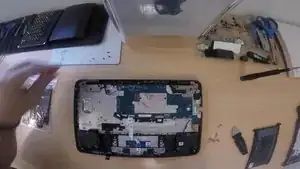
Once all 9 screws have been loosened, you can start to pry apart the back cover with your metal or plastic blade. I like to start from the top right hinge area. (See pic)
-
-
-
Remove the 3 battery screws with a Phillips #0 screwdriver.
-
Temporarily disconnect the sticker on the bottom left corner of the battery. You will need to reconnect this sticker when installing the new battery.
-
-
-
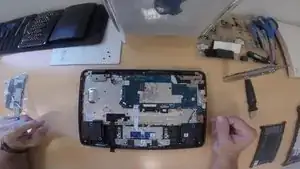
Lift the battery out of the palm rest. You may feel some resistance while trying to remove the battery. There is a piece of double-sided tape underneath the battery in the top left corner. (See video)
-
Disconnect the motherboard battery cable from the top of the battery.
-
-
-
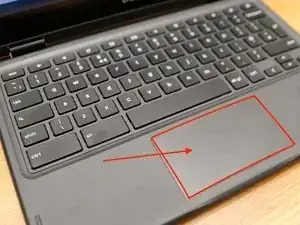
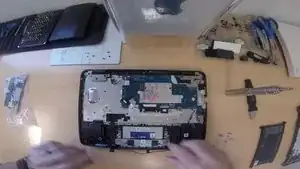
Remove any conductive adhesive tape from the trackpad area.
-
Note* - Keep these small tap strips as you will need to reapply in a later step. This helps block small amounts of static electricity when using the trackpad surface.
-
-
-
Remove the trackpad suspension bracket away from the trackpad.
-
Remove the trackpad from the palmrest.
-
-
-
Remove the new trackpad from the package.
-
Remove any protective film from the trackpad surface.
-
Realign the trackpad until it sits flush within the palmrest.
-
-
-
Install the second portion of the trackpad which is the small trackpad suspension bracket. This bracket gives the trackpad the "click" gesture.
-
-
-
After you have the trackpad and bracket aligned and flush within the palmrest, you can reconnect the trackpad data cable
-
Reroute the speaker cable under the trackpad. You can use the small rubber clips that are preinstalled within the palmrest.
-
-
-
Reapply all the conductive tape to the trackpad.
-
Note* - you will want to place 1/2 of each piece of tape to the bronze color portions of the trackpad and the other 1/2 to the regular silver color metal. This helps with small static electricity issues when using the trackpad.
-


To reassemble your device, follow these instructions in reverse order.