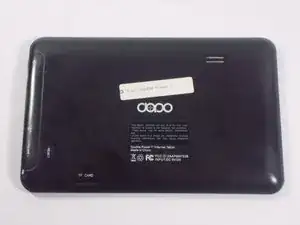
Introduction
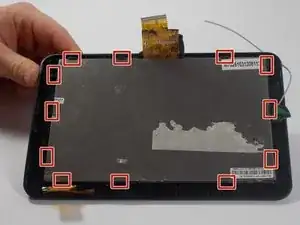
Purchasing a new or used display/digitizer will be necessary if yours is broken.
-
-
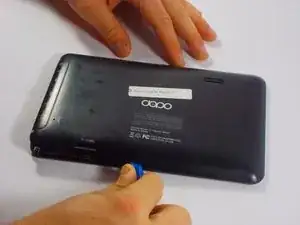
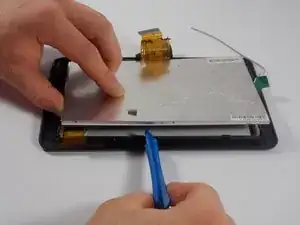
Carefully, wedge the plastic opening tool in-between the seam that separates both halves of the tablet.
-
-
-
Run the plastic opening tool along the seam looking for the clips and lift up on the rear panel.
-
-
-
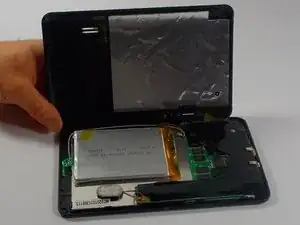
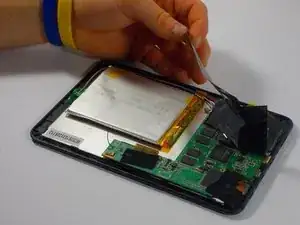
Use the flat end of a spudger to disconnect the front-facing camera cable from its socket on the motherboard.
-
Simply, pull back the tape and remove the camera.
-
-
-
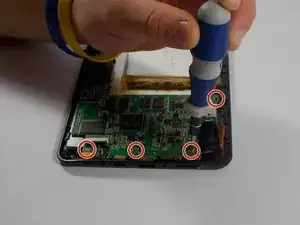
Remove the four screws holding the motherboard inplace.
-
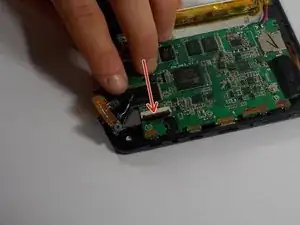
Using the flat end of a spudger or tweezers, remove the three cables connected to the motherboard.
-
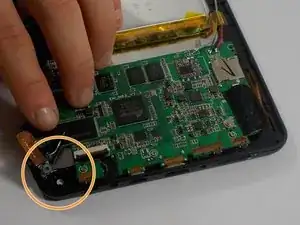
The cables can be disconnected by lifting up on the black section of the socket.
-
Once the lever is lifted, pull out the cable by gently tugging on it.
-
-
-
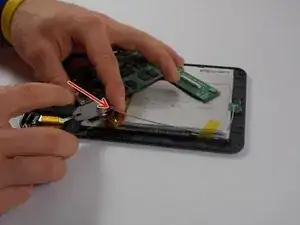
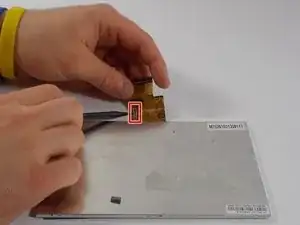
Solder the new digitizer to the soldering point shown within the image.
-
Using wire strippers, strip the end of the gray wire connected to the new digitizer about a 1/8".
-
Solder the gray wire to the soldering point on the motherboard as shown within the image.
-


To reassemble your device, follow these instructions in reverse order.