Introduction
Over time, the buttons on your EasySMX X15 controller may become less responsive or get stuck. Replacing the buttons is a relatively simple process that you can do at home with a few basic tools. This guide will walk you through how to replace the buttons.
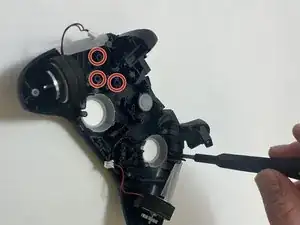
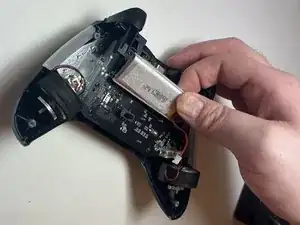
Note: You don't need to remove the battery as shown in Step 3. However, it is important to disconnect the battery from the board before you move on.
-
-
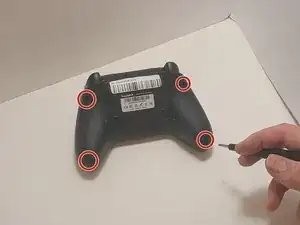
Use a Phillips #00 screwdriver to remove the four 9 mm screws from the bottom of the EasySMX X15.
-
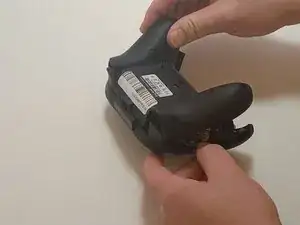
Use an opening tool to gently pry between the seams of the controller to separate the lower and upper casings.
-
-
-
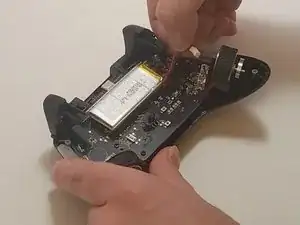
Push on alternating sides of the connector to disconnect the red battery cable from the board.
-
-
-
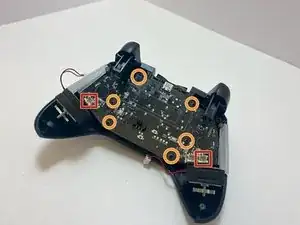
Disconnect the vibration motor cables from the connectors on the circuit board.
-
Use a Phillips #00 screwdriver to remove six, 6mm screws from the board.
-
-
-
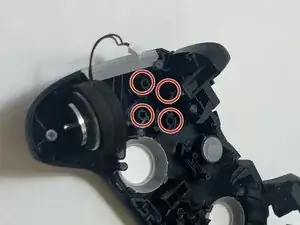
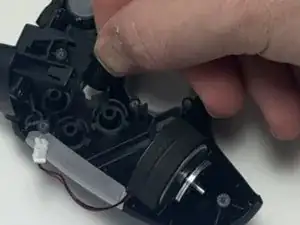
Gently lift the board away from the upper casing, maneuvering it around the triggers by lifting it from the bottom, away from the upper casing.
-


To reassemble your device, follow these instructions in reverse order