
Introduction
-
-
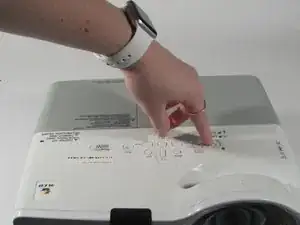
Turn the projector so the power button is on top.
-
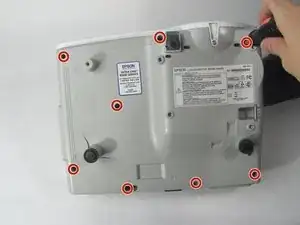
Gently pull up the cover until it pops off.
-
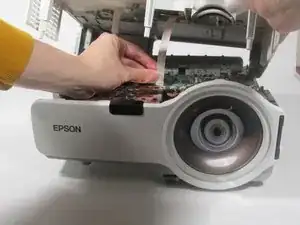
Disconnect the ribbon cable that attaches the cover to the motherboard.
-
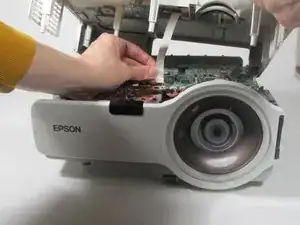
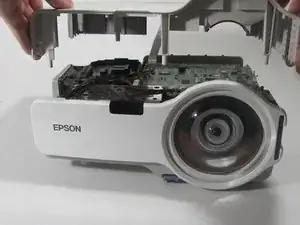
Remove the cover and place to the side.
-
-
-
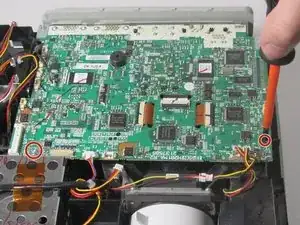
Remove the two screws holding down the motherboard using a Phillips #00 screwdriver.
-
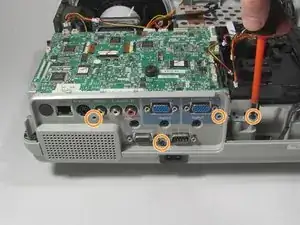
Remove the four screws holding down the I/O board using a Phillips #00 screwdriver.
-
-
-
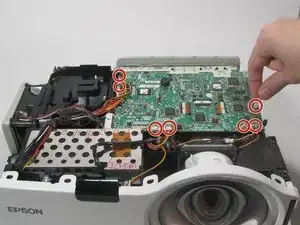
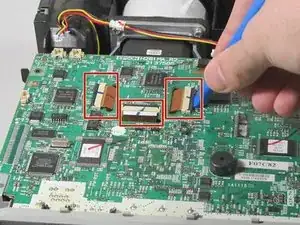
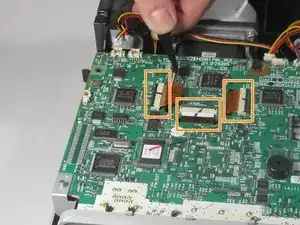
Remove the seven cables that are running to the motherboard by pulling them out of their sockets.
-
-
-
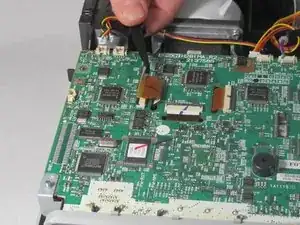
Gently pull the motherboard up and tilt it back, revealing the last cable attached to the motherboard. Disconnect this cable.
-
Remove the motherboard from the projector.
-

Conclusion
To reassemble your device, follow these instructions in reverse order.