Introduction
-
-
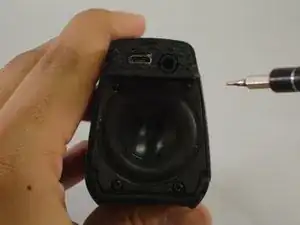
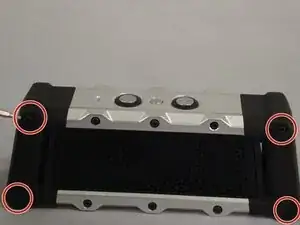
Begin by unscrewing the four 10.72mm corner screws using the h2.0 screw driver.
-
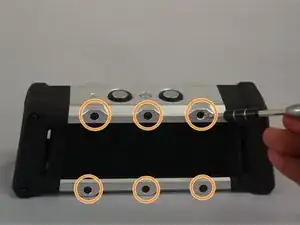
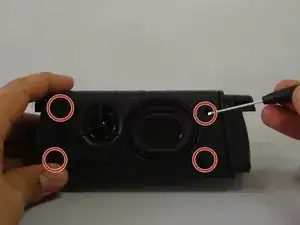
Using the h1.5 screwdriver and remove remaining six 5.79mm screws on the front of the speaker.
-
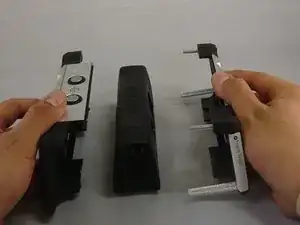
Pull front part of shell away from back part of shell.
-
-
-
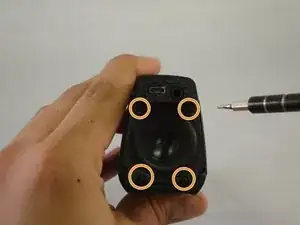
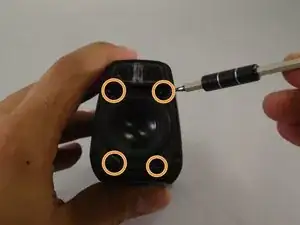
Change to the h1.3 head. Remove all 4-5.57mm screws on both speaker covers
-
Pull on the speaker covers, thus removing them
-
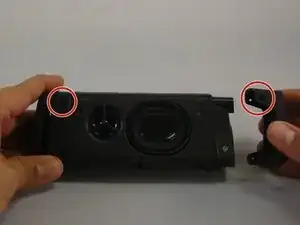
Rotate to side the speaker that has the charging port. Remove the 4-5.57mm screws of the facing you.
-
Rotate the speaker 180 degrees and then remove 4-5.57 screws on the side speaker that has the power/bluetooth buttons
-
-
-
Have back of speaker facing you, remove 5-12.70mm screws using 1/16 flat head screwdriver.
-
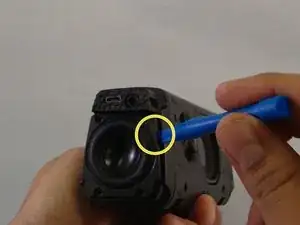
Using the plastic opening tool you will be able to wedge back face of speaker off
-
-
-
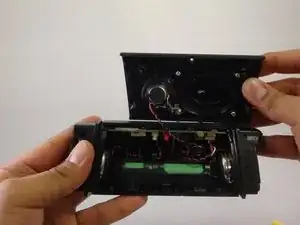
The circuit board will be revealed, you will notice the various individual speaker connections to the circuit board.
-
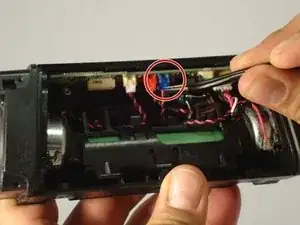
Remove blue "clip" from the circuit board.
-
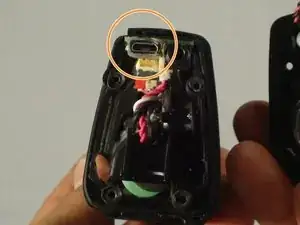
From this point, pull the side panel off gently, exposing the charging port.
-
At this time, you can remove the charging port and replace it.
-
To reassemble your device, follow these instructions in reverse order.