Introduction
-
-
Use the Phillips #00 screwdriver to remove the 7 screws on the sides of the camera:
-
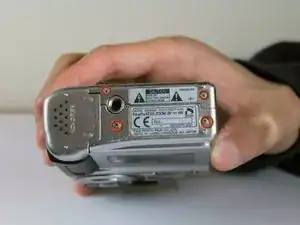
Four 3.95mm Phillips screws located on the bottom of the camera
-
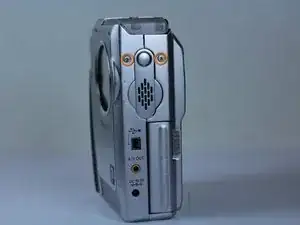
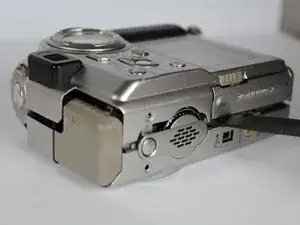
Two 3.95mm Phillips screws located on the right side of the camera
-
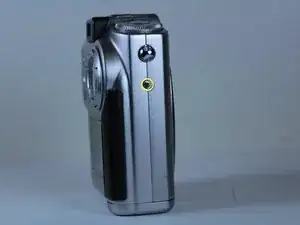
One 3.95mm Phillips screw located on the left side of the camera
-
-
-
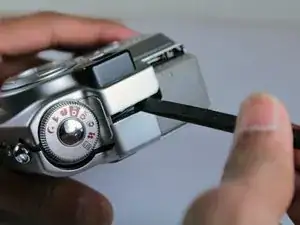
Wedge the edge of the spudger between the front and back case, near the corner of the flash.
-
Carefully run the spudger along the right edge of the camera, creating an opening.
-
Insert the spudger into the left side of the camera, above the screwhole. Then carefully run it along this edge.
-
-
-
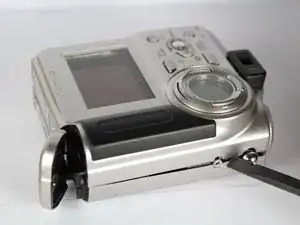
Slowly lift the back cover straight up, lightly jiggling it if necessary.
-
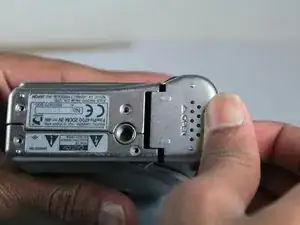
Remove the battery compartment cover.
-
-
-
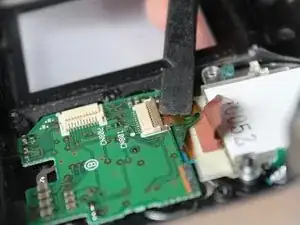
Gently insert the spudger under the clip holding the orange ribbon. The clip should lift up and the ribbon will slide out.
-
This step will free the back cover from the rest of the camera.
-
-
-
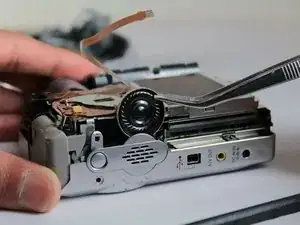
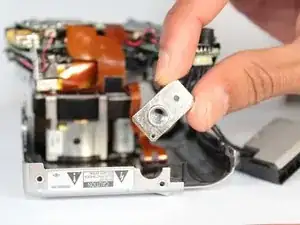
Use the tweezers to pull gently on the small orange ribbon, located in upper left hand corner near the flash, to remove the square insert.
-
-
-
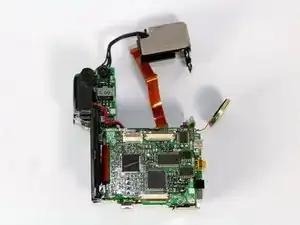
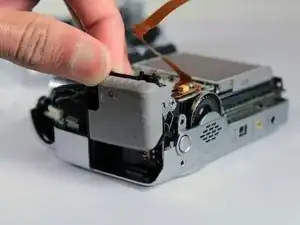
Slightly separate the front cover from the motherboard unit (which consists of the motherboard, speaker, screen, and battery compartment).
-
Rotate the bottom portion of the motherboard unit (the screen and battery compartment) over the lens unit.
-
-
-
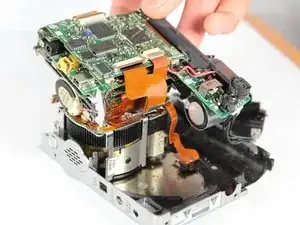
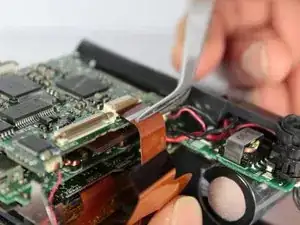
Gently stick the spudger under the ribbon clips and lift them up.
-
Use the tweezers to pull both ribbons out of the ribbon clips.
-


To reassemble your device, follow these instructions in reverse order.