Introduction
A motherboard can fail for a variety of reasons but this guide assumes that you have diagnosed a system failure and have acquired a new motherboard to use as a replacement. Understanding how a motherboard works is different from knowing how to replace one and only a limited knowledge of computer components is required to complete this process. Follow this guide if you need to replace the motherboard of your HP 15-g071nr.
-
-
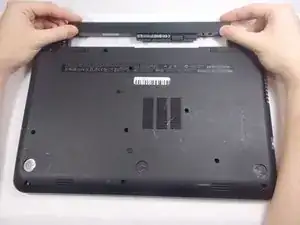
Carefully move the iFixit opening tool along the seam of wrist rest until you can remove it.
-
Remove the wrist rest once it comes loose from the body.
-
-
-
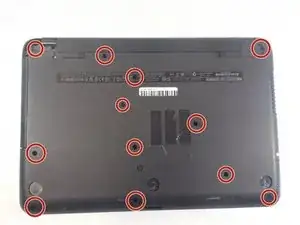
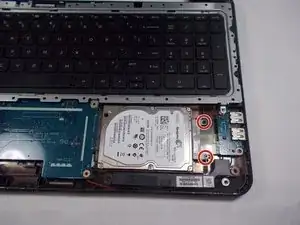
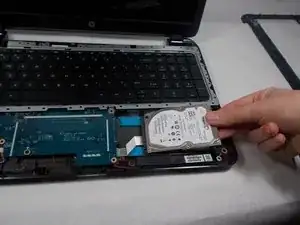
Remove the two screws with the Phillips #0.
-
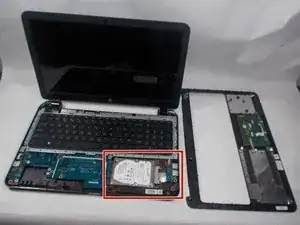
Gently pull the hard drive out of its SATA connection to the motherboard.
-
Attach the loose data cable to the new drive.
-
-
-
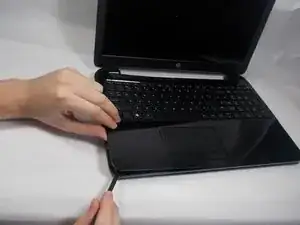
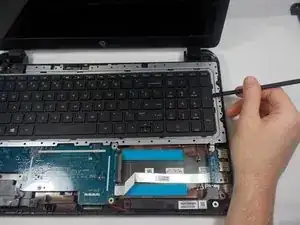
Use one of the plastic opening tools or spudger to lift the keyboard from its housing.
-
Slowly lift the keyboard at angle toward the left.
-
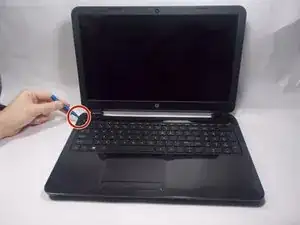
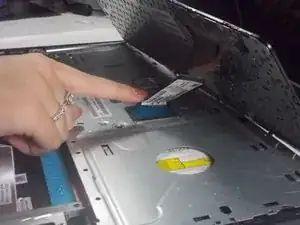
Just above the blue plastic connection to the motherboard is a clamp . Use your finger to lift this bar and release the cable.
-
-
-
Lift the keyboard with your hand being careful to unseat the ribbon cable with the blue tab.
-
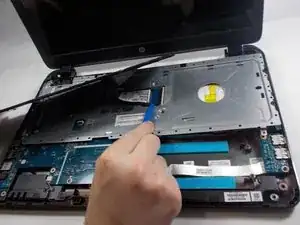
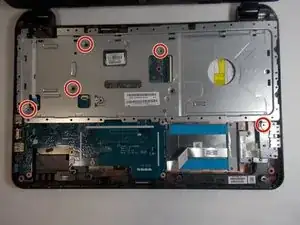
Use the Phillips #0 to remove the five highlighted screws.
-
Lift the plate off of the back of the motherboard.
-
-
-
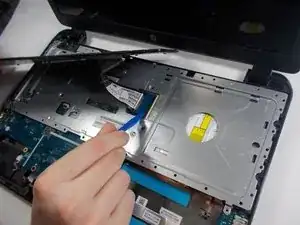
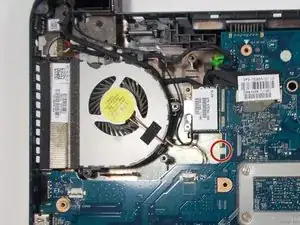
Remove the three screws connecting the fan to the motherboard with the Phillips #0.
-
Remove the fans connection to the motherboard.
-
-
-
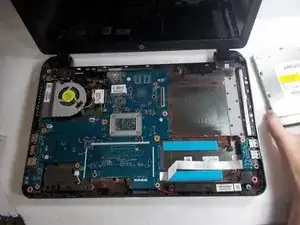
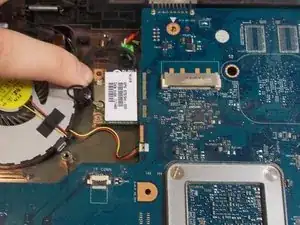
Carefully pull the wireless card from its interface with the motherboard.
-
The marked connector is the antenna's connection. Use two fingers to wiggle the connector loose from its fitting.
-
-
-
Remove the screen connector by pulling on the plastic tab.
-
Gently wiggle the connector side to side while pulling toward the battery.
-
-
-
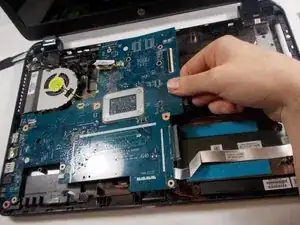
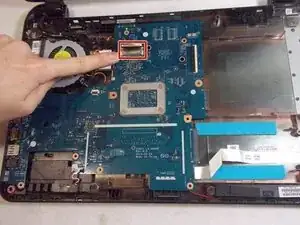
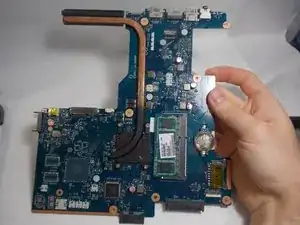
Slowly lift the motherboard by pinching on the middle of its right side.
-
Wiggle the motherboard side to side to remove.
-


To reassemble your device, follow these instructions in reverse order.