
Introduction
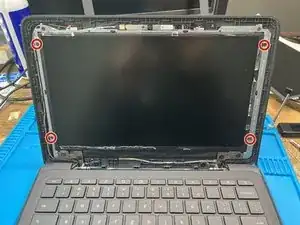
This guide will show you how to replace a broken or defective screen on a Chromebook 11 G6 EE.
Parts
-
-
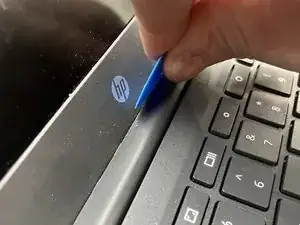
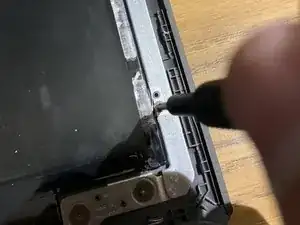
Push down on the seem between the hinge cover and bezel to release the clips holding the two together.
-
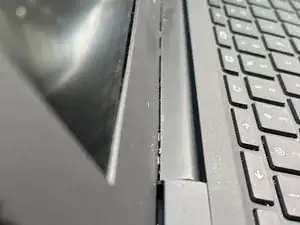
When successful, there will be a small seam visible, as shown in the second photo.
-
-
-
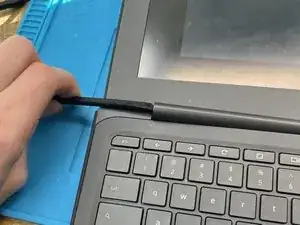
Open the computer to 180º to make it easier to remove the hinge cover
-
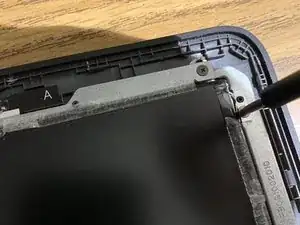
Insert a spudger into one side and pry up to remove the cover
-
-
-
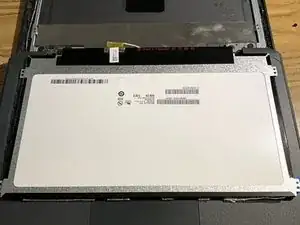
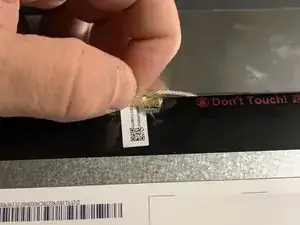
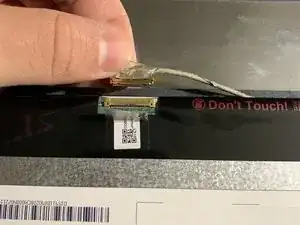
Slide the connector into the socket on the new screen.
-
The new screens do not come with the sticker. I recommend pulling the sticker off of the old screen and using it to hold the connector in place for the new screen.
-
Remove the protective film from the new screen and re-attach the screen with the screws.
-
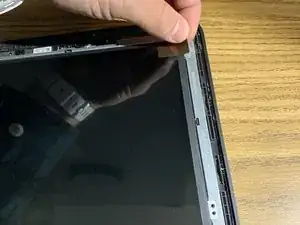
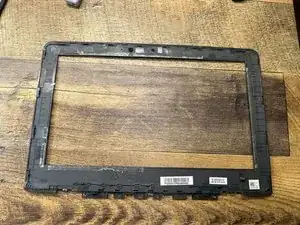
Snap the plastic frame back into place. It should snap back in very easily but be careful not to put extra pressure on the screen.
-
-
-
Before reattaching the bezel, we have to apply new adhesive tape to the inside edge in place of the old adhesive. Before that, we have to remove the old adhesive
-
The easiest way is to use the flat end of a fresh spudger to scrape the adhesive away. If it's being stubborn, a quick few seconds with a heat gun makes things a whole lot easier.
-
Add new tape
-


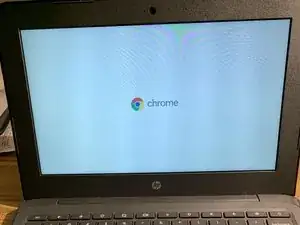

Check the screen to make sure it is functioning properly and be sure to check the camera to make sure the connection did not come loose during repair.