Introduction
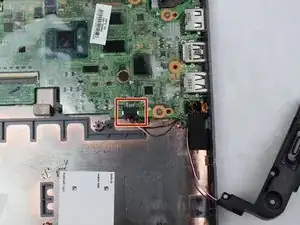
In this guide, you will be able to perform the process of removing and replacing your faulty or broken speakers. Both speakers are connected to a single wire plugged into the motherboard.
-
-
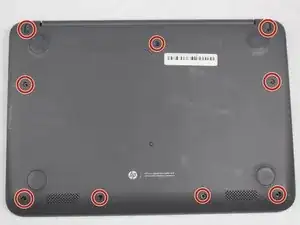
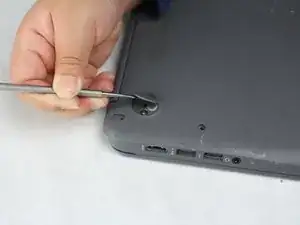
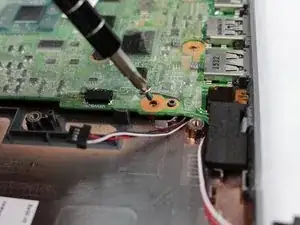
Position your closed laptop face down to remove the 9 visible 6mm screws using the Phillips #1 screwdriver.
-
-
-
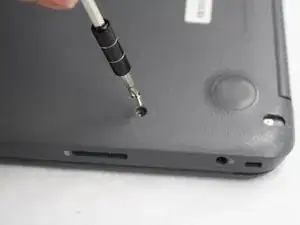
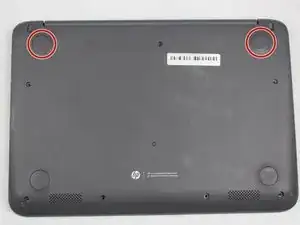
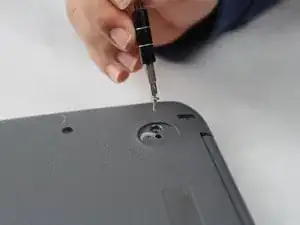
Using the metal spudger, remove the two rubber pads that are closer to the hinge of the laptop.
-
Remove the two additional 6mm screws located beneath the rubber pads using the Phillips #1 screwdriver.
-
-
-
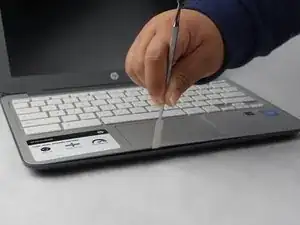
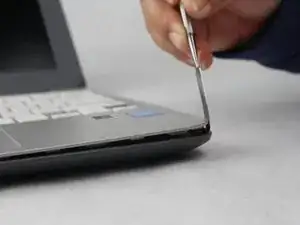
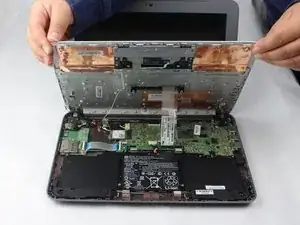
Turn the Laptop over and with the metal spudger start to run it along the plastic seam to pry it off.
-
-
-
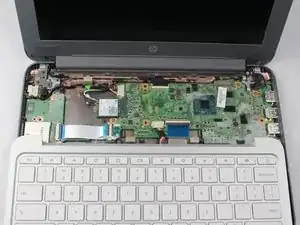
Carefully lift off the keyboard and gently place it towards you until the two ZIF ribbon wires become visible and place the keyboard down.
-
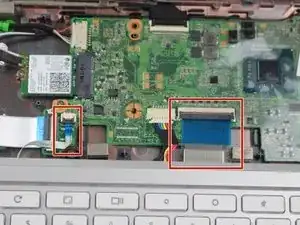
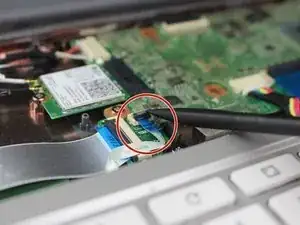
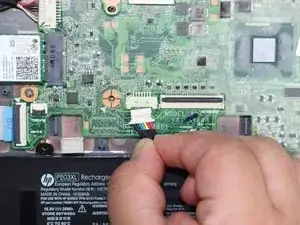
Locate where the two ZIF ribbon wires are connecting the keyboard to the motherboard in place by clasps.
-
-
-
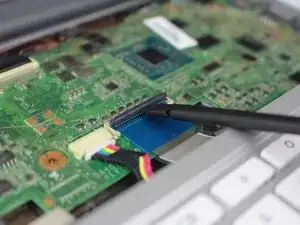
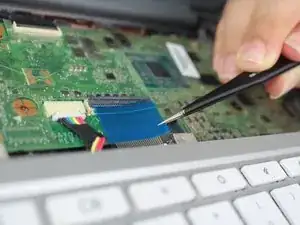
Using the nylon spudger, lift the plastic clasps holding the two ribbon wires up to properly disconnect the wires.
-
-
-
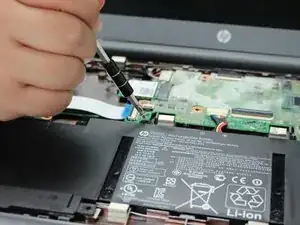
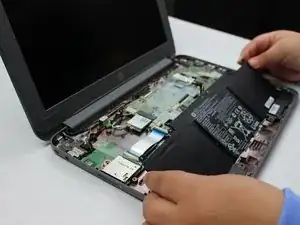
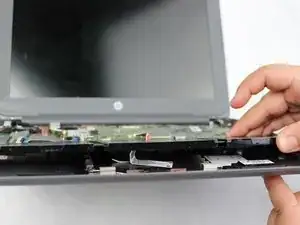
Carefully lift the battery and safely remove it out of the laptop.
-
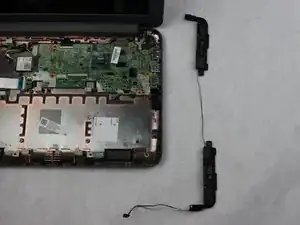
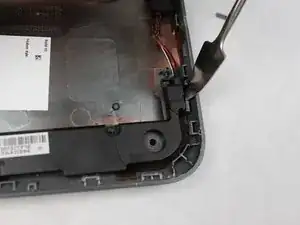
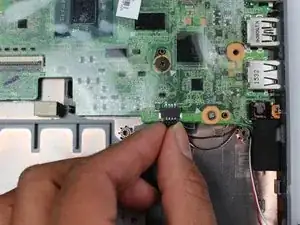
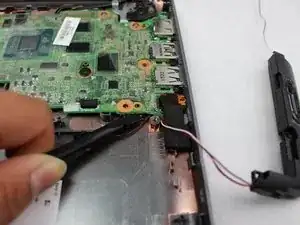
After the removal of the battery, the speakers will become accessible.
-
-
-
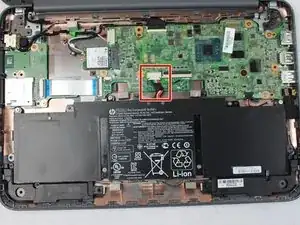
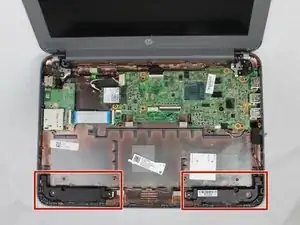
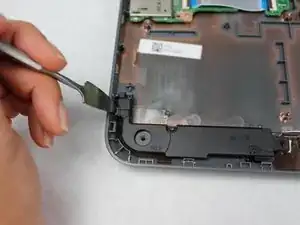
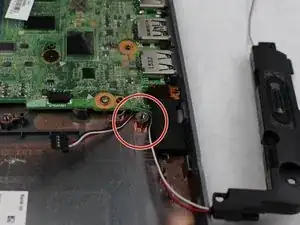
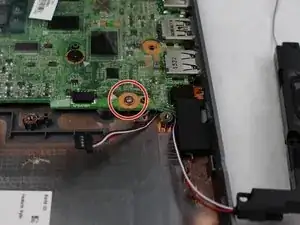
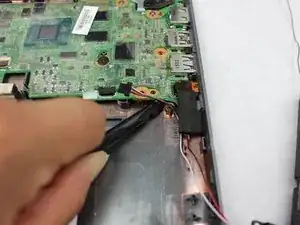
Use the metal spudger to release the LEFT speakers from the laptop.
-
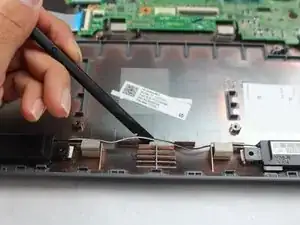
Use the metal spudger to release the RIGHT speaker from the laptop.
-


To reassemble your device, follow these instructions in reverse order.