
Introduction
If your laptop is overheating and there is no fan noise, it may be in need of a fan replacement. Follow these steps to do so.
-
-
Close the laptop and flip it so that the screen is on the surface of the table and the back plate is facing you.
-
Remove the 3.3 mm screw near the top of the hinge using a T5 Torx screwdriver.
-
Remove the remaining four 7.3 mm screws using the same screwdriver.
-
-
-
Separate the bottom cover from the laptop, starting from the upper corner and working your way around the edge.
-
-
-
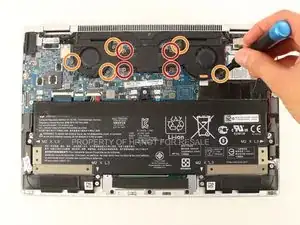
Use a Phillips #1 screwdriver to remove the four 3.5 mm screws near the middle of the fan assembly.
-
Use the same screwdriver to remove the remaining five 3.9 mm screws.
-
-
-
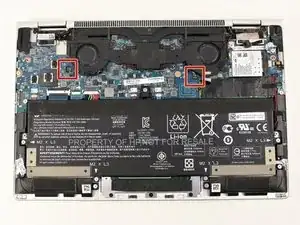
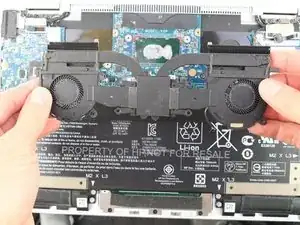
Before pulling the fan out, identify the two wires that are connected to the fan and to the motherboard.
-
For each, use plastic opening tool to lift the black wire housing upward out of its port.
-
-
-
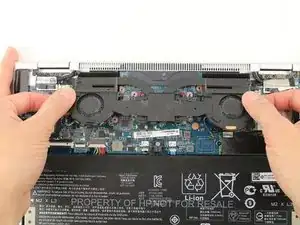
Slide the fan assembly toward you, and when the top edge of the fan is out of the vent grill, the fan is completely removed.
-


To reassemble your device, follow these instructions in reverse order.