Introduction
Use this guide to replace your hard drive. If you have determined that your hard drive is not working or if you want a hard drive with more storage space, it may be time to replace it.
-
-
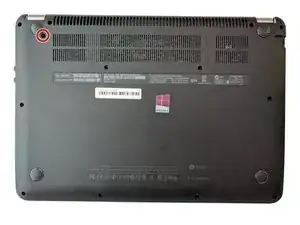
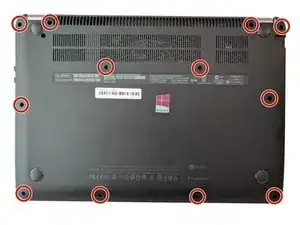
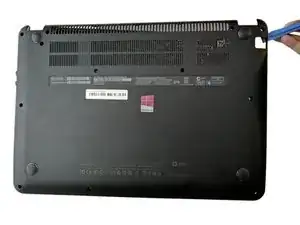
Use the plastic opening tool (which is short and has a thin end for prying open device parts) to pry open the back case of the device.
-
-
-
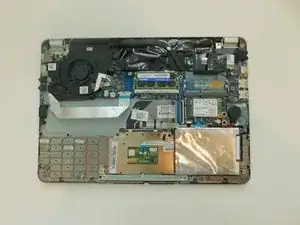
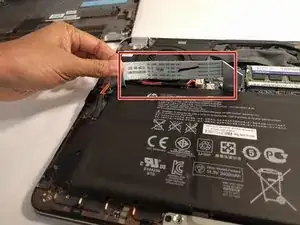
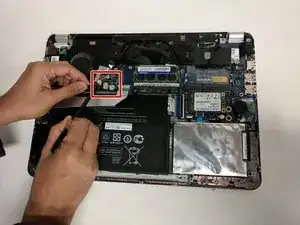
Use the flat end of a plastic spudger to disconnect the battery cable from its socket in the motherboard.
-
-
-
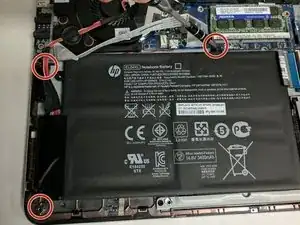
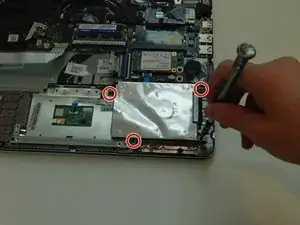
Unscrew and remove the three 4.0 mm Phillips-head screws that hold the battery in place, using a Phillips #1 screwdriver.
-
-
-
Remove the four 4.0 mm screws that hold down the hard drive case using a Philips #1 Screwdriver.
-
Move the hard drive case and hard drive so that you can easily reach the hard drive cable.
-
-
-
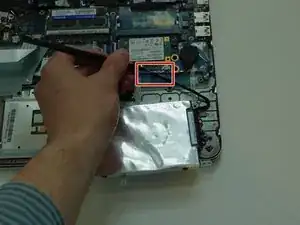
Use the plastic spudger tool to loosen the hard drive SATA cable connection by pushing it away from the motherboard.
-
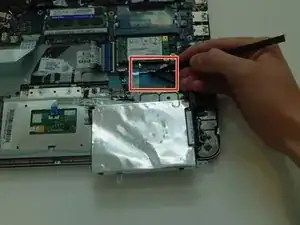
Once it is loose, pull the hard drive out of the socket.
-
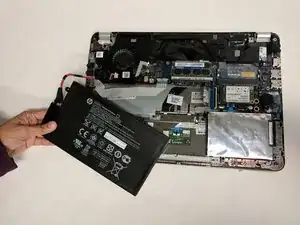
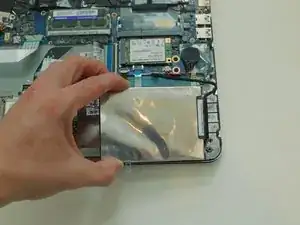
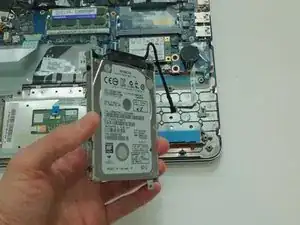
Remove the hard drive from the device.
-
-
-
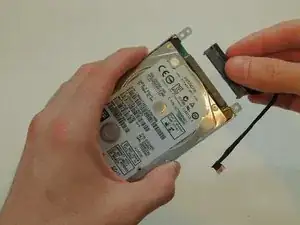
Pull out the hard drive cable from the hard drive, and set it aside.
-
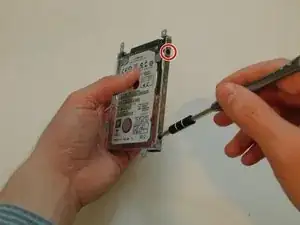
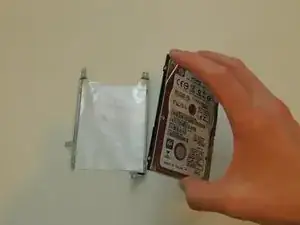
Remove the four 3.0 mm screws that attach the hard drive case to the hard drive using a Philips #1 Screwdriver. If the screwdriver is too big, try #0 sized screwdriver.
-


To reassemble your device, follow these instructions in reverse order.