Introduction
The hard drive can wear out over time. This guide will show how to remove the hard drive inside the device.
-
-
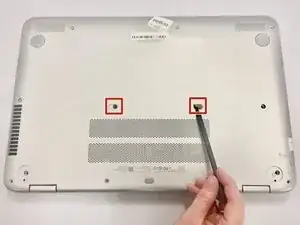
Pry off the 2 rear rubber pads (closest to the laptop hinge) using the plastic opening tool to reveal two screws.
-
Remove the 2 anti-tamper proof covers using the spudger to reveal two screws.
-
-
-
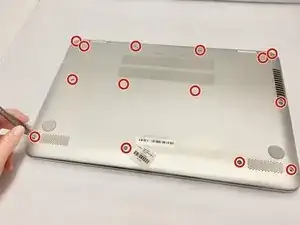
Remove the fourteen 7mm screws using the Phillips #0 screwdriver from the bottom of the laptop.
-
-
-
Turn the device right side up and open the lid.
-
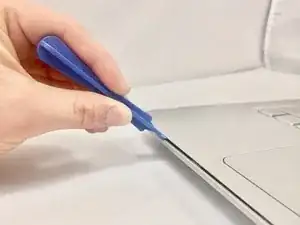
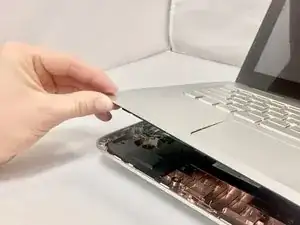
Insert the plastic opening tool in between the keyboard plate and the base of laptop.
-
Run the tool along seem, prying up as you go.
-
Separate the keyboard plate from the base, lifting from the front.
-
-
-
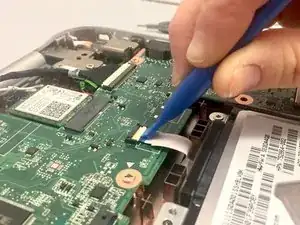
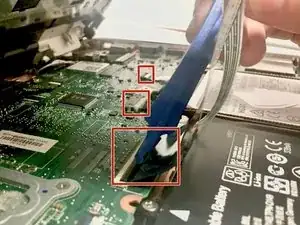
There are 3 ribbon cables (black, white, and copper color) connecting the computer to the keyboard plate. Disconnect the 3 ribbon cables using the plastic opening tool by prying up the latches holding each cable in place.
-
Remove the keyboard plate from the device.
-
-
-
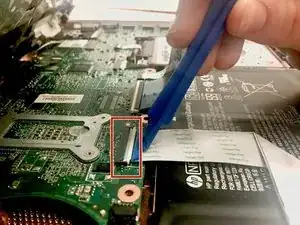
Remove the thick white ribbon cable covering the battery using the plastic opening tool by prying up the latches attaching each end.
-
-
-
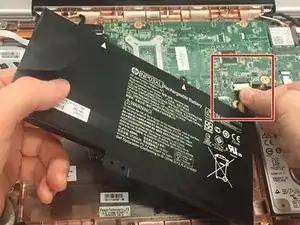
Disconnect the battery from the motherboard.
-
There may be tamper-proof tape holding the battery in place. Remove the tape if present.
-
Remove the battery from the device.
-
-
-
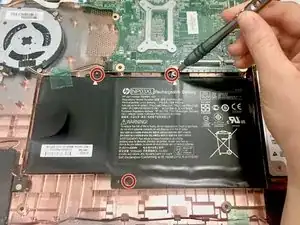
On the back panel of the device, remove the four (4) M2.5xL6 screws at the top of the photo Phillips #0 screwdriver.
-
Unscrew the three (3) screws at the bottom of the photo using a T5 Torx screwdriver.
-
-
-
Remove the back cover by using the black spudger to lift up on the edges of the cover.
-
Using a suction cup to assist in lifting the back cover.
-
-
-
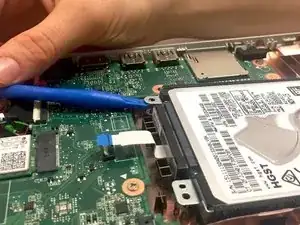
Using the Philips #0 screwdriver, remove the final screw from the battery connected to the SSD storage unit.
-
Lift and pull the front of the battery up and out (away from the connector) to remover.
-
-
-
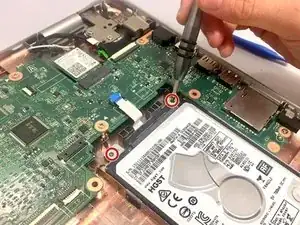
Using a Philips #0 screwdriver, remove the three M2x4 screws located around the cooling fan.
-

To reassemble your device, follow these instructions in reverse order.