Introduction
Make sure the device is powered off and is not attached to any electronics.
-
-
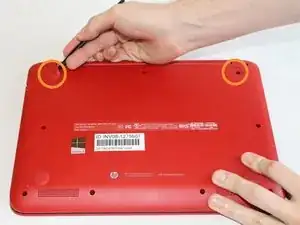
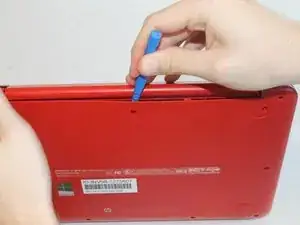
Use the spudger to pry off the two rubber feet near the hinge of the laptop. This will reveal two hidden 9mm screws.
-
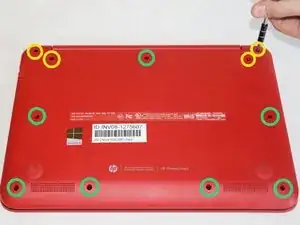
You must remove eleven screws.
-
Four 9mm screws with the PH0 screwdriver.
-
Seven 6mm screws with the PH0 screwdriver.
-
-
-
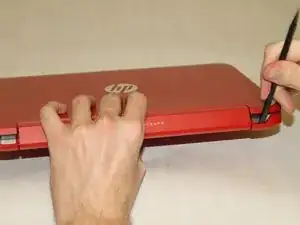
Use the spudger to pry the corners of the laptop near the display hinges.
-
Pry around the seam of the laptop with the plastic opening tool until the backing begins to pull apart.
-
-
-
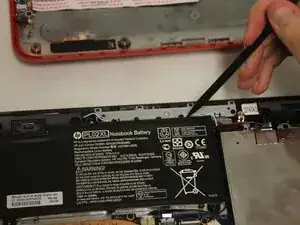
Use the plastic opening tool to lift the white tab up at the connection.
-
Pull the cable outwards.
-
-
-
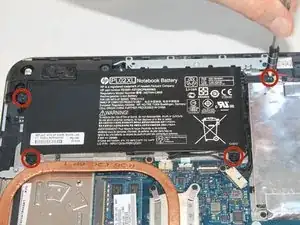
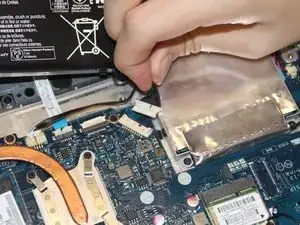
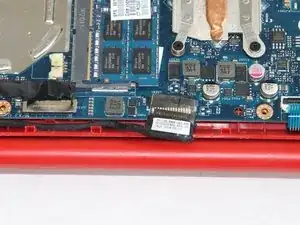
Remove the battery cable from the motherboard by gently pulling out on the black part of the cable closest to the white tab.
-
-
-
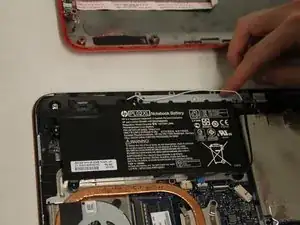
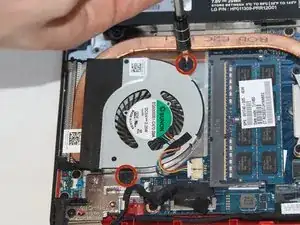
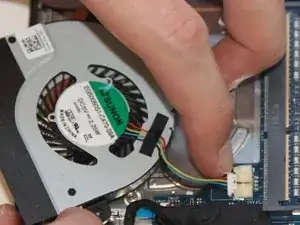
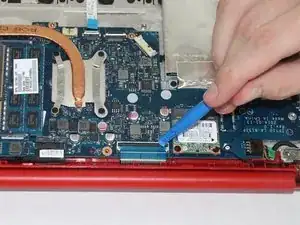
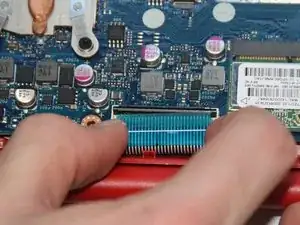
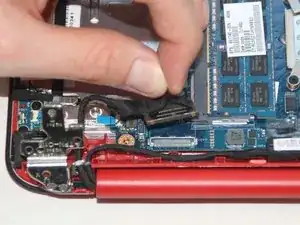
Use your fingernails to slowly loosen the fan connection cable.
-
After the cable is slightly pulled from the connection, grab the cable and pull it outwards.
-
-
-
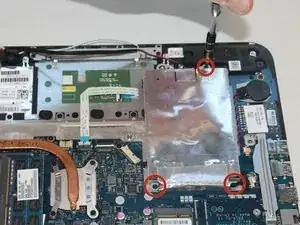
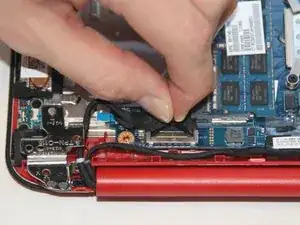
Remove the three 3mm screws using the PH0 screwdriver.
-
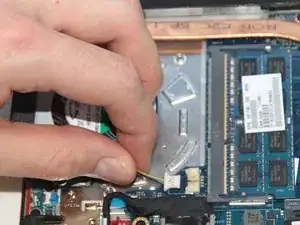
Pull the hard drive slightly away from the connection to easily disconnect the hard drive cable from the motherboard.
-
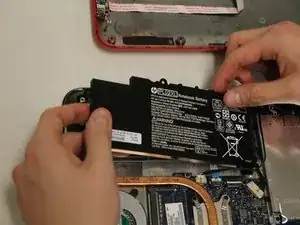
Remove the hard drive.
-
-
-
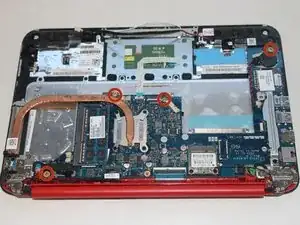
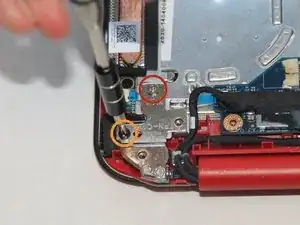
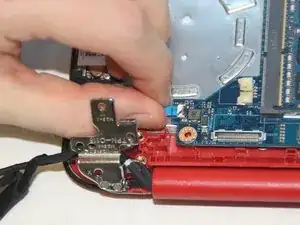
Remove the two screws from the metal hinge on the power button side using the PH0 screwdriver.
-
One silver 4mm screw
-
One black 5mm screw
-
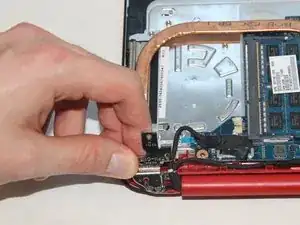
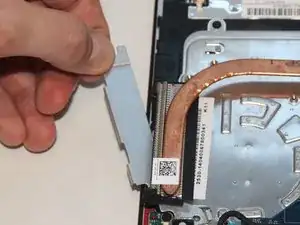
Lift up the hinge to remove the metal bracket underneath.
-
-
-
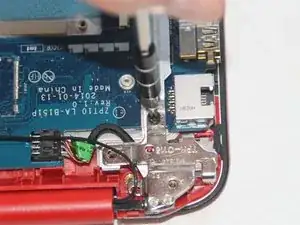
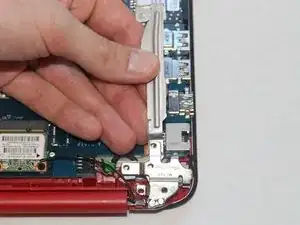
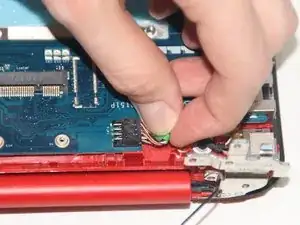
Remove one 3mm screw using the PH0 screwdriver from the metal hinge located on the power connector side of the computer.
-
Lift up the hinge with some force to remove the metal bracket underneath.
-
-
-
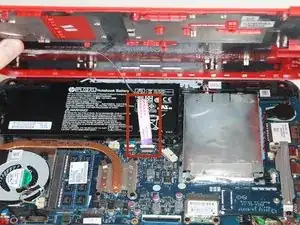
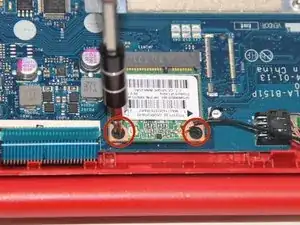
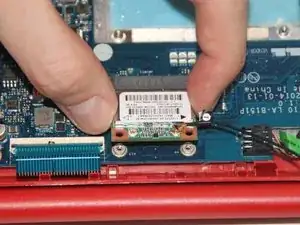
Unscrew the two 3mm screws with the PH0 screwdriver.
-
Pull the wireless card out of its port to disconnect it from the motherboard.
-
-
-
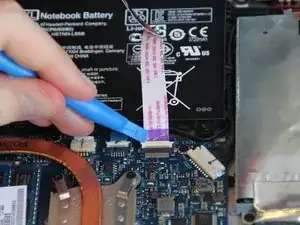
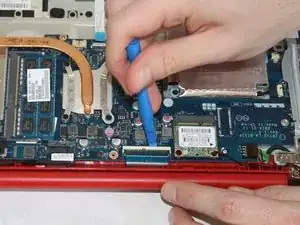
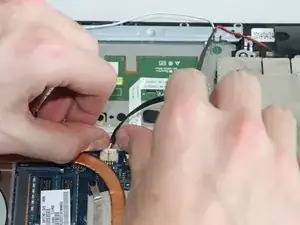
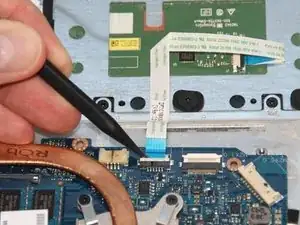
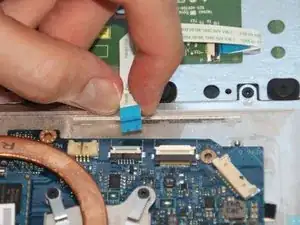
Push the black tab away from the hinge of the laptop.
-
After the black tab has been flipped, pull out the blue cable to disconnect the keyboard cable.
-
-
-
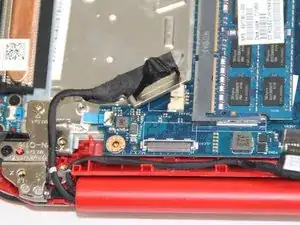
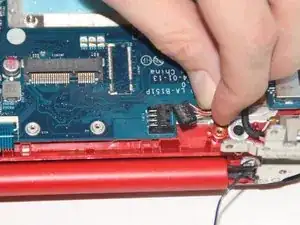
Pull the cable horizontally away from the motherboard to disconnect the power button board cable.
-
-
-
Pull the cable horizontally away from the motherboard to disconnect the power connector cable.
-
-
-
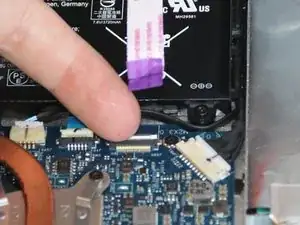
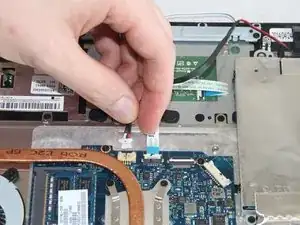
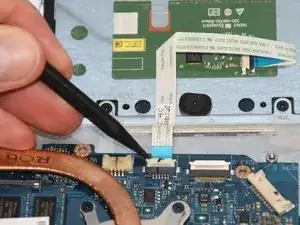
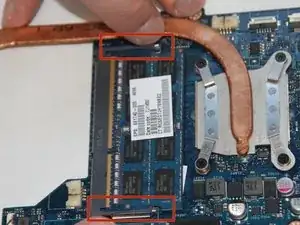
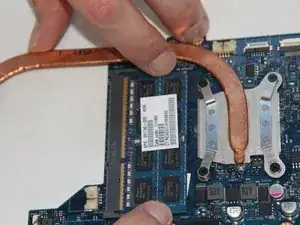
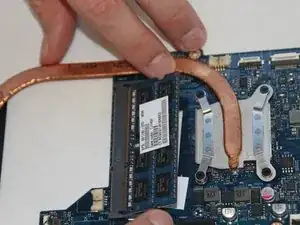
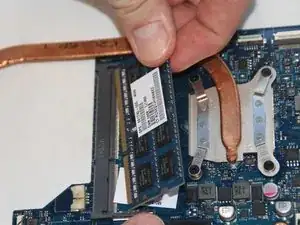
Push the white tab up toward the hinge of the laptop.
-
Disconnect touch pad cable by pulling up and away from the motherboard.
-
-
-
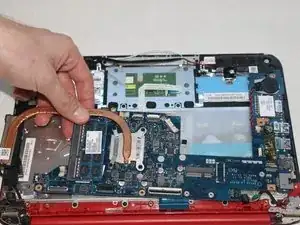
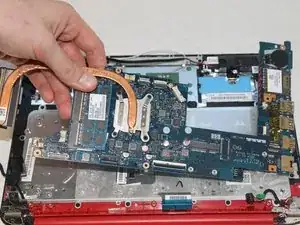
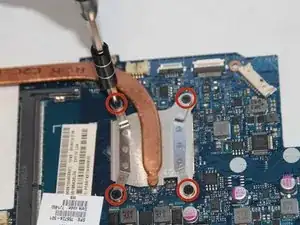
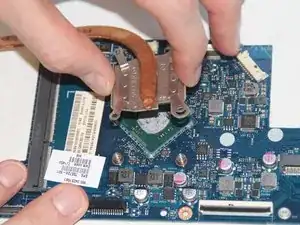
Remove the four 3mm screws using the PH0 screwdriver.
-
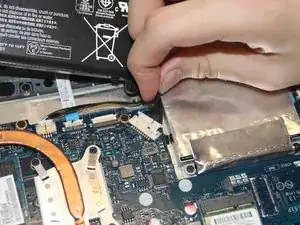
Lift up the heat sink to remove it from the motherboard.
-


To reassemble your device, follow these instructions in reverse order.
One comment
La tarjeta madre soportara un intel core i5?