
Introduction
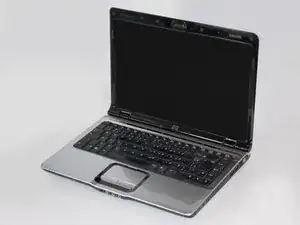
Use this guide to replace a broken display assembly.
-
-
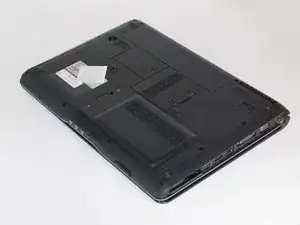
Locate the battery compartment at the rear of the device.
-
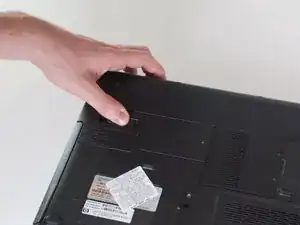
There is a slider button located under the left side of the battery compartment. It is indicated by a battery symbol. Move the slider to the left and lift the battery out.
-
-
-
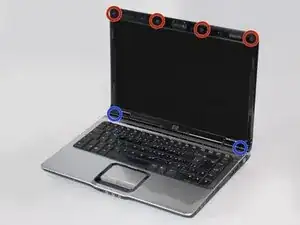
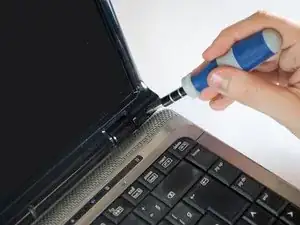
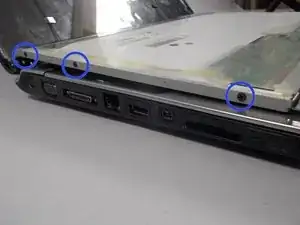
Remove the 6 rubber screw covers and screws, found around the edge of the laptop screen, surrounded in red and blue.
-
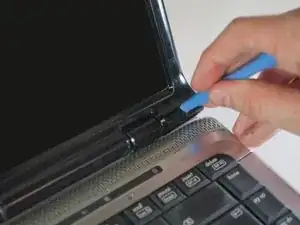
Use the plastic opener tools to remove the screw covers. Just apply firm pressure to the edges to pop the screw covers out, they are attached with a light adhesive.
-
There are four 2.5mm X 4mm-L Phillips #0 screws along the top.
-
There are two 2.5mm X 8mm-L Phillips #1 screws along the bottom.
-
-
-
Now we must remove the plastic panel.
-
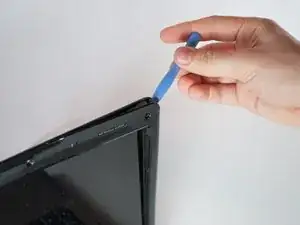
Slide a plastic opener tool along the outside edges of the front screen panel, separating it from the screen. You may need to apply some firm pressure.
-
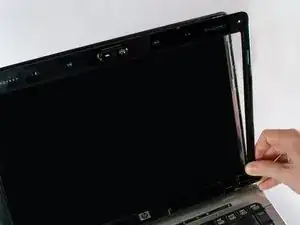
Once the panel is separated from the screen, gently pull it off and set it aside.
-
-
-
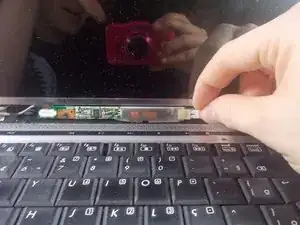
Locate the inverter at the bottom of the screen.
-
Disconnect the back light plug cable on the right side of the inverter by holding the inverter in place and pulling firmly on the connector.
-
-
-
Now remove the final four screws holding the screen in place.
-
Remove the four 2.5mm X 6mm-L Phillips #0 screws from the lower left and right hand sides of the screen.
-
-
-
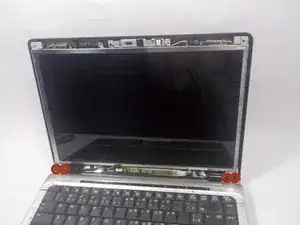
Remove the screen from the back screen panel.
-
Set the screen facing down gently onto the keyboard.
-
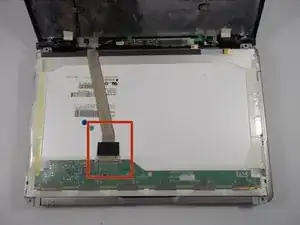
Now that the screen is placed face down onto the keyboard we are going to remove the wire connecting the screen to the device.
-
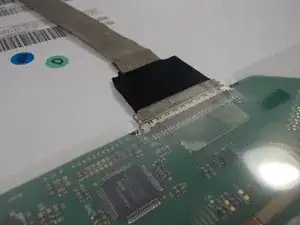
The wire is held on by an adhesive tape that must be lifted with the spudger tool.
-
Once the tape is lifted, slide your finger under and gently pull up the rest of the tape to free the wire.
-
Gently pull the wire towards the back of the device and the screen will now be free.
-
-
-
Finally we must remove the metal mounting hardware attached to the screen.
-
Remove the six 2mm X 3mm-L Phillips #0 screws.
-
There are three on each side of the display
-
Set aside the metal hardware and your display is now separated from the device!
-


To reassemble your device, follow these instructions in reverse order.