Introduction
Be sure to wear the anti-static guard strap, as you will be coming into contact with circuitry, and static electricity would permanently damage it.
-
-
Flip over the device so that the bottom is facing you.
-
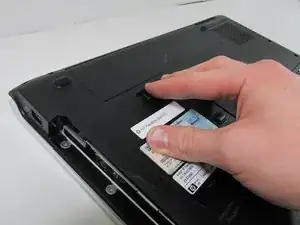
Locate the battery on the bottom of your laptop.
-
-
-
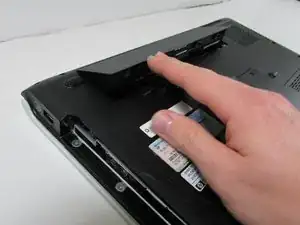
Slide the tab all the way over to the left until battery pops out. Lift out and remove battery.
-
-
-
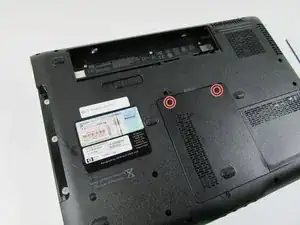
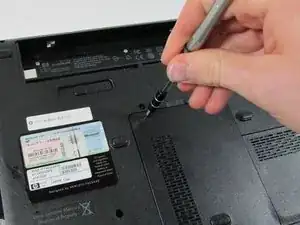
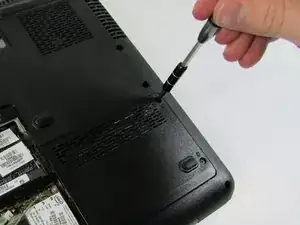
Use a Phillips #00 screwdriver to remove the two screws securing Hard Disk Drive (HDD) cover.
-
-
-
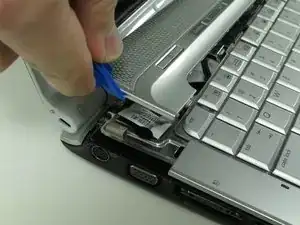
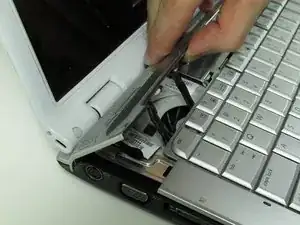
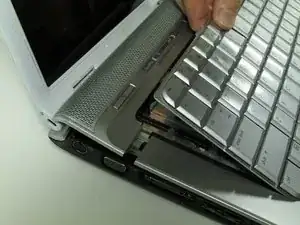
Pull out and up on keyboard to remove it.
-
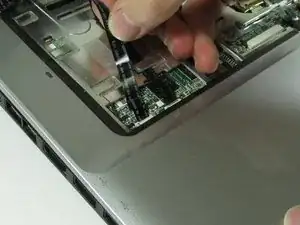
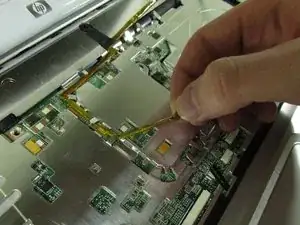
Slide the two black locks on the side of the keyboard cable connection port up to release the cable.
-
Grip the ribbon cable near the connection point and gently but firmly pull it out.
-
-
-
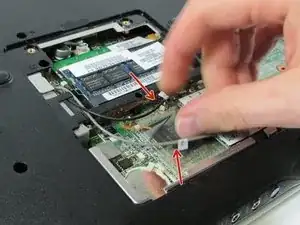
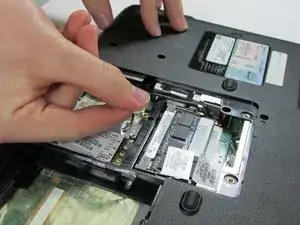
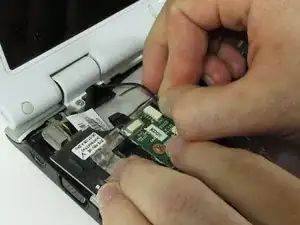
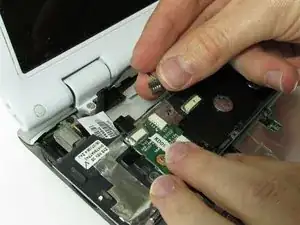
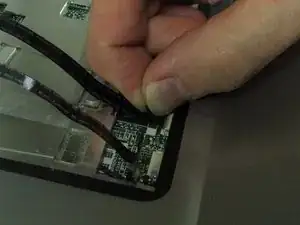
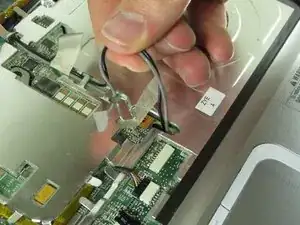
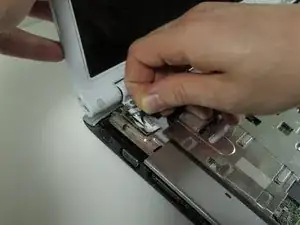
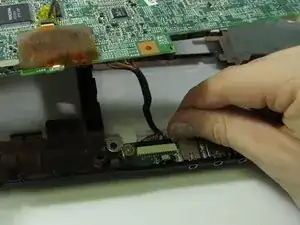
Disconnect the connector from the port.
-
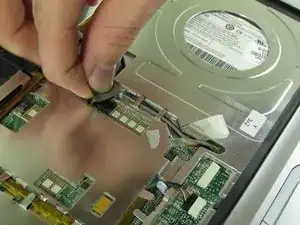
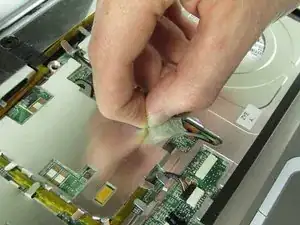
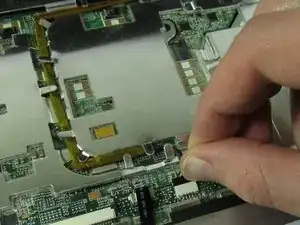
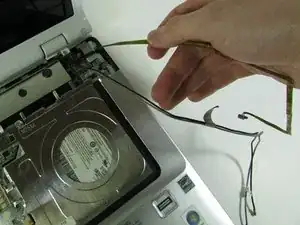
Remove the wire from under the metal tabs.
-
Let wire hang loose after removing under the tabs.
-
-
-
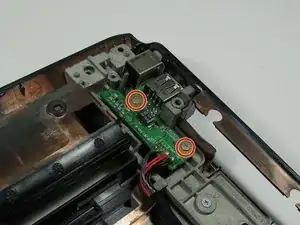
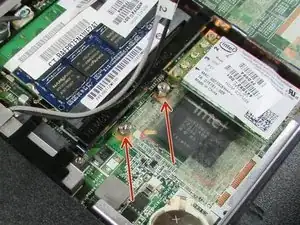
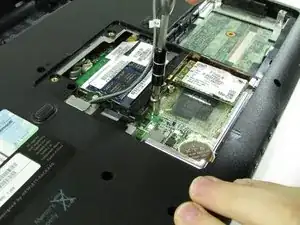
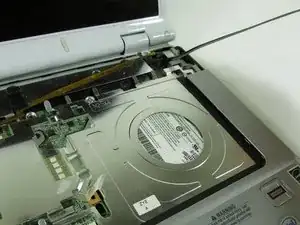
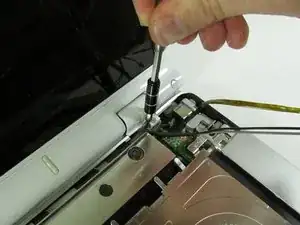
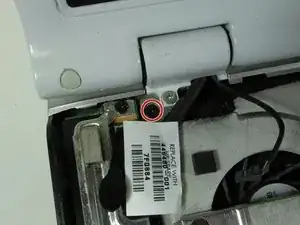
Use a Phillips #00 screwdriver to remove the black screw located in the top right corner near the display.
-
-
-
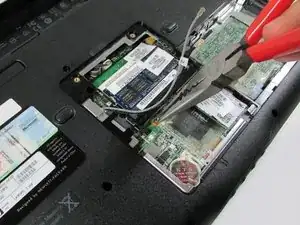
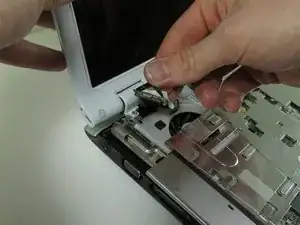
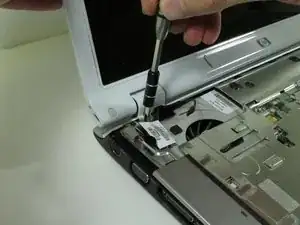
Use a Phillips #00 screwdriver to remove the black screw securing the screen.
-
Lift the screen off and set it aside.
-
-
-
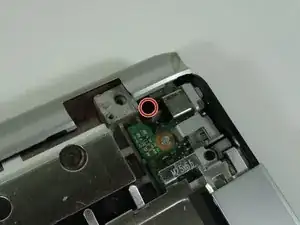
Unscrew the black screw in the top right corner using the Phillips #00 screwdriver.
-
Pull up on the top piece and remove it.
-
-
-
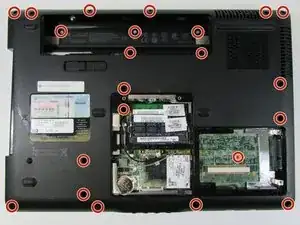
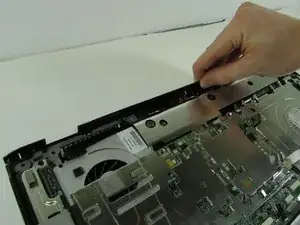
Remove the screw in top left corner using the Phillips #00 screwdriver
-
Remove the five screws that are located on the motherboard cover.
-
Pull up on the cover to remove it.
-
-
-
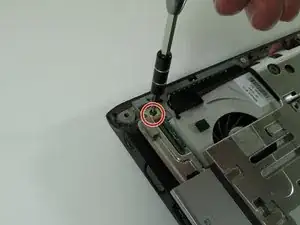
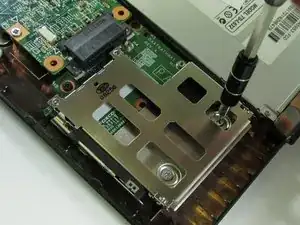
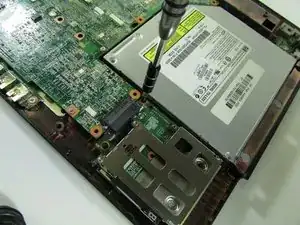
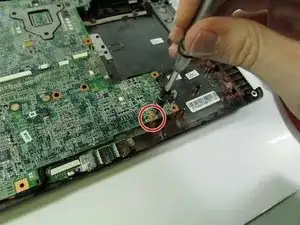
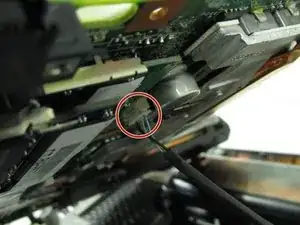
Using the Phillips #00 screwdriver, remove the one screw near where the ExpressCard component was.
-
-
-
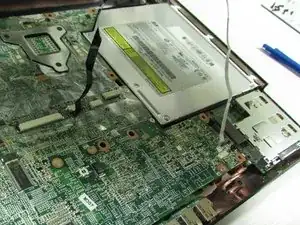
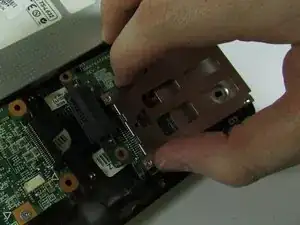
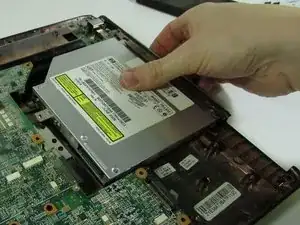
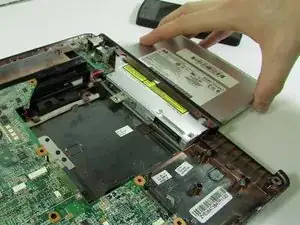
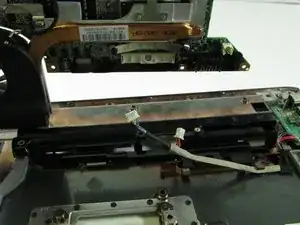
Lift up and out the motherboard.
-
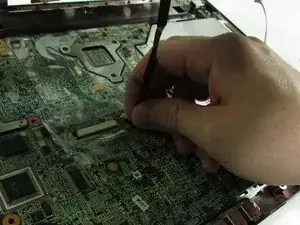
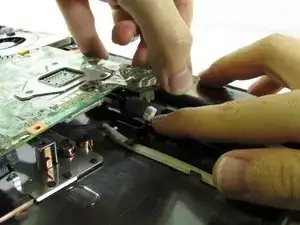
Detach the connector under the motherboard.
-
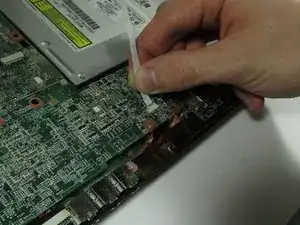
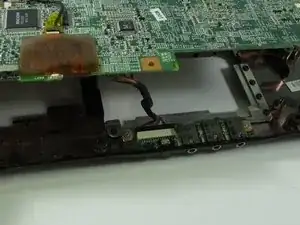
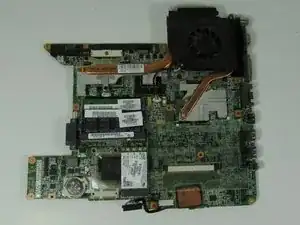
Remove the motherboard.
-


To reassemble your device, follow these instructions in reverse order.