Introduction
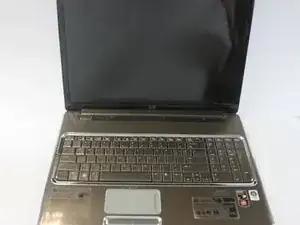
This guide provides instructions for replacing the motherboard of the laptop. If your laptop is not starting correctly, replacing the motherboard may provide a solution to these issues.
-
-
Make sure the computer is unplugged and turned off.
-
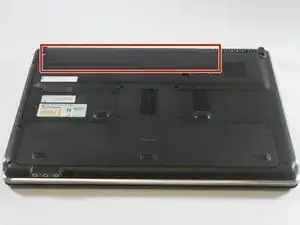
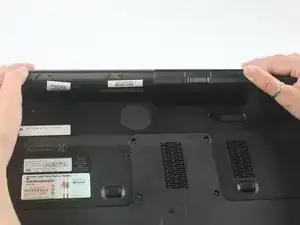
Place the computer front side down with the battery compartment farthest away.
-
-
-
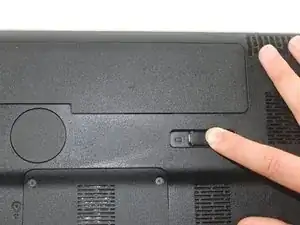
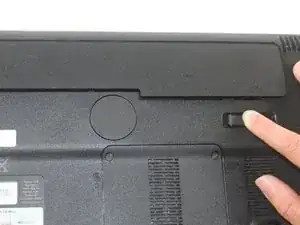
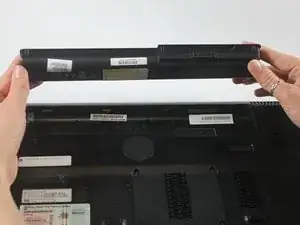
Slide the switch under the battery compartment to the left until the compartment opens. This may require some force.
-
-
-
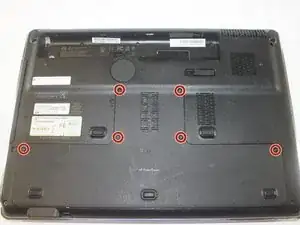
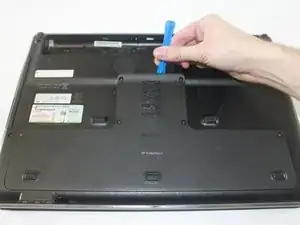
Unscrew the six Phillips PM2.5×6.0 captive screws with a Phillips #00 screwdriver.
-
Pry the back casing up and away from the rest of the laptop with the plastic opening tool.
-
-
-
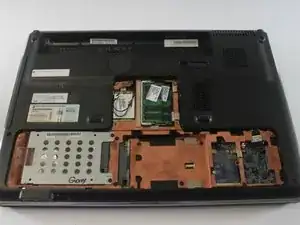
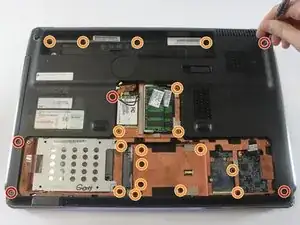
Remove the five Phillips PM2.5×7.0 screws with a Phillips #00 screwdriver.
-
Remove the 17 Phillips PM2.5×3.0 screws with a Phillips #00 screwdriver.
-
-
-
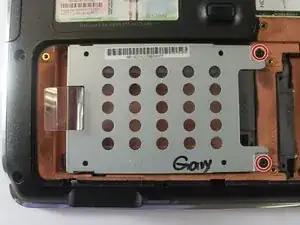
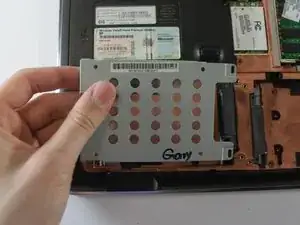
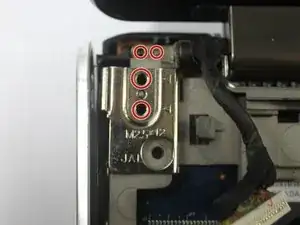
Remove the grey mounting bracket by unscrewing the two Phillips PM2.5×3.0 screws with a Phillips #00 screwdriver.
-
Slide the bracket to the left to remove.
-
-
-
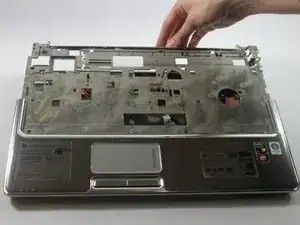
Turn the laptop over and open it so that the keyboard is exposed.
-
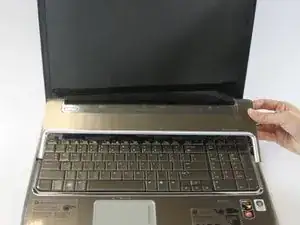
Lift off the speaker cover.
-
-
-
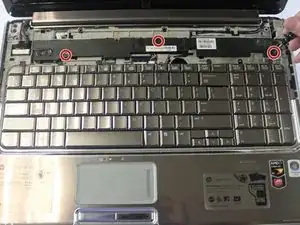
Remove the three Phillips PM2.5×3.0 screws, located on the speaker, with a Phillips #00 screwdriver.
-
-
-
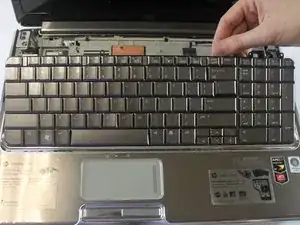
Remove the four Phillips PM2.0×4.0 screws with a Phillips #00 screwdriver.
-
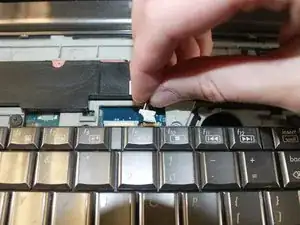
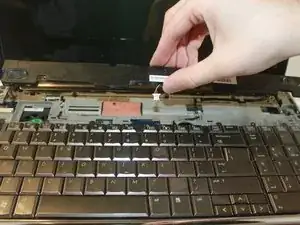
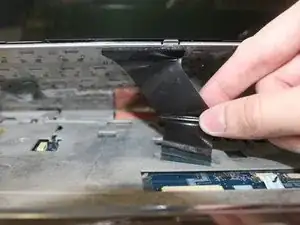
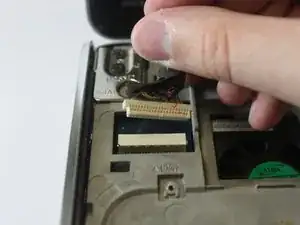
Partially lift the keyboard to access the ribbon cable underneath.
-
-
-
Disconnect the black zero insertion force connector in order to completely remove the keyboard.
-
-
-
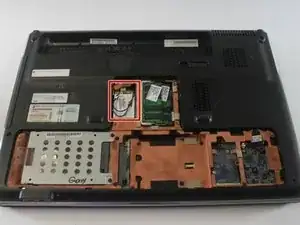
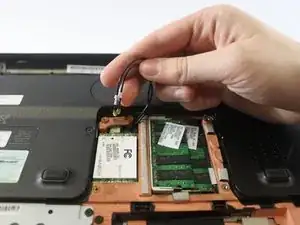
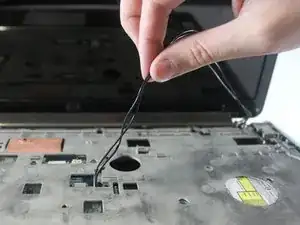
Unhook the black WLAN antenna cables from the clasps holding it in place.
-
Pull up to fully disconnect the ends of the WLAN antenna cables.
-
-
-
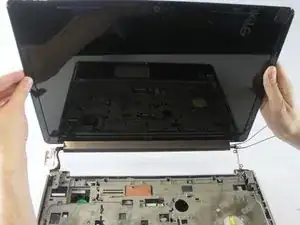
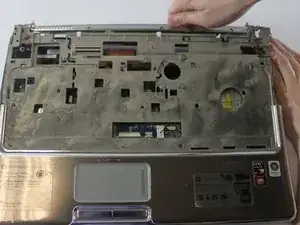
Remove the seven Phillips PM2.0×4.0 screws from the base of the screen with a Phillips #00 screwdriver.
-
Lift up the screen to remove it from the rest of the laptop.
-
-
-
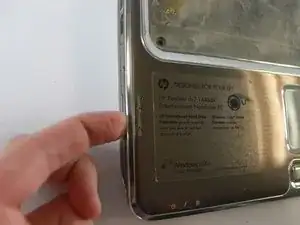
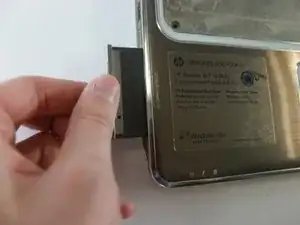
Press in on the silver cover in order to eject the dust cover.
-
Pull the plastic dust cover to completely remove it from the laptop.
-
-
-
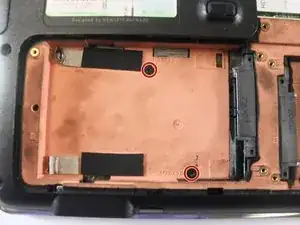
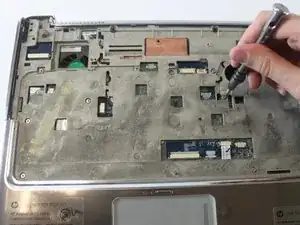
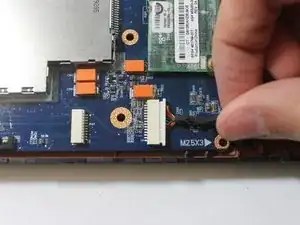
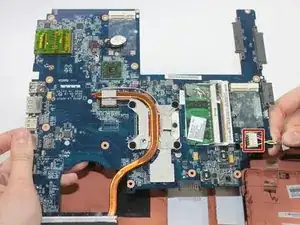
Remove the six PM2.5X5.0 screws with a Phillips #00 screwdriver.
-
Next, remove the six PM2.5X2.0 screws with a Phillips #00 screwdriver.
-
-
-
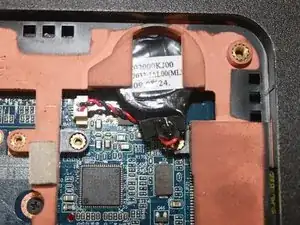
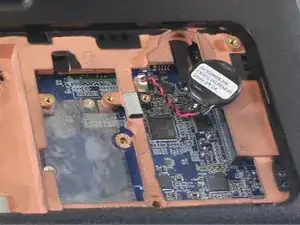
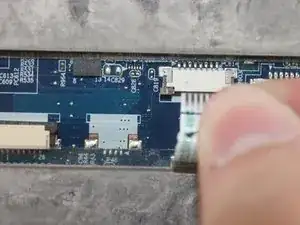
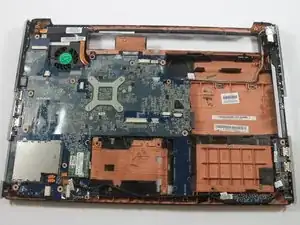
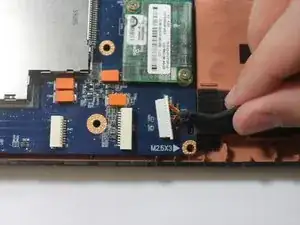
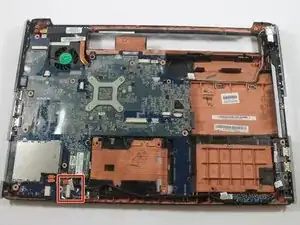
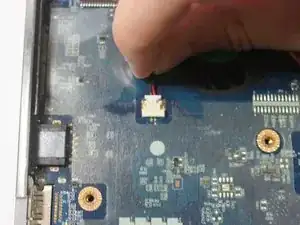
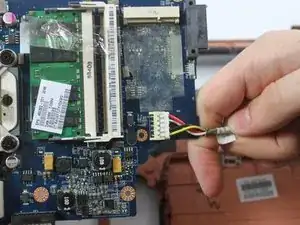
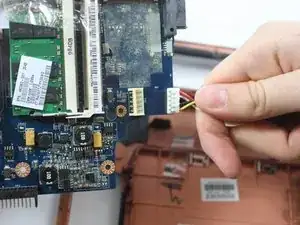
Rotate the motherboard so that the backside is now facing upward. It should still be connected by a single cable.
-
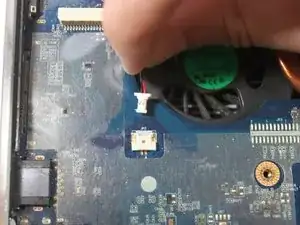
Unplug the white power connector cable. The motherboard is now fully removed.
-


To reassemble your device, follow these instructions in reverse order.
One comment
This gets the east repairable laptop award.