Introduction
This guide will give you step-by-step instructions on how to replace your display assembly. Make sure you have a clean, dry, uncluttered, and roomy work space that has good lighting before you start. Also, make sure that your display assembly actually needs to be replaced by consulting our troubleshooting guide.
-
-
Turn the computer upside down.
-
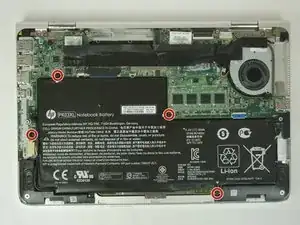
Use the T5 Torx Screwdriver to remove the eight 3.3 mm screws.
-
-
-
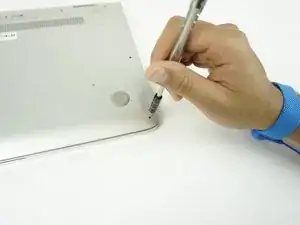
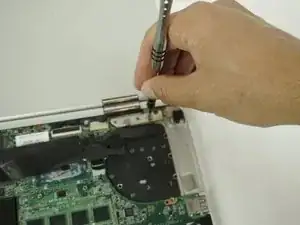
Use an opening tool to pry up and loosen the back case from the laptop.
-
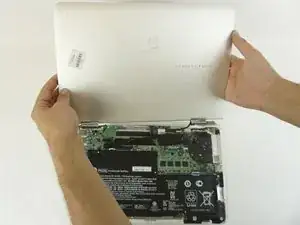
Remove the back case.
-
-
-
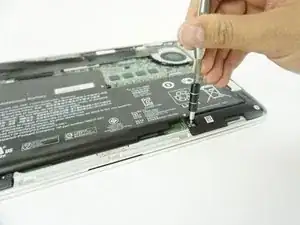
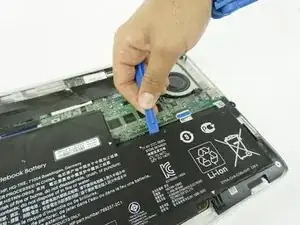
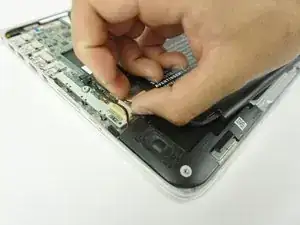
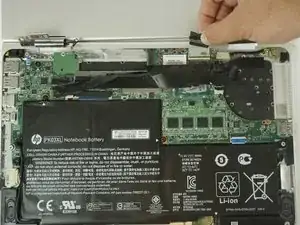
Peel off the adhesive on the left side of the battery holding the speaker wire down.
-
Move the battery slightly to gain access to the battery plug, located on the left edge of the battery.
-
Carefully unplug the battery by pulling the connector towards the battery.
-
Remove the battery.
-
-
-
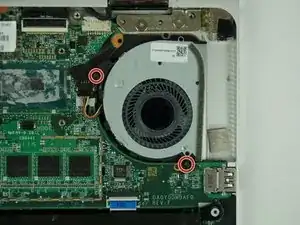
Remove the two 2mm Phillips #00 screws from the fan.
-
Disconnect the fan from the motherboard.
-
-
-
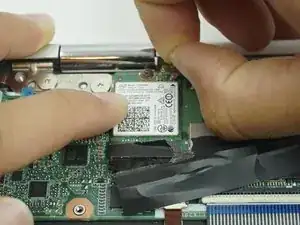
Using minimal force, disconnect both WiFi antennae cables.
-
Remove the single Phillips #00 screw that secures the WiFi card.
-
Slide the WiFi card up until it is completely removed.
-


To reassemble your device, follow these instructions in reverse order.

2 comments
You forgot to mention that some people may have to remove the heatsink like I did before the screen will come off.
Anyone have any tips on reconnecting the WIFI antennas? I finally gave up and just decided to get a USB dongle… worked out well otherwise. I did also have to remove the heatsink like Wargaming Super Noob mentioned.