Introduction
This guide covers the accessing and replacing of the wireless card in an HP Stream 13-c002dx.
Parts
-
-
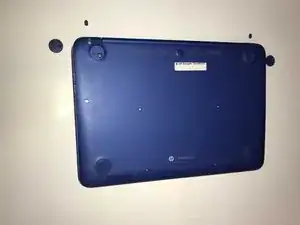
Flip the laptop over so the bottom is facing up.
-
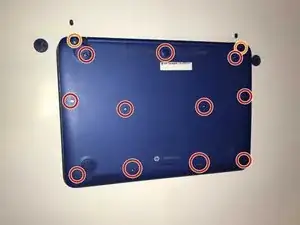
Use your Phillips #0 screwdriver to remove the eleven visible 5 mm screws on the back of the laptop.
-
Unscrew the two remaining 2.5mm screws. Keep these screws separate from the first eleven 5mm screws.
-
-
-
Using a spudger, separate the keyboard surface from the bottom of the laptop.
-
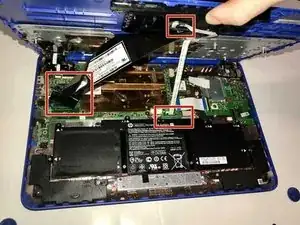
While lifting the keyboard surface from the bottom, you will notice three cables still attaching them together. Gently unplug each of these cables from the motherboard.
-
Remove the keyboard assembly.
-
-
-
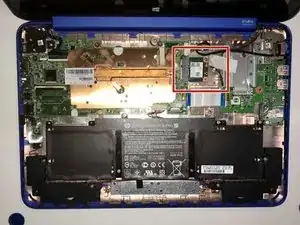
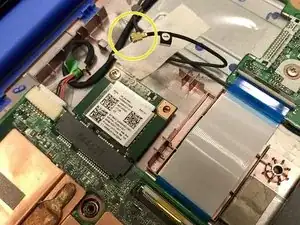
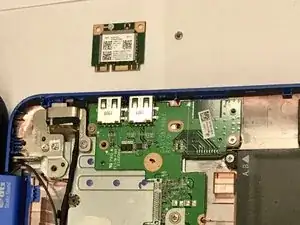
Inside the laptop you will notice the wireless card located in the upper middle. This will be what you are replacing.
-
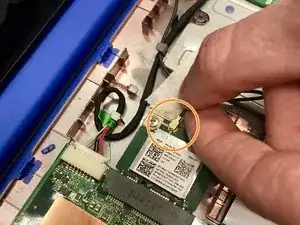
Attached to the Wi-Fi card is a black wire that must be removed. Using your hand, lift gently on the wire as close as you can to where it connects to the Wi-Fi card.
-
Once the wire is removed, set it aside so it does not get damaged.
-
-
-
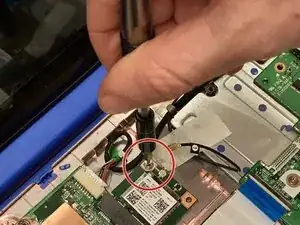
Remove the screw holding the wireless card in place.
-
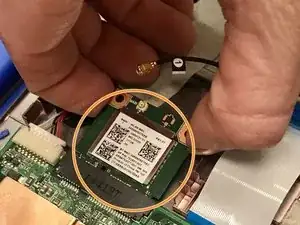
With the screw removed, gently pull back the Wi-Fi card and then lift it out of the laptop. You are now ready to insert the new wireless card.
-


To reassemble your device, follow these instructions in reverse order.