Introduction
This guide will explain how to install / remove the screen cover from the HTC Wizard 200.
-
-
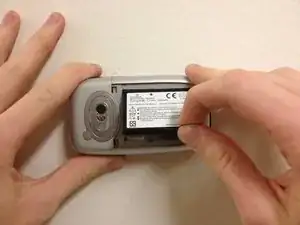
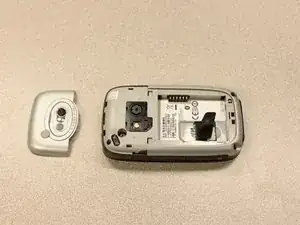
To expose the battery, remove the outer case with your fingernail.
-
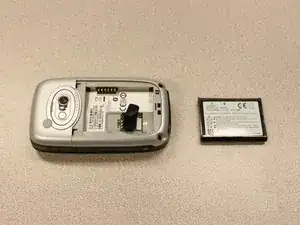
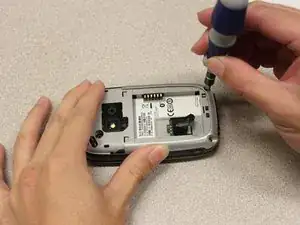
Remove the battery by pulling the black tab.
-
-
-
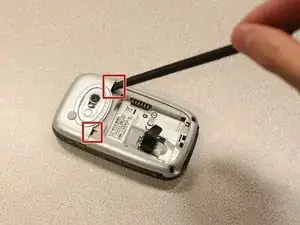
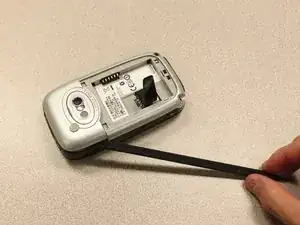
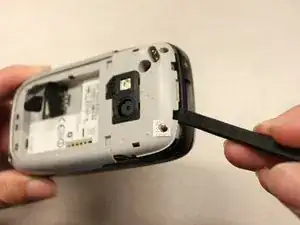
Insert the flat end of an iFixit opening tool between the side and inner covers to create a gap.
-
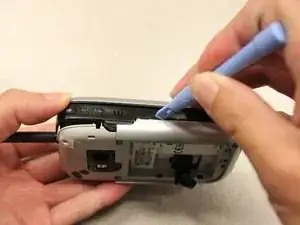
Work the tool around the edges until all the clips release.
-
-
-
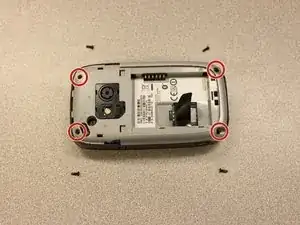
Remove the four 5mm screws with the T5 Torx screwdriver.
-
Remove the keyboard slider from the main body.
-
-
-
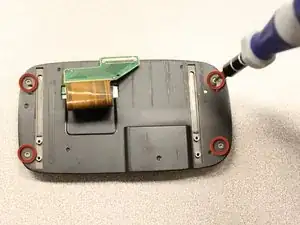
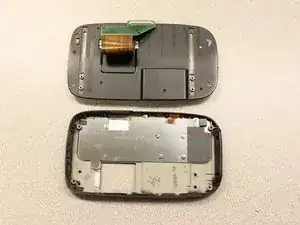
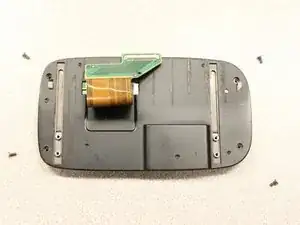
Use the T5 Torx screwdriver to remove four 5mm screws that secure the back of the screen casing.
-
-
-
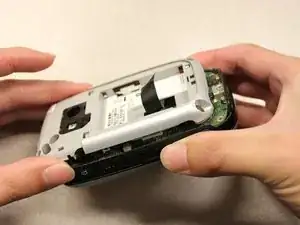
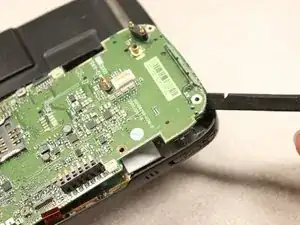
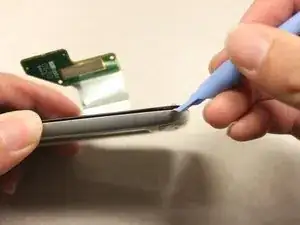
Insert the plastic opening tool between the front panel and the rear panel and pry open to reach the screen.
-
-
-
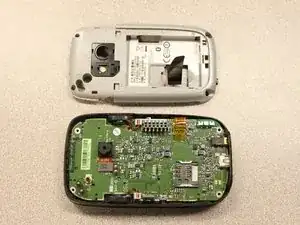
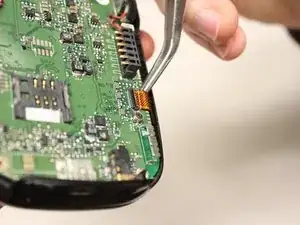
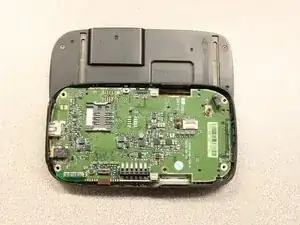
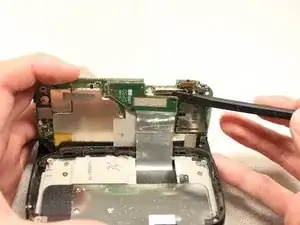
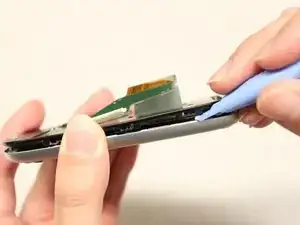
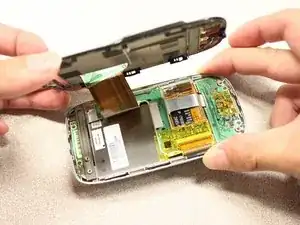
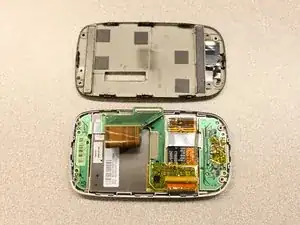
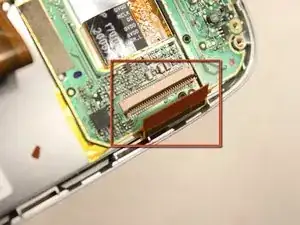
Once the rear panel is loose, lift it off of the front panel.
-
The flexible connection will pop loose.
-
-
-
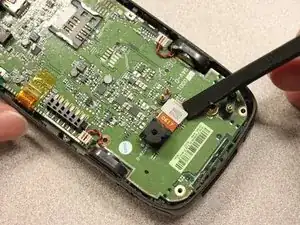
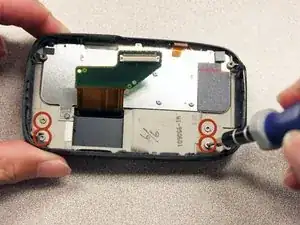
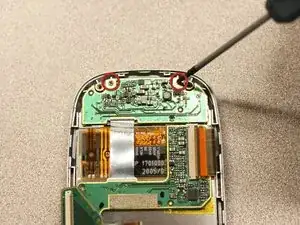
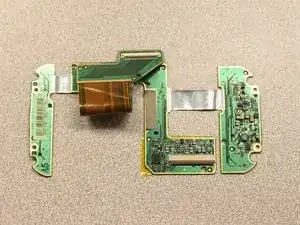
Unscrew the two 3mm phillips #0 screws from the bottom of the device that secure the rigid flex board to the screen panel.
-
-
-
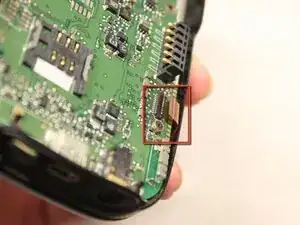
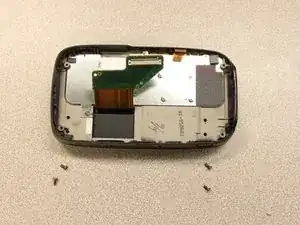
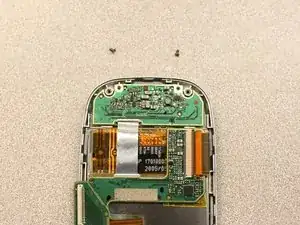
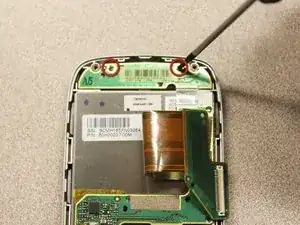
Unscrew the two 3mm phillips #0 screws from the top of the device that secure the rigid flex board to the screen panel.
-


To reassemble your device, follow these instructions in reverse order.