Introduction
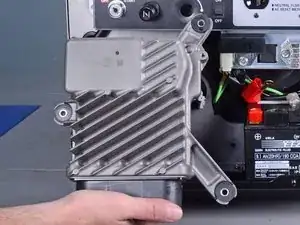
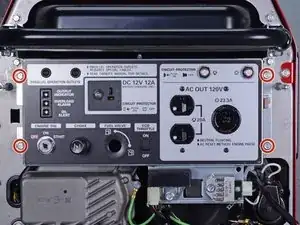
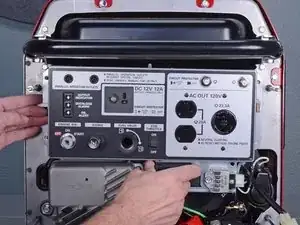
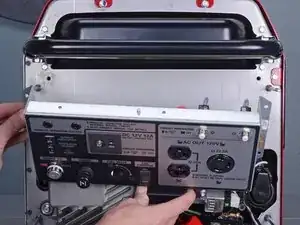
This guide shows how to remove and replace the inverter module for the Honda EU3000IS1AWK 3000 watt generator.
You will need a long shaft (at least 5 inches) Phillips screwdriver in order to complete this guide.
Tools
Parts
-
-
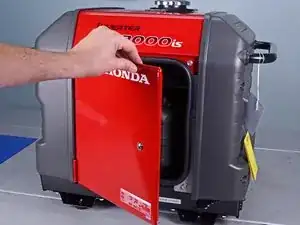
Use a large flathead screwdriver to unlock the maintenance cover.
-
Open the maintenance cover.
-
-
-
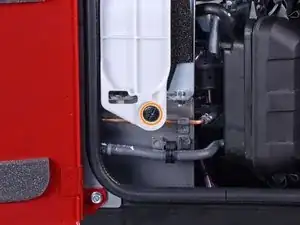
Use a Phillips screwdriver to remove the screw securing the spark plug cover.
-
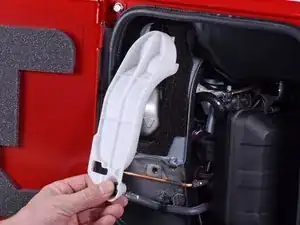
Remove the spark plug cover.
-
-
-
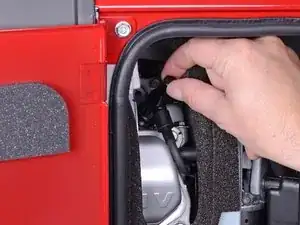
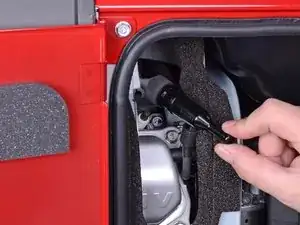
Grab the plastic housing at the end of the spark plug wire.
-
Pull firmly to disconnect the wire from the spark plug.
-
-
-
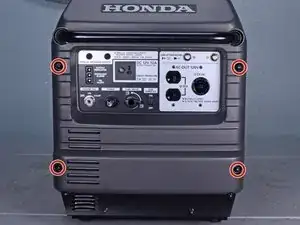
Use a 10 mm socket to remove the four capped nuts securing the front cover.
-
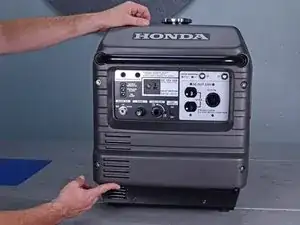
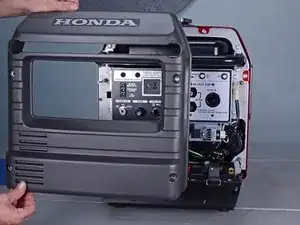
Remove the front cover.
-
-
-
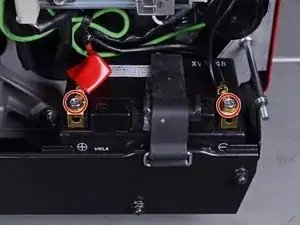
Use an 8 mm socket to disconnect the battery wires from the battery terminals.
-
Disconnect the black negative cable first to prevent the risk of shorting the battery.
-
-
-
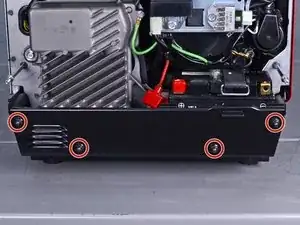
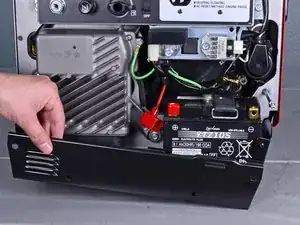
Use a 10 mm socket to remove the four capped nuts securing the lower plate.
-
Remove the lower plate.
-
-
-
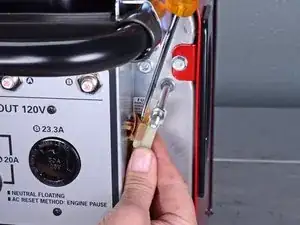
Insert a flathead screwdriver into the top of the brown fuse clip in order to release the fuse holder.
-
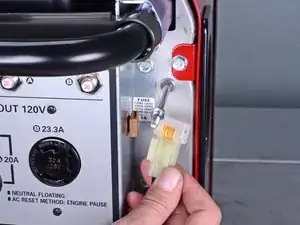
Detach the fuse holder from the brown clip.
-
-
-
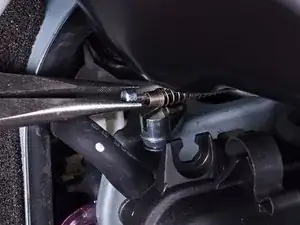
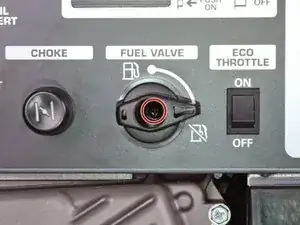
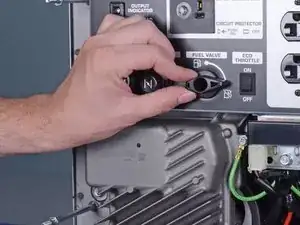
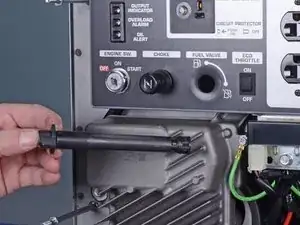
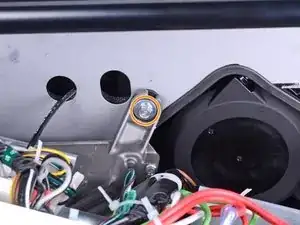
Use a long shaft Phillips screwdriver to remove the deeply recessed screw securing the fuel cutoff switch.
-
-
-
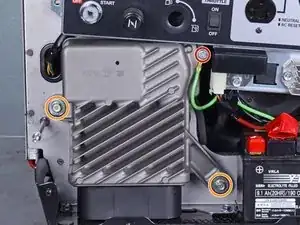
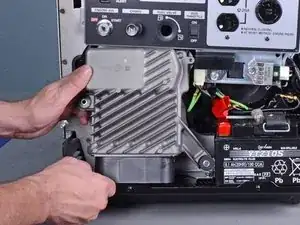
Remove the following bolts securing the inverter:
-
One 8 mm ground bolt
-
Three 10 mm bolts (one behind the control panel)
-
-
-
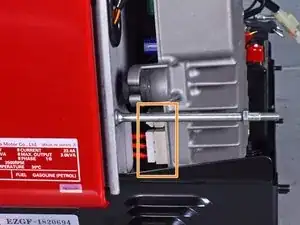
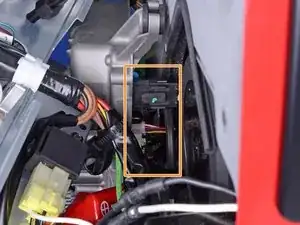
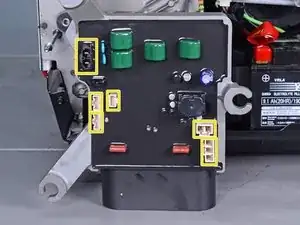
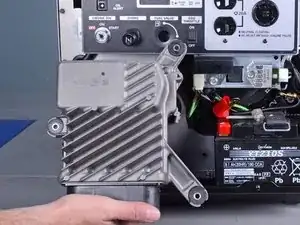
Reach behind the inverter along the edges and disconnect the six connectors from the back of the inverter.
-
The third image shows the locations of all six sockets on the inverter.
-
-
-
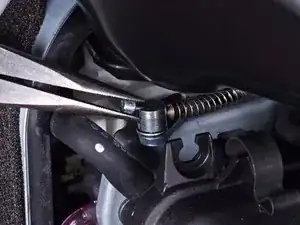
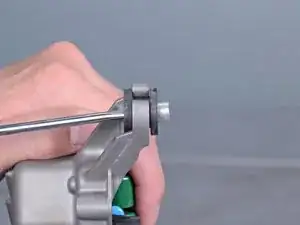
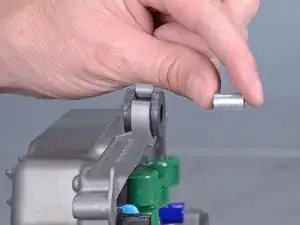
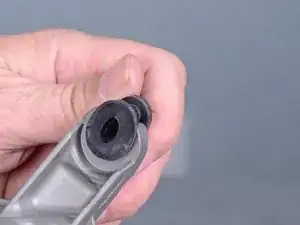
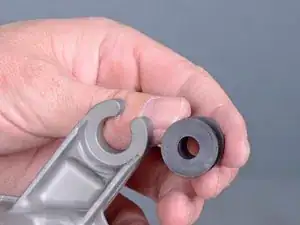
Squeeze the mount and remove it from the inverter.
-
Repeat the procedure with the remaining mounts and transfer them to the replacement inverter.
-
To reassemble your device, follow these instructions in reverse order.
One comment
awesome thank you for writing this
