Introduction
Use this guide to replace the rear cover adhesive in your Google Pixel 9 Pro.
Note: This guide should be followed during reassembly, after you've completed your repair and are about to reattach the rear cover.
-
-
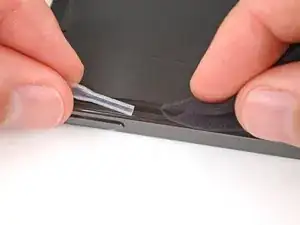
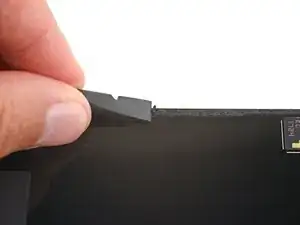
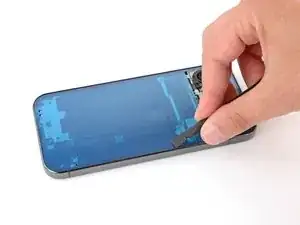
Use a spudger to scrape up and remove all the old rear cover adhesive from the perimeter of the frame.
-
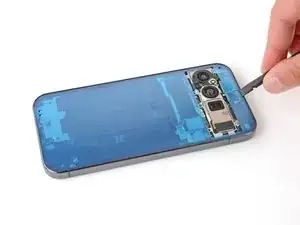
Once you've removed all the old adhesive, use isopropyl alcohol and a microfiber cloth to clean up the adhesive residue from the perimeter of the frame.
-
-
-
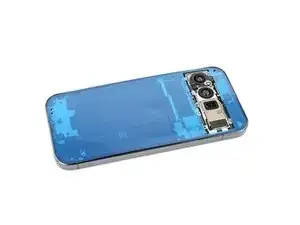
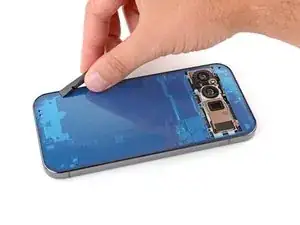
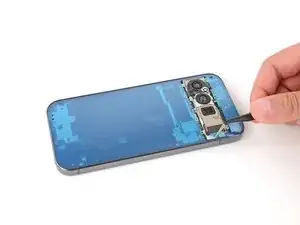
Repeat the previous step to remove all the rear cover adhesive and its residue from the underside of the rear cover.
-
-
-
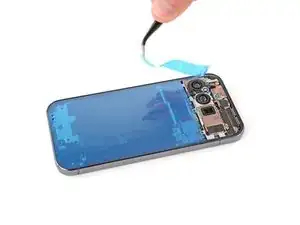
Carefully place the adhesive onto the frame so the large cutout goes over the cameras. Use the frame's lip to help position the sheet.
-
-
-
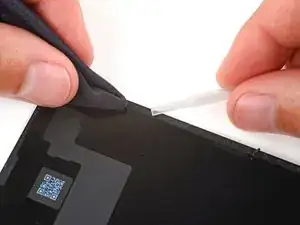
Use the flat end of a spudger to firmly press around the perimeter of the adhesive to secure it to the frame.
-
-
-
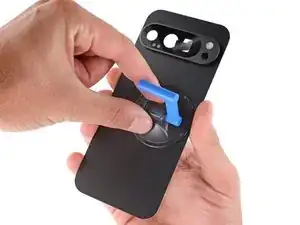
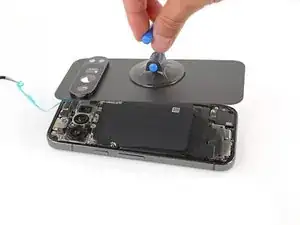
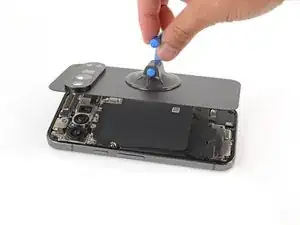
Grip the top right corner of the large blue liner with tweezers or your fingers and remove the liner.
-
-
-
Use the flat end of a spudger to firmly press around the perimeter of the adhesive to secure it to the frame.
-
-
-
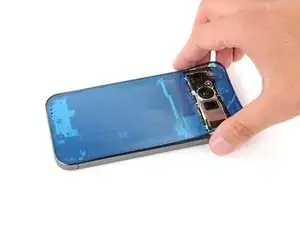
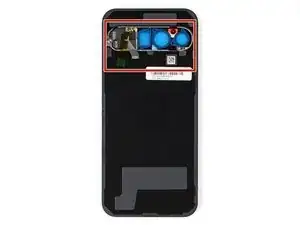
Remove any liners from the underside of the rear cover, near the camera cutout area.
-
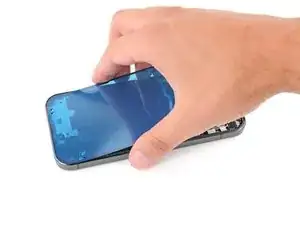
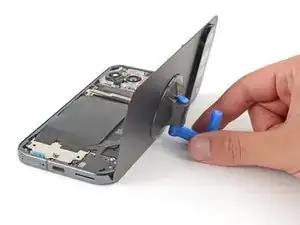
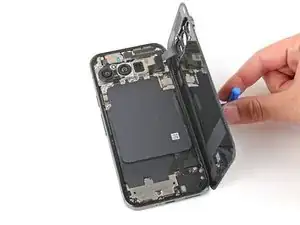
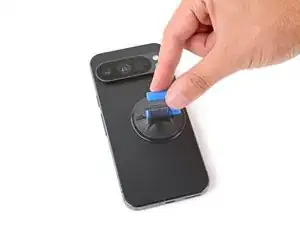
Apply a suction handle to the back of the rear cover, as close to the center of the right edge as possible.
-
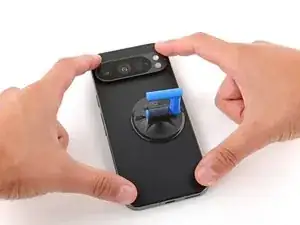
Prop up the rear cover just to the right of your phone.
-
-
-
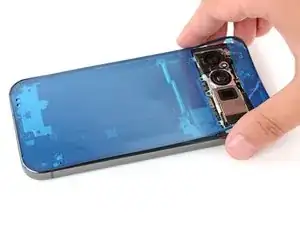
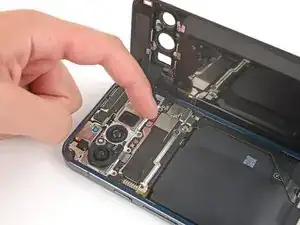
Reconnect the rear cover press connector to the logic board.
-
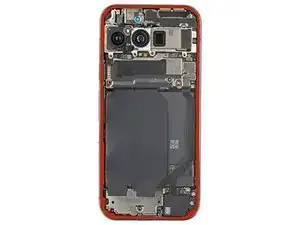
Lay the wireless charging assembly into place.
-
-
-
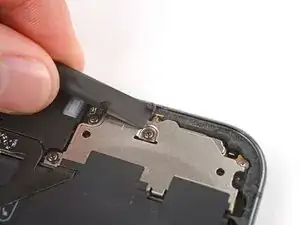
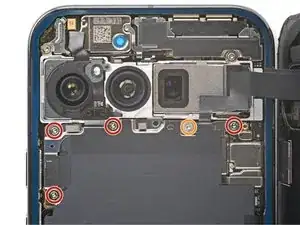
Use a Torx Plus 3IP screwdriver to install the five screws securing the wireless charging assembly:
-
Four 5.4 mm‑long screws
-
One 1.5 mm‑long screw
-
Now is a good time to test your phone before sealing it up. Power it on and check that it works. Power it back down before you continue reassembly.
-
-
-
Grip the left pull tab on the bottom edge of the frame and remove the blue liner from the left edge of your phone.
-
-
-
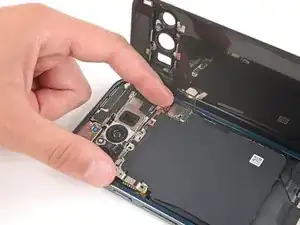
With one hand, use the suction handle to hold the rear cover over your phone. Remember that the rear cover is attached to the phone with a delicate cable.
-
With your free hand, use tweezers or your fingers to remove the remaining blue liner and expose the rear cover adhesive.
-
-
-
Firmly squeeze around the entire perimeter of the rear cover to secure it with the adhesive.
-


Congratulations on completing your repair!
To run a diagnostics test with the built-in Pixel Diagnostic tool, click here.
Take your e-waste to an R2 or e-Stewards certified recycler.
Repair didn’t go as planned? Try some basic troubleshooting, or ask our Answers community for help.