Introduction
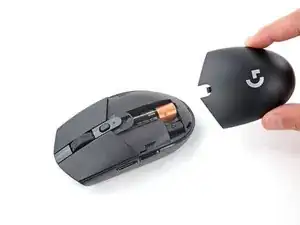
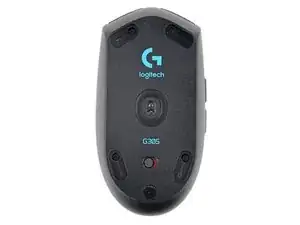
Use this guide to open your Logitech G305 wireless gaming mouse.
Opening your mouse gives you access to clean its internals, troubleshoot mechanical problems, or replace a part.
-
-
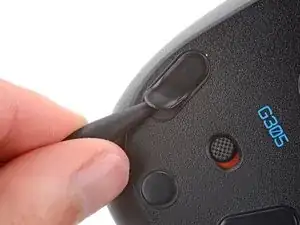
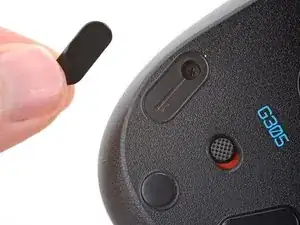
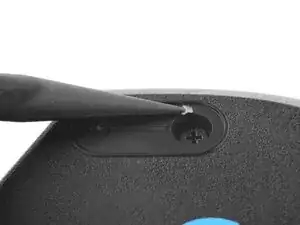
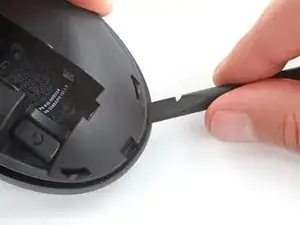
Carefully slide the point of a spudger under one of the feet, making sure it goes under both the foot and its adhesive pad.
-
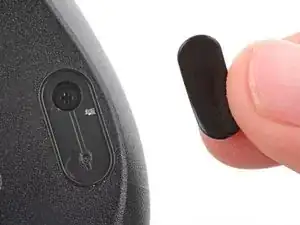
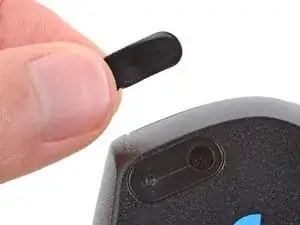
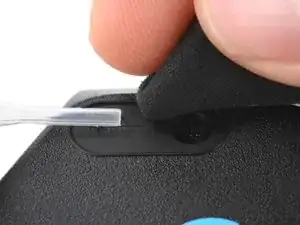
Gently slide the spudger farther under the foot and lift to remove it.
-
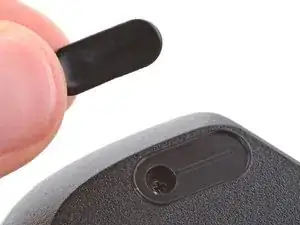
If the rubber layer separates from its adhesive pad, use the same process to remove the pad.
-
-
-
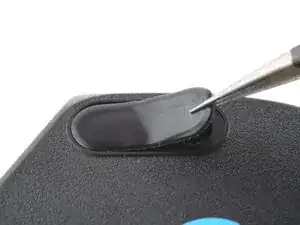
Use a spudger to carefully scrape up and remove any remaining adhesive bits.
-
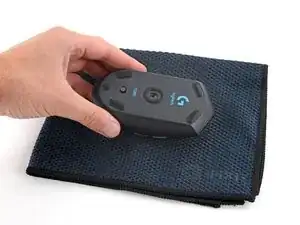
If there's any adhesive residue left, use isopropyl alcohol and a microfiber cloth to remove it. Allow the surface to completely dry.
-
Remove the feet from their backing and firmly press them into place.
-
-
-
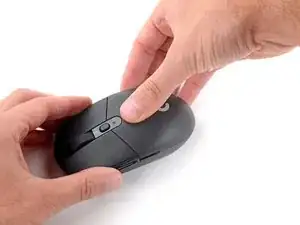
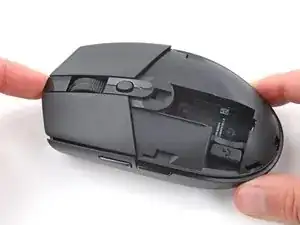
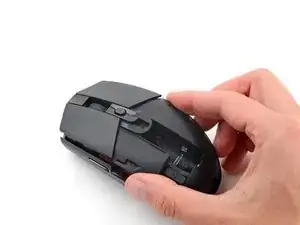
With one hand, firmly hold the bottom shell in place.
-
With your free hand, lift the front of the top shell to partially separate it.
-
-
-
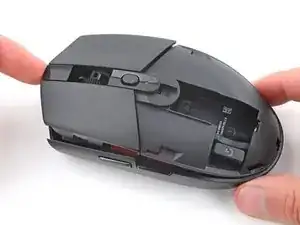
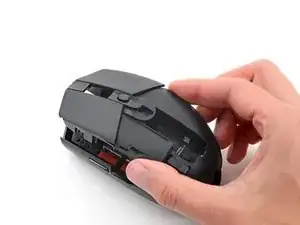
With one hand, firmly grip the top shell.
-
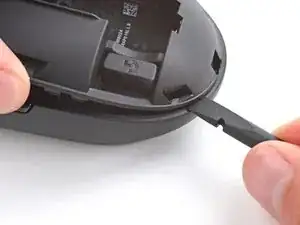
With your free hand, insert the flat end of a spudger between the top and bottom shells near the rear of the mouse.
-
Slide the spudger towards the rear of the mouse while pulling the top shell up and toward the front to separate the shells.
-
If the shells don't separate, repeat the process on the other side of the mouse.
-
-
-
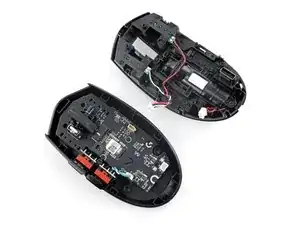
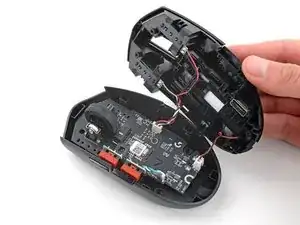
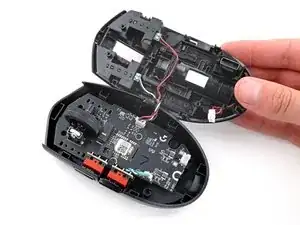
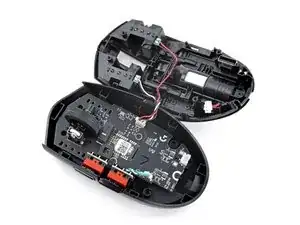
Lift the top shell up and flip it over the right edge of the mouse, being careful not to strain the cables.
-
-
-
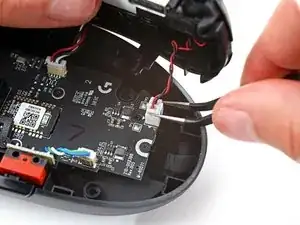
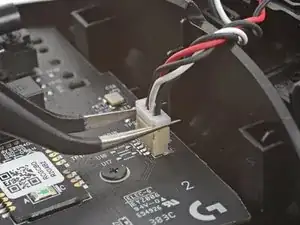
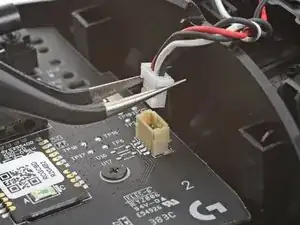
Use tweezers to firmly grip the short edges of the battery cable connector on the bottom right corner of the board.
-
Pull the connector straight up and out of its socket.
-
-
-
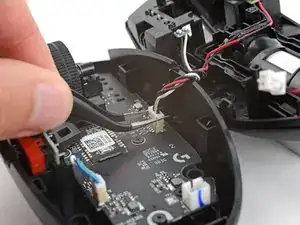
Use tweezers to firmly grip the short edges of the top buttons connector on the right edge of the board.
-
Pull the connector straight up and out of its socket.
-


To reassemble your device, follow these instructions in reverse order.
Take your e-waste to an R2 or e-Stewards certified recycler.
Repair didn’t go as planned? Try some basic troubleshooting, or ask our Answers community for help.