
Introduction
This guide will enable the user remove and replace the main camera of the tablet.
Tools
-
-
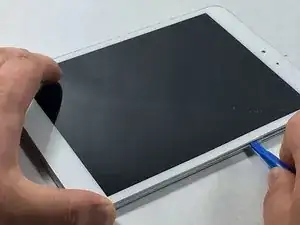
Use a plastic opening tool to remove the metal backing of the tablet.
-
Insert the plastic opening tool between the screen and metal backing. Use a prying motion to lift the front case from the metal panel.
-
Move the tool around the perimeter of the device until the screen separates.
-
-
-
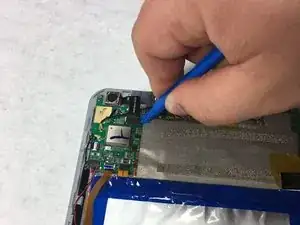
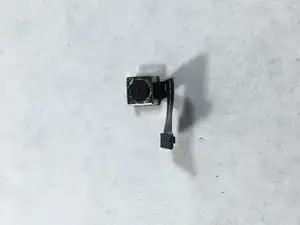
Once the the tablet is open, locate the camera.
-
There is a small black ribbon connector which connects the camera to the motherboard.
-
Use a plastic opening tool to pry slightly on the black ribbon connector.
-
Bend the black ribbon connector slightly so it will not be in the way.
-
-
-
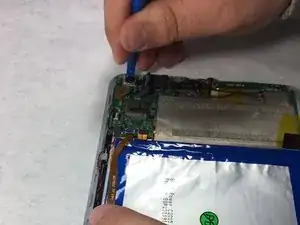
Using a plastic opening tool, pry the camera from the mount.
-
Pry around the perimeter of the camera until it comes free.
-

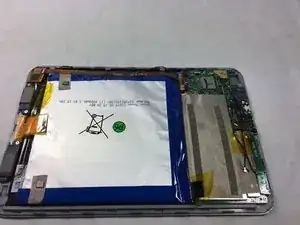
To reassemble your device, follow these instructions in reverse order.