Introduction
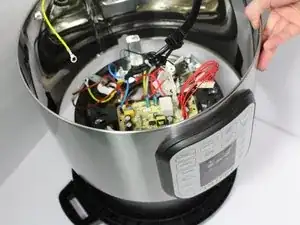
The LED display is how you communicate with your Instant Pot. This guide will show you how to remove the display from the front of your device.
-
-
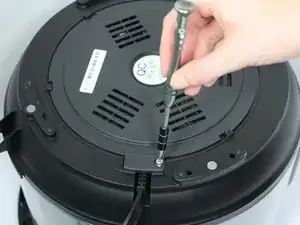
Turn the Instant Pot upside down.
-
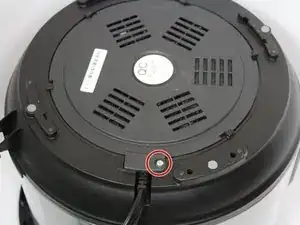
Remove the single 12-mm screw by using the T-15 head screwdriver and turning it counter-clockwise.
-
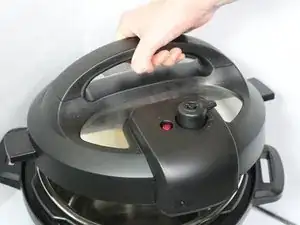
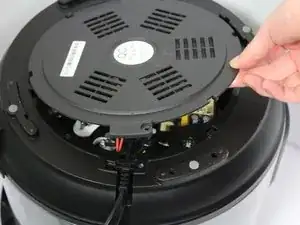
Turn the plate counter-clockwise and lift it off the Instant Pot.
-
-
-
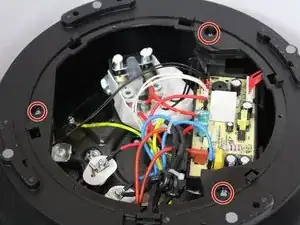
Remove the three 19-mm screws in the black plastic base's edge using the PH-1 head screwdriver and twisting counter-clockwise.
-
-
-
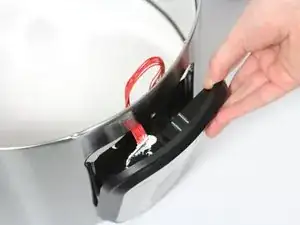
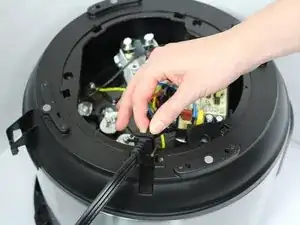
Pull the power cord out of its slot.
-
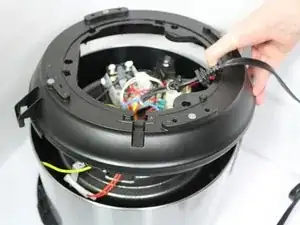
Pull up on the edge of the black plastic base to remove the base.
-
-
-
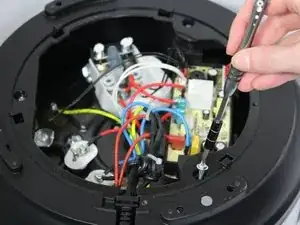
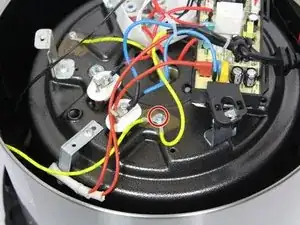
Disconnect the two green-striped yellow wires that are connected onto the bottom of the heating element. Use a PH-1 head screwdriver and turn counter-clockwise to remove the 10-mm screw holding them in place.
-
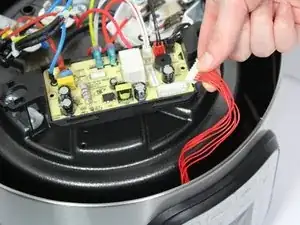
Pull up on the cn101 connection to detach the LED display from the motherboard.
-
-
-
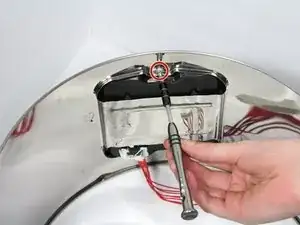
Remove the two 10-mm screws connecting the LED display to the outer shell using a PH-1 head screwdriver and twisting counter clockwise.
-
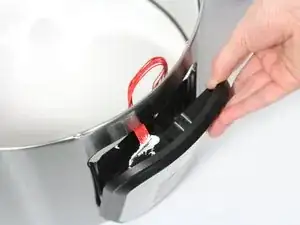
Pull out the LED display by pulling on it gently.
-


To reassemble your device, follow these instructions in reverse order.
2 comments
Where can I get the replacement for the display?
Hola disculpa, donde puedo conseguir la pantalla led de mi instat pot DUO PLUS MULTI-COOKER 9in 1
Evaristo -