Introduction
This guide is intended to help fix buttons that are not functioning correctly.
-
-
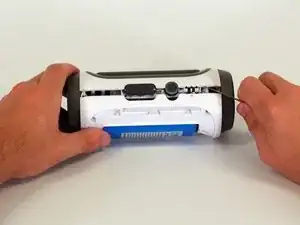
Make sure the device is powered off before you begin to disassemble the speaker.
-
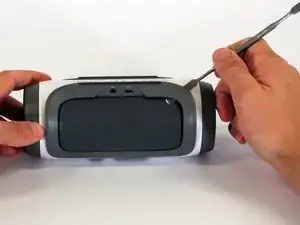
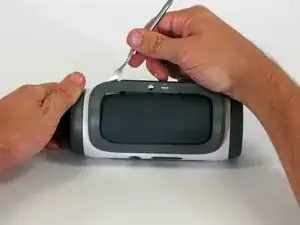
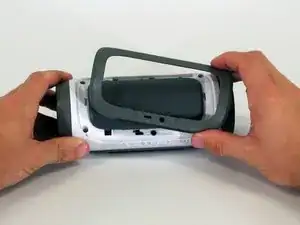
Remove the trim from the speaker using a jimmy or metal spudger.
-
-
-
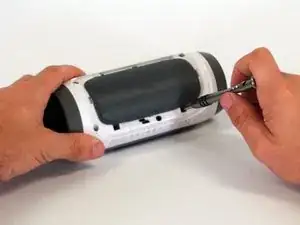
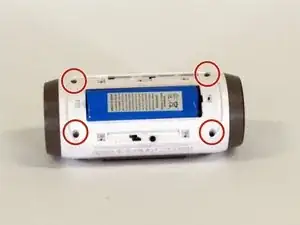
Use the PH1 screwdriver to remove all five of the 6 mm screws from the battery cover.
-
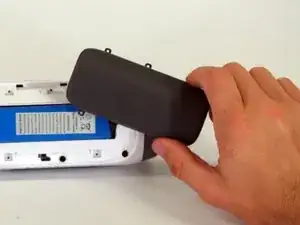
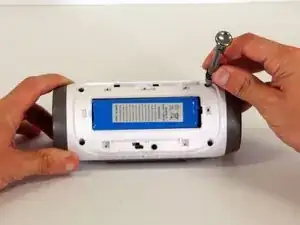
Remove the battery cover and set the cover aside.
-
-
-
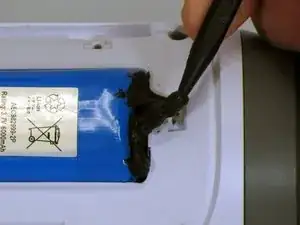
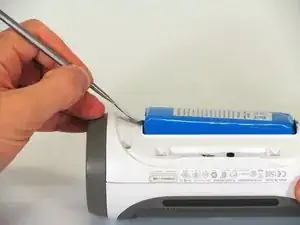
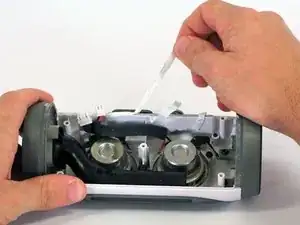
Use a spudger to carefully remove the liquid electrical tape that holds the battery inside the battery compartment.
-
-
-
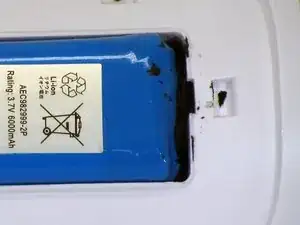
Use a spudger to lift the battery out of the device.
-
Lift the end of the battery that does not have the wire connection and remove the 16 mm PH2 screw underneath the battery.
-
-
-
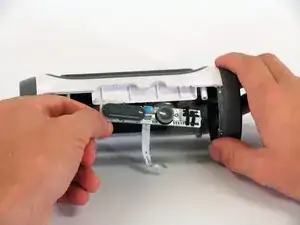
Starting in a corner of the device where the casing and the side meet, use a pointed metal spudger to pry the back casing off the speaker and the glue holding the seam together.
-
Slide the metal spudger along the seam to separate the back casing from the rest of the speaker.
-
-
-
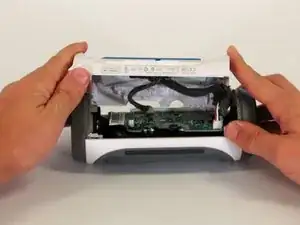
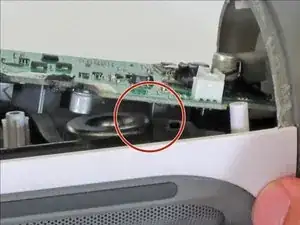
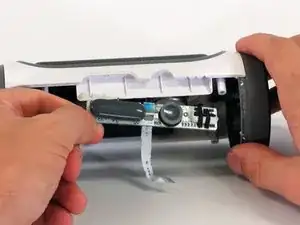
Once the back casing is open, disconnect the three white connectors from the motherboard.
-
Remove the upper casing.
-
-
-
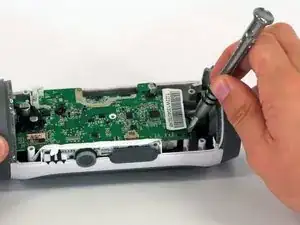
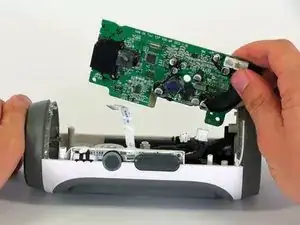
Remove the motherboard from the casing by lifting the corner of the board out of the device.
-
If the motherboard won't budge, be sure that the square component on the bottom of the motherboard clears the edge of the speaker.
-
-
-
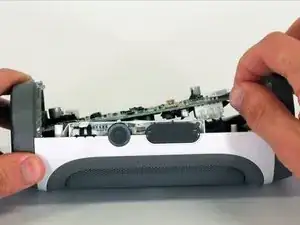
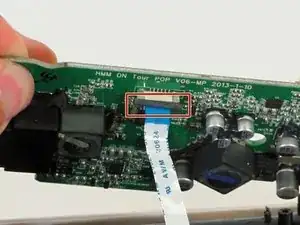
Pull down on the black clip holding the ribbon cable in place.
-
Pull the ribbon cable from the connector using the blue tab.
-
Remove the motherboard from the device.
-
-
-
Locate the buttons on top of the device. Peel the white piece of tape located along the side of this button membrane.
-


To reassemble your device, follow these instructions in reverse order.
2 comments
conseguiste el boton de repuesto?
Por favor, disculpe mis errores:
"No puedo encontrar un nuevo reemplazo. Compra uno roto. Utilice el botón de la que se rompe."