
Introduction
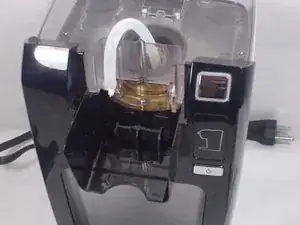
The Water Pump within the Keurig K10 MINI Plus is a deeply embedded part. Due to the nature of it being attached both to an electrical source and a water source, it is not recommended to attempt this guide without previous familiarity with both.
-
-
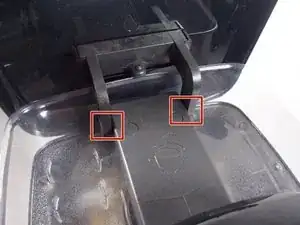
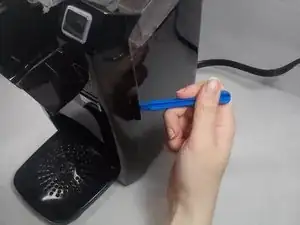
Lift the cold water reserve lid up to reveal its hinge.
-
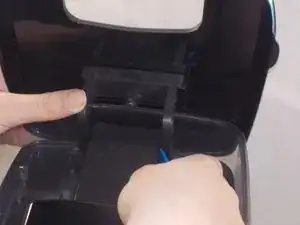
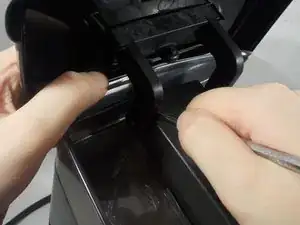
Using either the metal spudger or the opening tool, gently pry the plastic out of the metal axle.
-
-
-
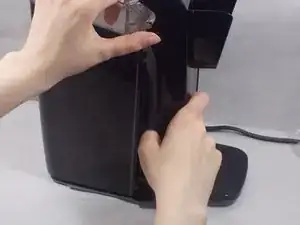
Repeat the last step on the other hinge, making sure to keep a firm grasp on the lid as it comes off to avoid dropping it.
-
-
-
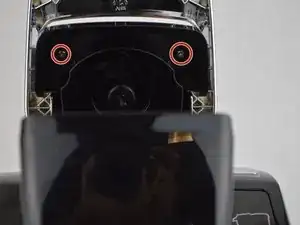
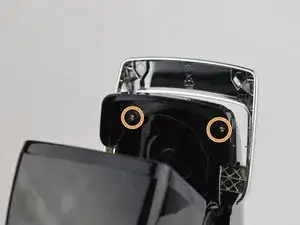
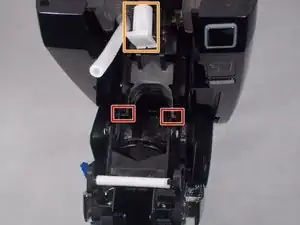
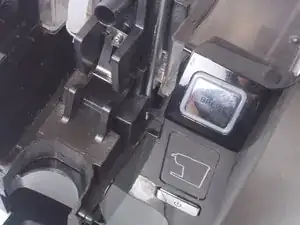
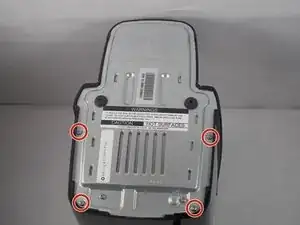
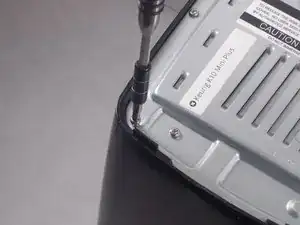
Remove two 9 mm Phillips #1 screws.
-
The screws are located on the top of where the K-Cup would be.
-
-
-
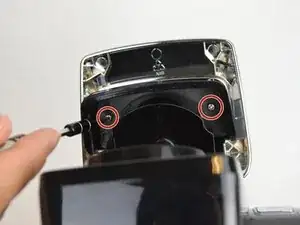
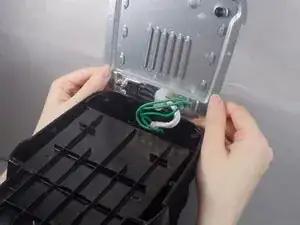
Once you remove the screws, the top cover should come out.
-
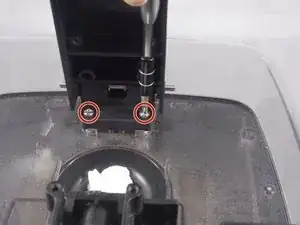
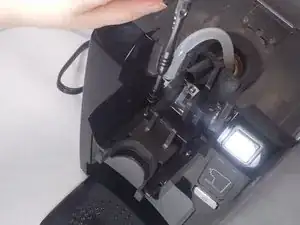
You will then want to remove these screws which are the same size.
-
-
-
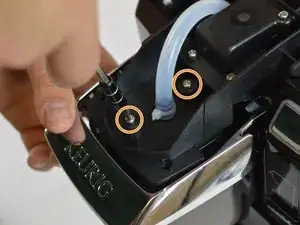
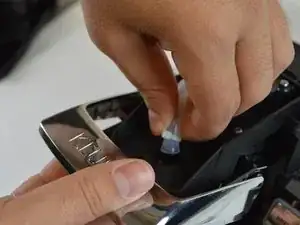
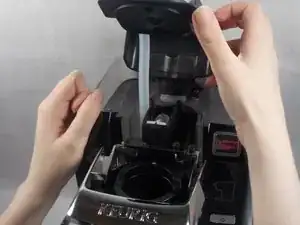
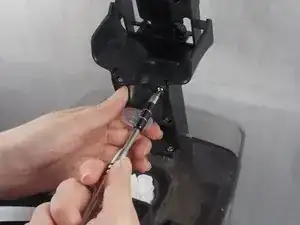
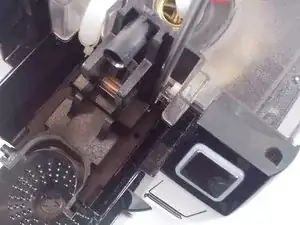
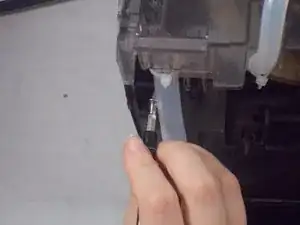
Once you get those removed, you are going to want to pull on the hose until it pops off.
-
Once the hose comes off, the needle will fall out by itself.
-
-
-
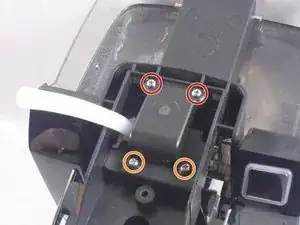
Remove two 14 mm Phillips #2 screws.
-
Remove two 12 mm Phillips #2 screws.
-
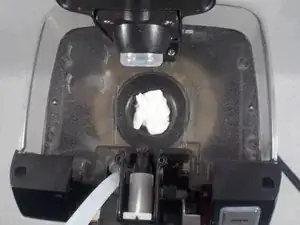
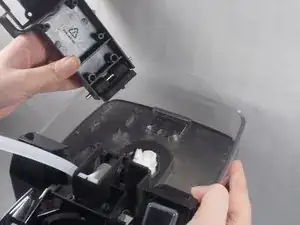
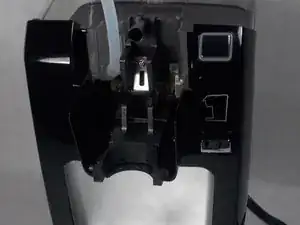
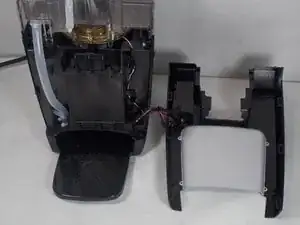
Lift the arm off the assembly. This will reveal the tank hole as shown.
-
-
-
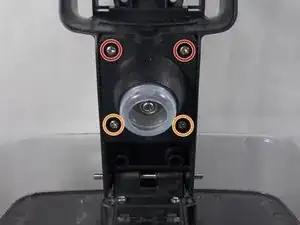
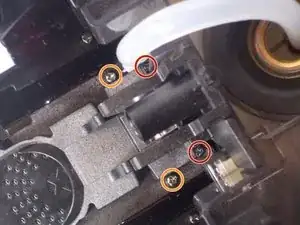
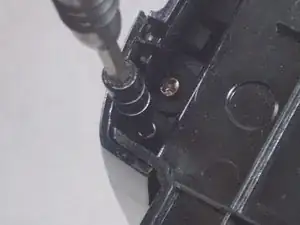
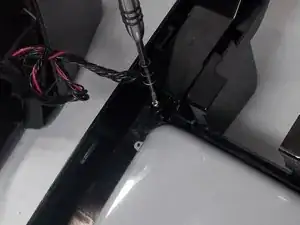
Remove two 9.7 mm Phillips #2 screws.
-
Remove two 11.5 mm Phillips #2 screws.
-
Remove the cold water reserve arm's plug from the arm itself in order to allow access to the base screws.
-
-
-
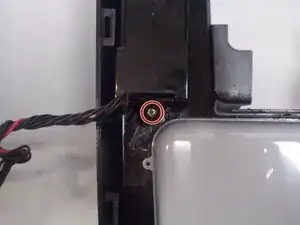
Remove two 18 mm Phillips #2 screws.
-
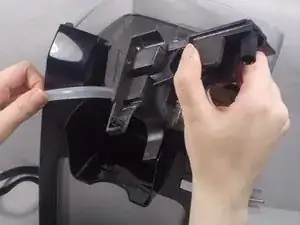
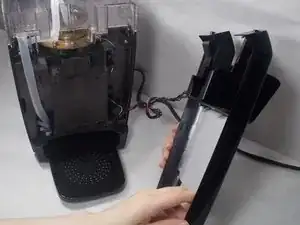
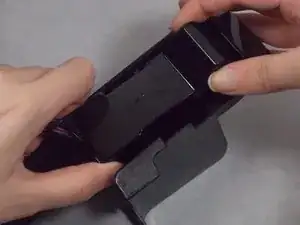
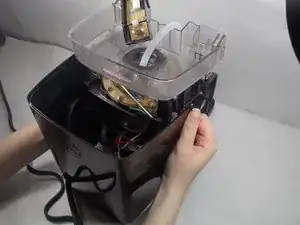
Finally, detach the arm from the cold water reserve basin.
-
-
-
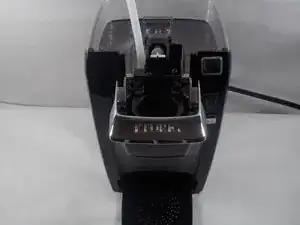
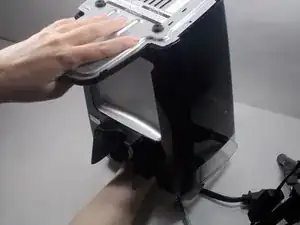
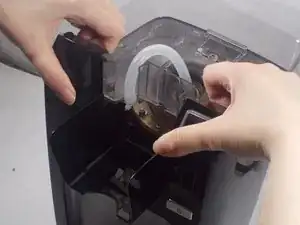
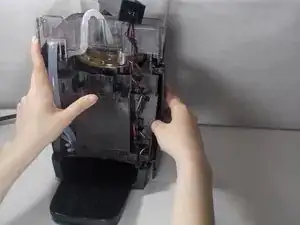
Pull the head assembly forward to reveal the two plastic axle points that keep the head assembly attached to the base.
-
-
-
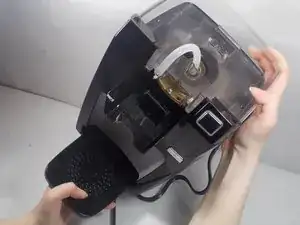
Using the iFixit Opening Tool, gently pry apart the plastic head assembly piece from both the body's axles and its left to remove it.
-
-
-
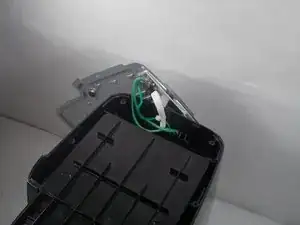
Reposition the metal lid while keeping the heat sink attached in order to reach the screws underneath.
-
-
-
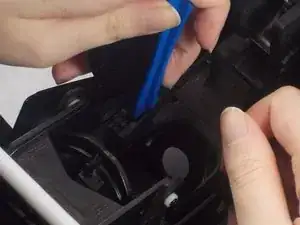
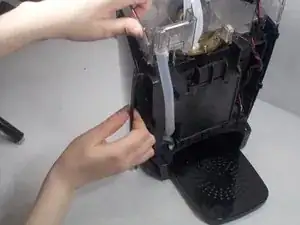
Begin to pry open the front plate using the iFixit Opening Tool as shown.
-
Pry upwards in order to take the cover off.
-
-
-
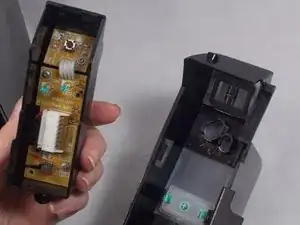
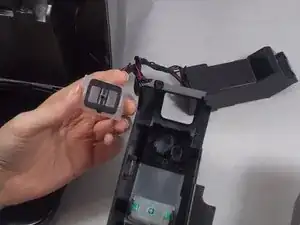
Remove the button housing to access the buttons.
-
The brew buttons can be easily popped out of place by pushing inwards from the front of the unit.
-
-
-
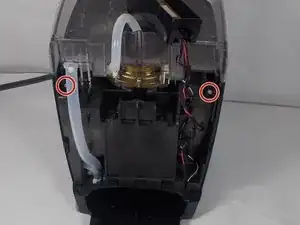
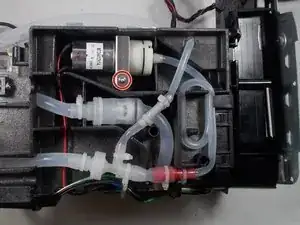
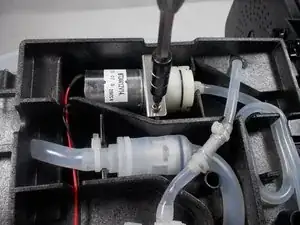
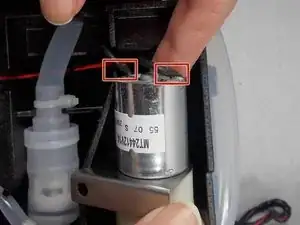
Remove the power connectors attached to the water pump.
-
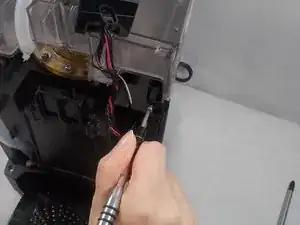
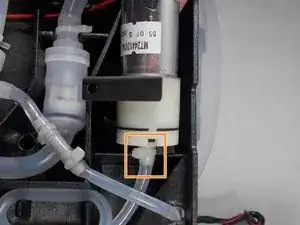
Remove the water hose attached to the water pump.
-
Remove the water pump itself.
-


To reassemble your device, follow these instructions in reverse order.
6 comments
Great directions on how to disassemble and get at the water pump. I just can’t find where or how to order a replacement pump. Can you help?
I was very surprised I needed a guide to take this silly little coffee maker apart, but boy did I.
I've rebuilt entire engines that were less of a headache.
Thanks for the great write up (especially the heatsink pointer, never can find the last tube of thermal paste I bought)
this is great, it helps save my Keurig K10. I was able to open it up, and clean the pump motor due to corrossion, and it works fine now.
hunter -