
Introduction
This is a straightforward guide on accessing and removing the LCD for the LG Lucid 4G. Take special care when dealing with the ribbon cables, they can tear easily.
-
-
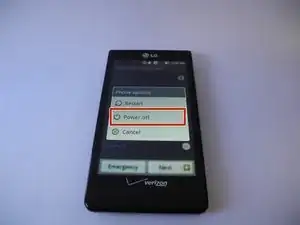
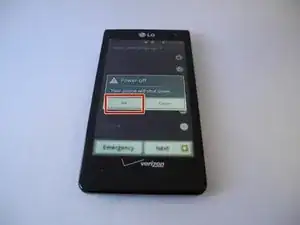
Turn off the phone by pressing the power button, then press "Power Off", then press "OK" when notified that your phone will shut down.
-
-
-
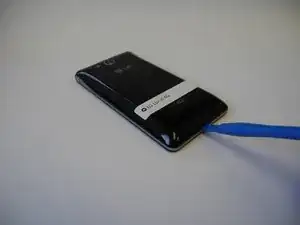
Flip the phone so that its back plate is facing upward.
-
Use your fingernail or prying tool to lift the back plate of the phone open by using the notch at the bottom.
-
-
-
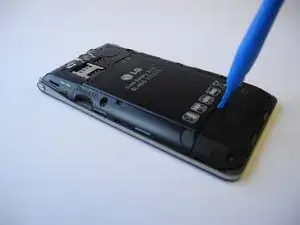
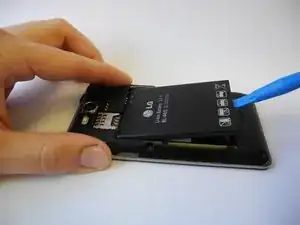
Using the notch located near the bottom center, remove the battery with a prying tool or your fingernail.
-
-
-
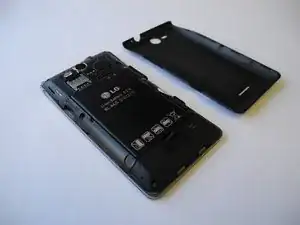
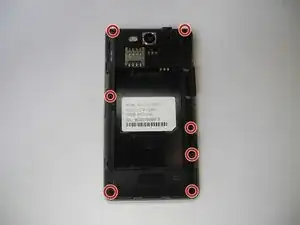
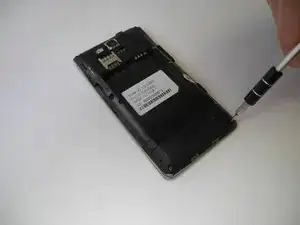
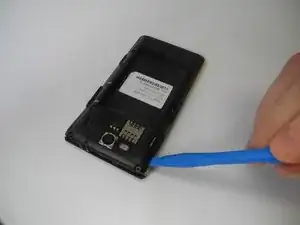
Use the small notches along the sides of the phone to help you pry the back plate off and help stop the pry tool from slipping.
-
Use the plastic pry tool and begin working your way around the sides of the phone.
-
-
-
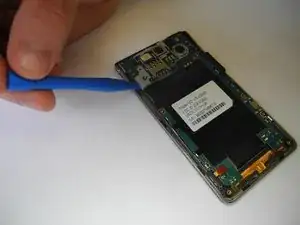
Gently lift the corner of the sim card assembly as shown.
-
Release the press-fit ribbon cable connector by lifting it with a spudger or prying tool.
-
-
-
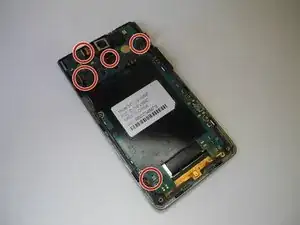
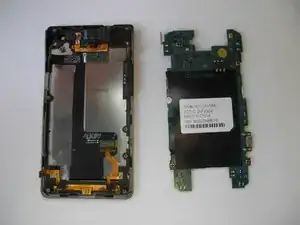
Release the five flex connectors on the motherboard.
-
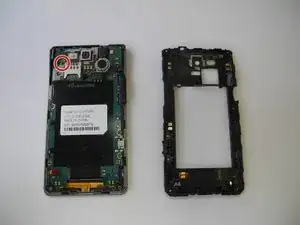
Once all five flex connectors are released, simply lift the motherboard to separate it from the rest of the phone.
-
-
-
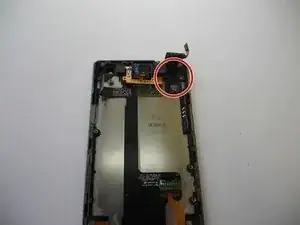
If the camera did not fall off during step five, you must remove it now by gently lifting it. It is attached by a small amount of adhesive and should detach easily.
-
Gently lift the headphone jack assembly to reveal the touch screen digitizer flex cable.
-
Release the touch screen digitizer flex cable connector.
-
-
-
Use a plastic pry tool to begin removing the touch screen assembly.
-
Slide the pry tool along the gap between the touch screen digitizer and the LCD mount to release the connectors.
-
Once the touch screen assembly has been separated, carefully slide the ribbon through the slot in its housing.
-
-
-
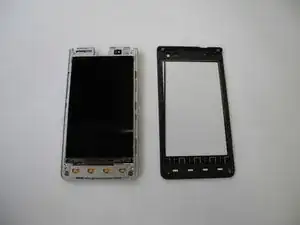
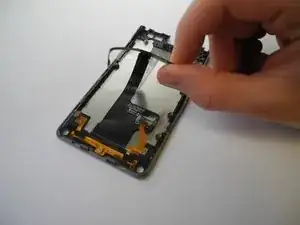
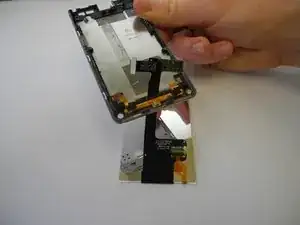
The final step is to remove the LCD screen from its housing. Begin by gently peeling the ribbon from the back of the housing.
-
Once the ribbon is fully detached, carefully feed it through the bottom of the display housing.
-
Once this is done the LCD screen assembly will have been separated from the phone.
-


To reassemble your device, follow these instructions in reverse order.