Introduction
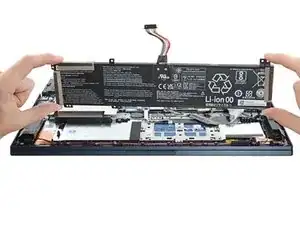
Use this guide to replace the battery in your Lenovo Legion 5 17ACH6H Laptop.
For your safety, discharge the battery below 25% before disassembling your device. This reduces the risk of fire if the battery is accidentally damaged during the repair. If your battery is swollen, take appropriate precautions.
-
-
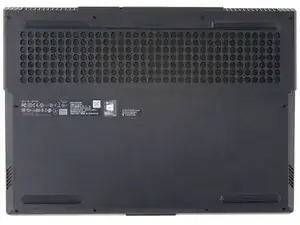
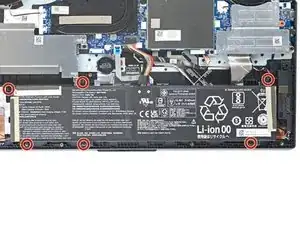
Use a Phillips #1 screwdriver to remove the following ten screws securing the back cover to the frame:
-
Six 12.8 mm PH1 screws
-
Four 4.6 mm PH1 screws
-
-
-
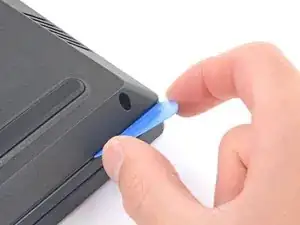
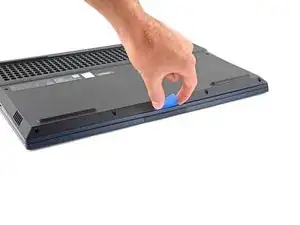
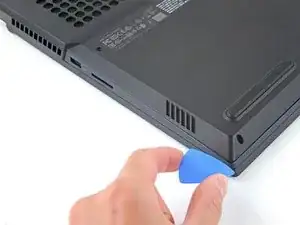
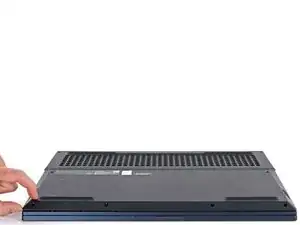
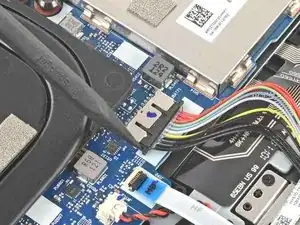
Insert the rounded edge of an opening pick between the back cover and the frame in the lower right corner.
-
Angle the pick to about 45˚.
-
-
-
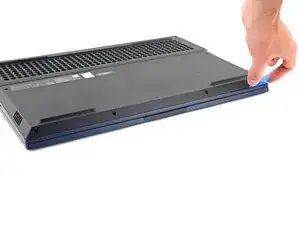
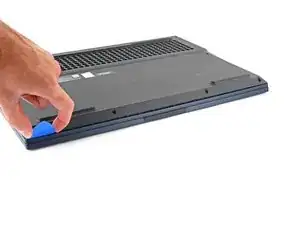
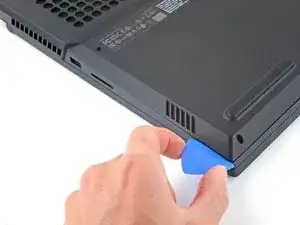
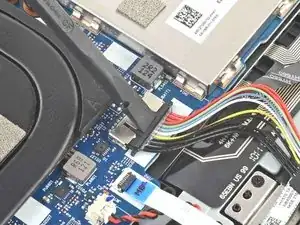
Slide the pick along the front edge to release the clips securing the back cover to the frame.
-
-
-
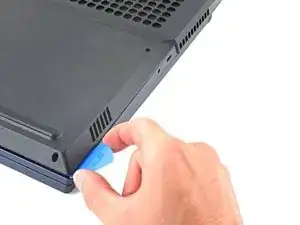
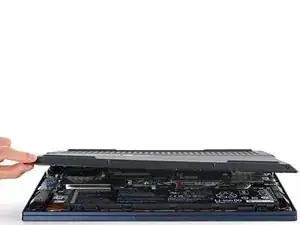
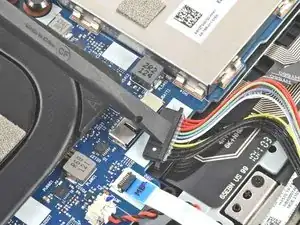
Insert the edge of an opening pick between the back cover and the frame on the right edge.
-
Angle the pick to about 30˚ and slide down the left edge to release the clips.
-
-
-
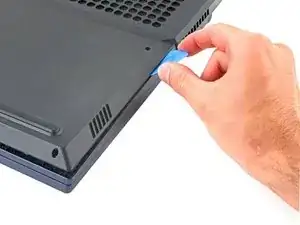
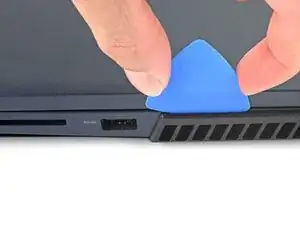
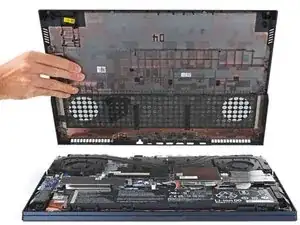
Slide the opening pick between the frame and the plastic vents on the right side near the USB-A port.
-
Rotate the pick so that it is positioned on top of the plastic vents.
-
-
-
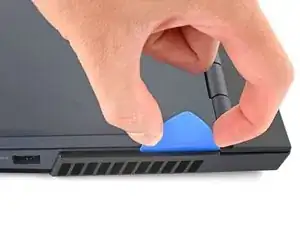
Push the pick between the frame and plastic vents.
-
Slide the pick along the top edge of the plastic vents to release the clips.
-
-
-
Slide the opening pick between the frame and the plastic vents on the left side near the USB-C port.
-
Rotate the pick so that it is positioned on top of the plastic vents.
-
Push the pick between the frame and plastic vents.
-
Slide the pick along the top edge of the plastic vents to release the clips.
-


To reassemble your device, follow these instructions in reverse order.
For optimal performance, calibrate your newly installed battery after completing this guide.
Take your e-waste to an R2 or e-Stewards certified recycler.
Repair didn’t go as planned? Try some basic troubleshooting, or ask our Answers community for help.

One comment
Great instructions Alex. For a novice person you should include the installation pictures also. Thanks for the article.