Introduction
here is a guide to help you locate the I/O Board for inspection, repairs, or replacement. The tools you will need are the Phillips #0 Screwdriver, Metal Spudger, and the Spudger.
-
-
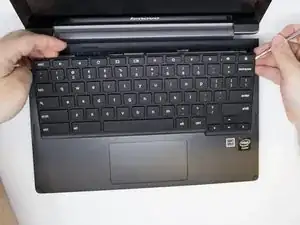
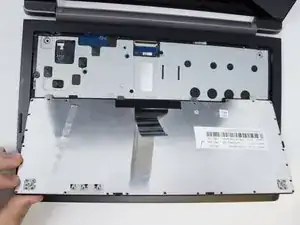
Carefully, disconnect the keyboard cable from the motherboard carefully by pulling on the blue tab of the cable.
-
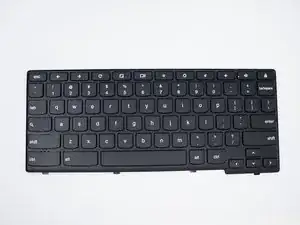
You will now be able to replace the keyboard.
-
-
-
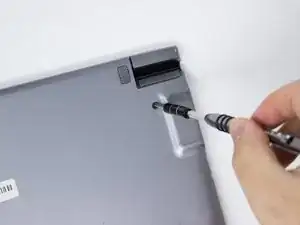
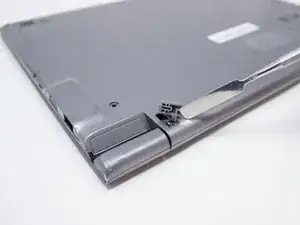
Remove the two rubber feet of the back of the Chromebook using a metal spudger.
-
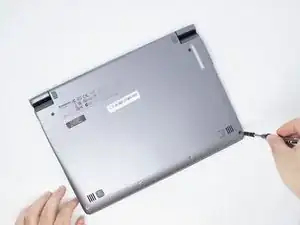
Remove six bottom 3.5 mm Phillips #0 screws and two top 5 mm Phillips #1 screws.
-
-
-
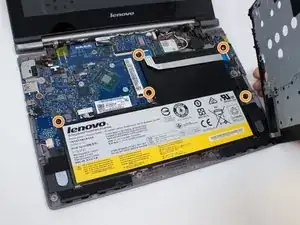
Disconnect the battery cable from the motherboard.
-
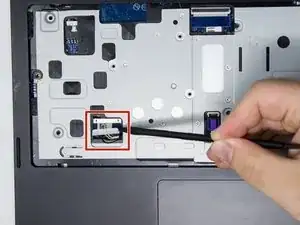
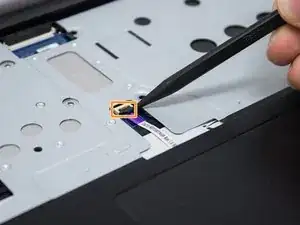
Disconnect the touch-pad cable from the motherboard.
-
-
-
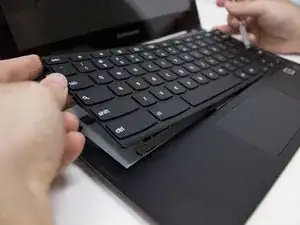
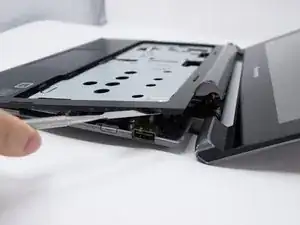
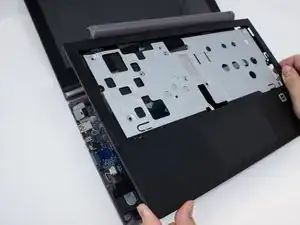
Use the metal spudger along the seam between the keyboard and the bottom of the Chromebook to lift up and remove the palm rest assembly.
-
-
-
Disconnect the USB cable from the motherboard by pulling the blue tab out of the cable.
-
Remove all five 3.0 mm Phillips #00 screws which connect the battery and motherboard.
-
-
-
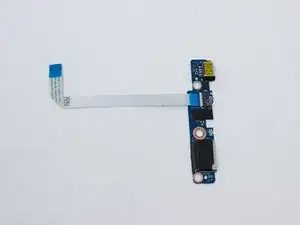
Once the battery has been removed, you need make sure that you have removed the I/O cable that is attached to the I/O Board.
-
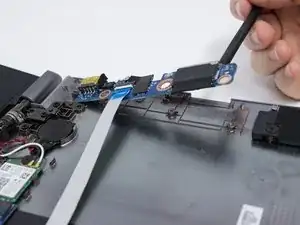
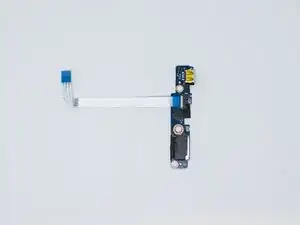
Using the flat end of the Spudger tool, carefully lift the I/O Board.
-


To reassemble your device, follow these instructions in reverse order.