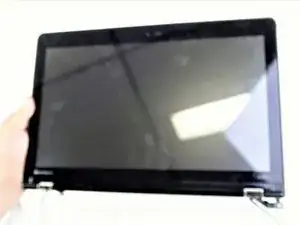
Introduction
-
-
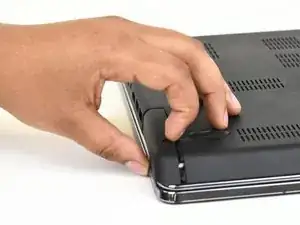
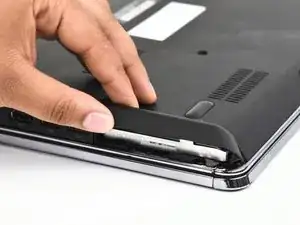
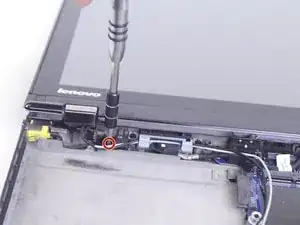
Swing the cover out slightly like a hinge.
-
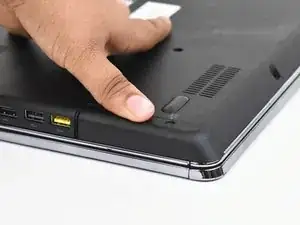
Pull the cover directly away from the case towards the base of the laptop.
-
Lift the cover up and away from the device to remove it.
-
-
-
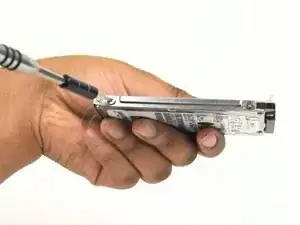
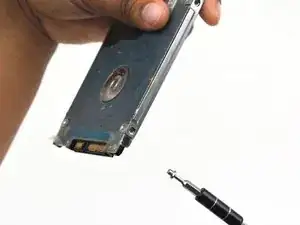
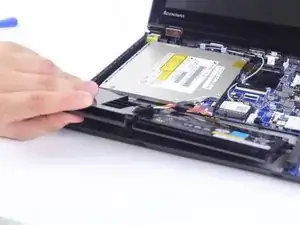
To replace the hard drive, remove the four M2 × 4mm wafer-headed screws on the sides of the hard drive case using a Phillips #00 screwdriver.
-
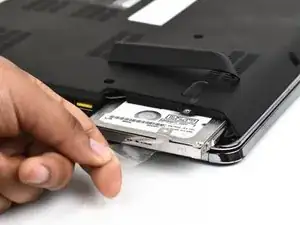
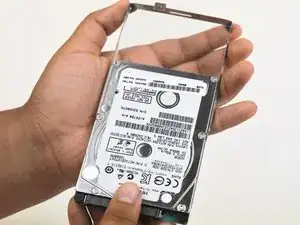
Slide the old hard drive directly out.
-
-
-
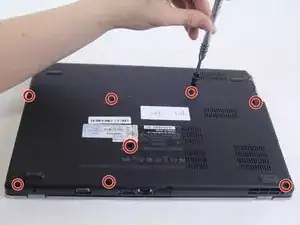
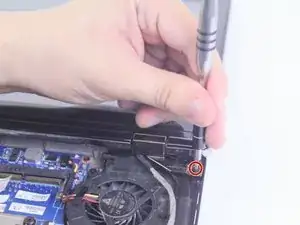
Use a Phillips #0 screwdriver to remove eight M2 × 3 mm screws near the front opening and scattered across the bottom of the laptop.
-
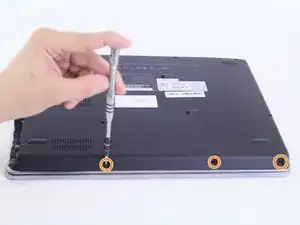
Remove three M2x3 mm screws using a Phillips #00 screwdriver from the base of the laptop near the opening.
-
-
-
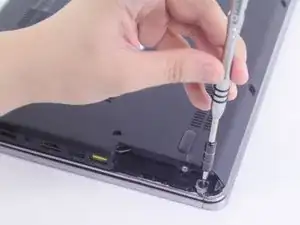
Remove the M3 x 2mm screw from the hole left by the hard drive using a Phillips #00 screwdriver.
-
-
-
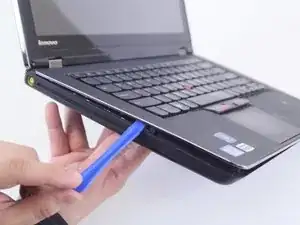
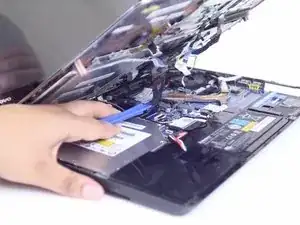
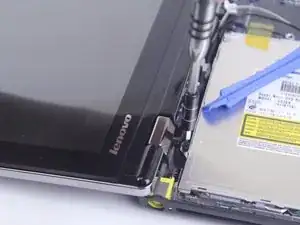
Wedge the plastic opening tool between the upper and lower halves of the lower case.
-
Lift the end of the opening tool slowly until the case separates.
-
-
-
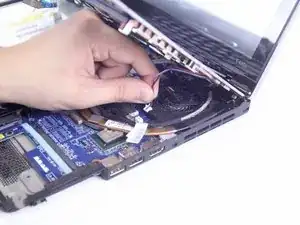
Locate and disconnect the 4 ribbon wires from the top case.
-
Locate and disconnect the two additional connecting wires.
-
-
-
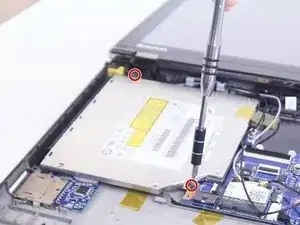
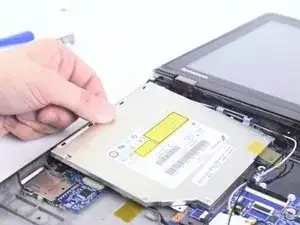
Remove the two M2 x 3mm securing the the optical drive to the device using a Phillips #000 screwdriver.
-
-
-
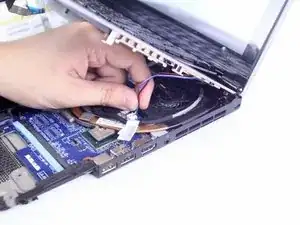
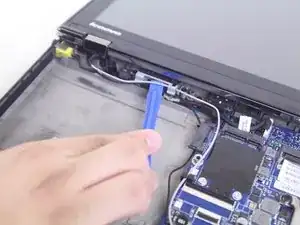
Slide the black and grey wires out from underneath the plastic tab with the plastic opening tool.
-
Disconnect the black and grey wires connecting the screen and the motherboard.
-
-
-
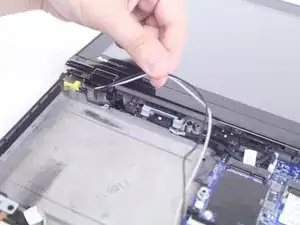
Pull out the fabric covered wire connecting the Screen to the motherboard underneath the cooling fan.
-
-
-
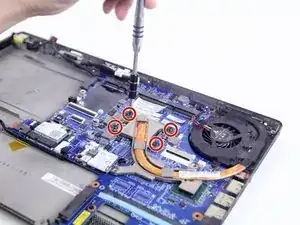
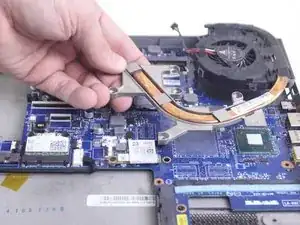
Use a Phillips #0 screwdriver to remove the four M2 x 6mm screws connecting the heatsink to the motherboard.
-
-
-
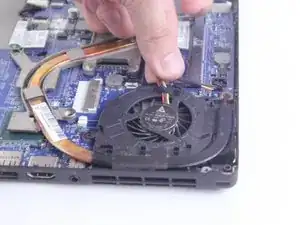
Disconnect the cable connecting the fan to the motherboard, then remove the fan and the attached fan component from the case.
-
-
-
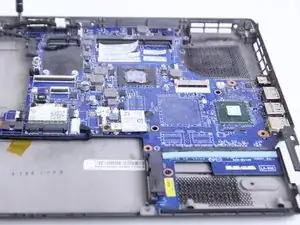
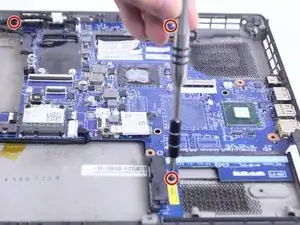
Use a Phillips #000 screwdriver to remove three M2 x 2mm screws from the sides of the motherboard.
-
-
-
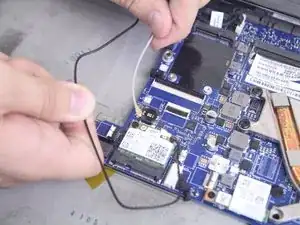
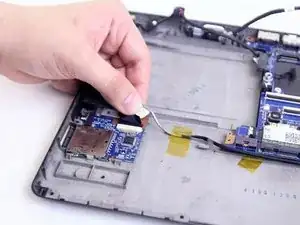
Disconnect the cable connecting the VGA connector to the motherboard. Then disconnect the cable connecting the card reader to the motherboard.
-
-
-
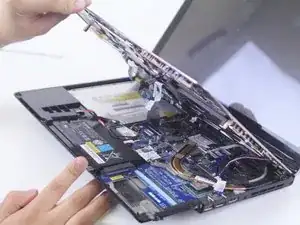
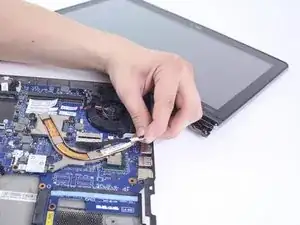
Lift the motherboard from the case and detach the cable from the back of the motherboard connecting to the DC power jack. Remove the motherboard from the case.
-


To reassemble your device, follow these instructions in reverse order.