Introduction
Follow this guide to remove, replace, or upgrade the RAM in your Lenovo ThinkPad T16 Gen 3 laptop.
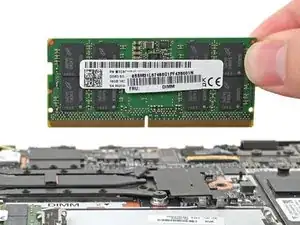
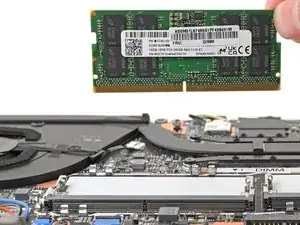
The RAM is DDR5 SODIMM, and the laptop supports up to 64GB at 5600MT/s.
Tools
-
-
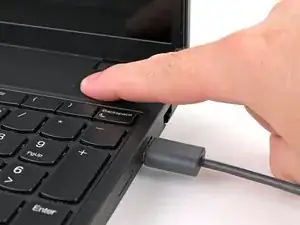
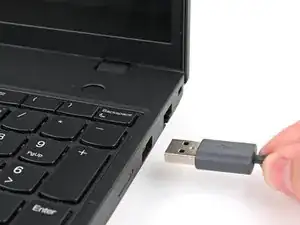
Completely shut down your laptop (don't just put it in sleep mode) and disconnect all cables.
-
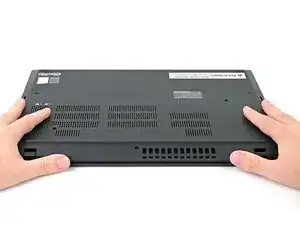
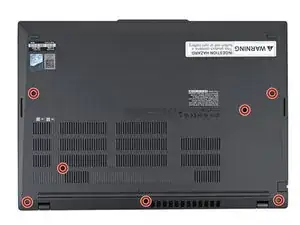
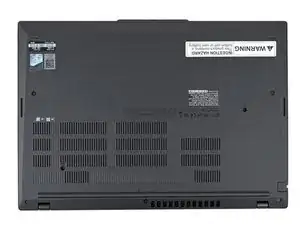
Flip the laptop upside-down, and rotate it so the screen hinge faces towards you.
-
-
-
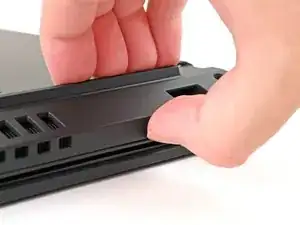
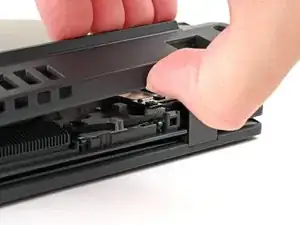
Insert your fingernail or an opening pick into the gap between the base cover and keyboard deck, next to one of the screen hinges.
-
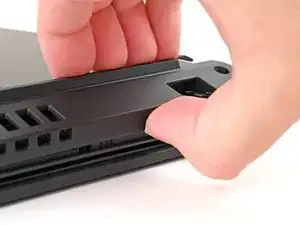
Pry up the base cover until the clips unfasten.
-
-
-
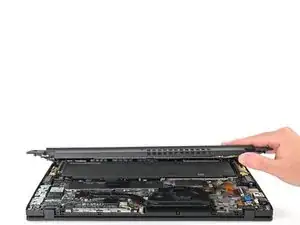
Grasp the base cover along the screen hinge edge and lift slowly to unfasten the remaining clips.
-
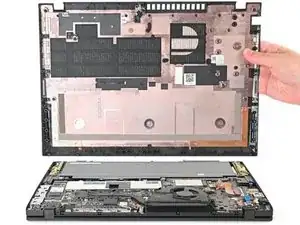
Lift and remove the base cover.
-
-
-
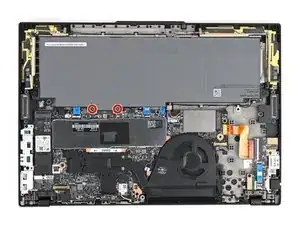
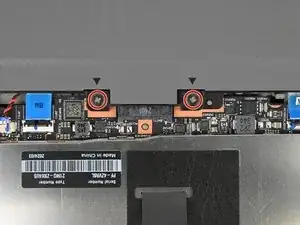
Use a Phillips screwdriver to fully loosen the two captive screws securing the battery connector.
-
-
-
Lift the edge of the battery with the connector to disconnect it.
-
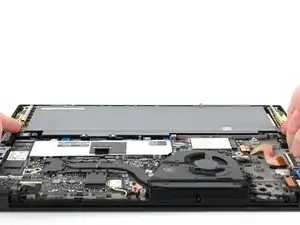
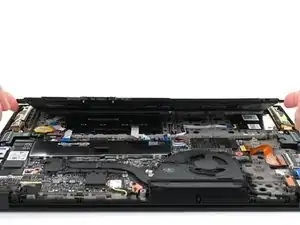
Remove the battery
-
Slide the plastic tabs on the long edge of the battery into their recesses in the frame.
-
Lower the battery into place so the connector goes over its socket.
-
-
-
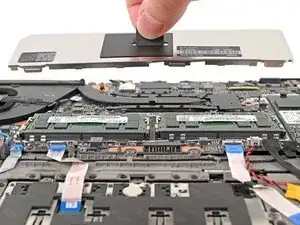
Grab the pull tab in the middle of the RAM shield and pull straight up to remove it from its clips.
-
-
-
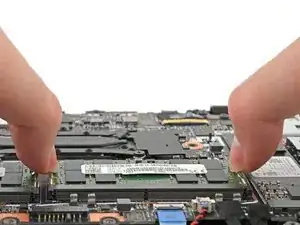
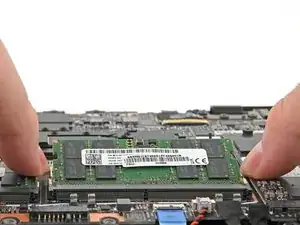
Use your fingers to simultaneously push the two metal tabs on the edges of the RAM module down and outwards to unlatch them—the RAM should pop up at a slight angle.
-
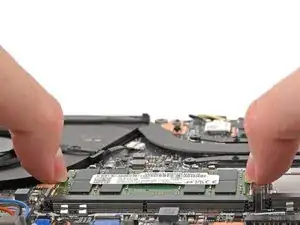
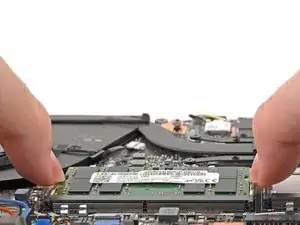
Remove the RAM module.
-


To reassemble your device, follow these instructions in reverse order.
Take your e-waste to an R2 or e-Stewards certified recycler.
Repair didn’t go as planned? Try some basic troubleshooting, or ask our Answers community for help.