Introduction
-
-
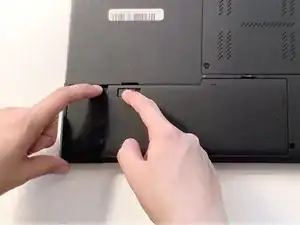
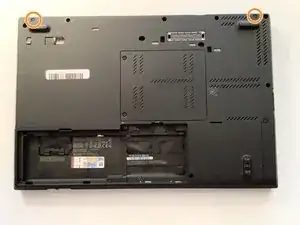
Flip your ThinkPad on its back.
-
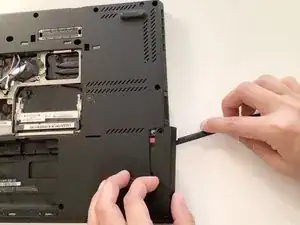
In the bottom left corner of your ThinkPad, slide the lever to the left. Hold the lever there.
-
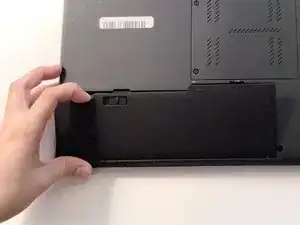
Use your other hand to lift the battery up by prying the notch to the left of the lever.
-
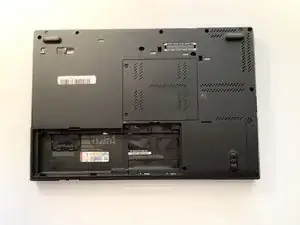
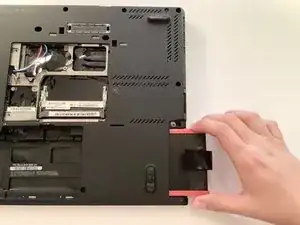
Tilt the battery up and remove it from the ThinkPad.
-
-
-
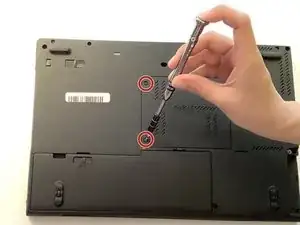
With the Phillips #0 screwdriver, loosen the two 30 mm screws holding down the RAM stick plate.
-
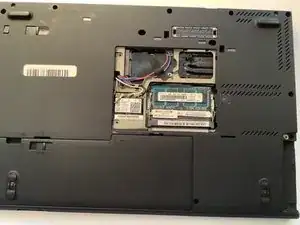
Pry up the plate and set it aside.
-
-
-
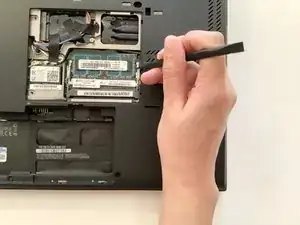
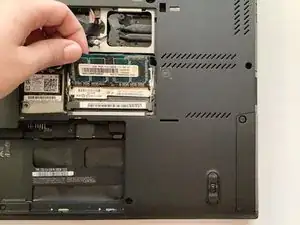
Use the pointy end of the spudger to bend the bars holding the RAM stick in place.
-
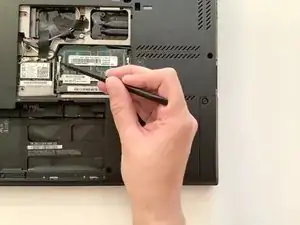
Lift the RAM stick up and out of the stick holder.
-
-
-
Flip your ThinkPad over so the back faces up.
-
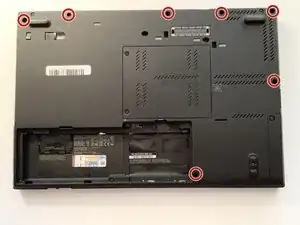
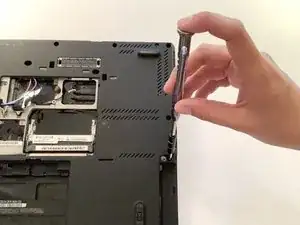
With the Phillips #0 screwdriver, remove the seven 50 mm screws on the outer edge of the case.
-
Remove the two 70 mm screws in the upper corners of the case.
-
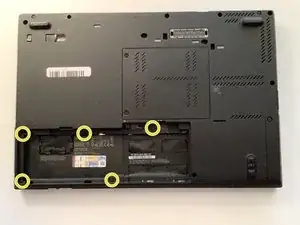
Remove the five 50 mm screws in the battery compartment.
-
-
-
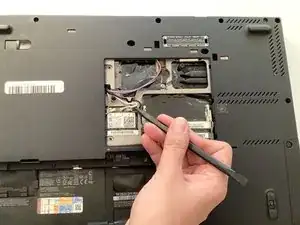
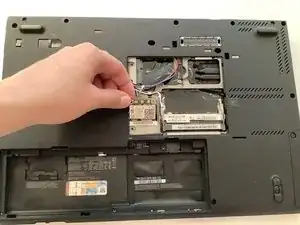
In the RAM compartment, pry the black, white, and grey wires up from the Wi-Fi card with the pointy end of the spudger.
-
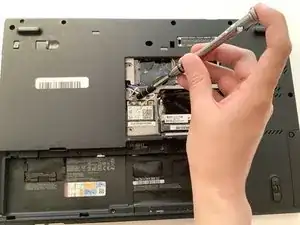
Remove the 30 mm screw holding down the Wi-Fi card with the Phillips #0 screwdriver.
-
Pull out the Wi-Fi card.
-
Remove the 60 mm and 30 mm screws in the RAM stick compartment.
-
-
-
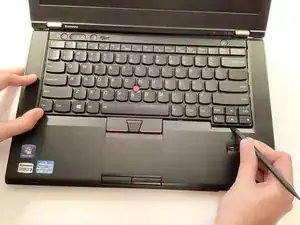
Flip the ThinkPad right side up and open the lid.
-
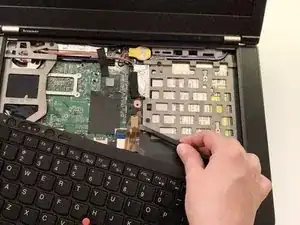
Wedge the flat end of the spudger between the keyboard and the palm rest. Push the keyboard away from you until it pops out.
-
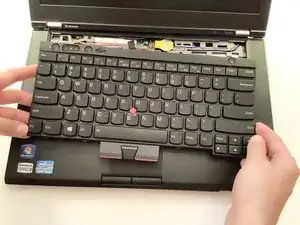
Lift the keyboard from the palm rest to expose the ribbon connecting the keyboard to the motherboard.
-
Pry the keyboard ribbon up from the motherboard with the flat end of the spudger.
-
Set the keyboard aside.
-
-
-
Remove the two 50 mm screws from the case covering the disk drive.
-
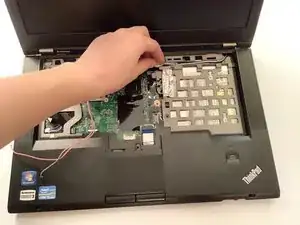
Thread the wires that come from the RAM compartment up through the hole in the motherboard. Unwind them from the computer case.
-
Wedge the flat end of the spudger in between the palm rest and the bottom case. Unsnap the edges of the palm rest and case until they disconnect.
-
Lift the palm rest up from the motherboard.
-
-
-
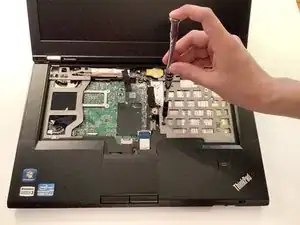
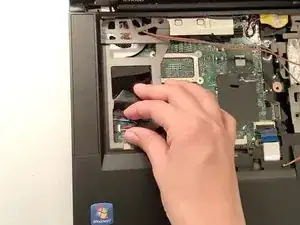
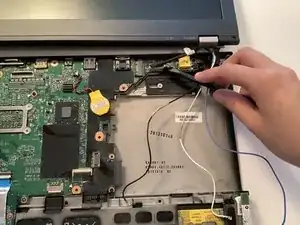
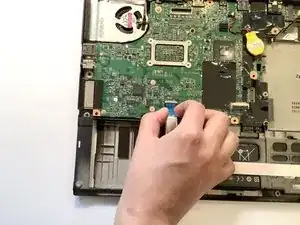
Pull the red, blue, and white wires in the left corner away from the motherboard.
-
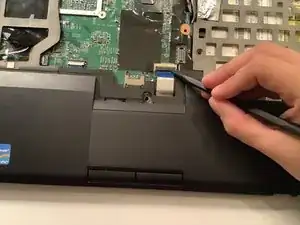
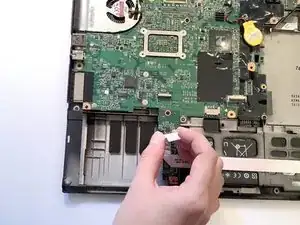
Peel the snap securing the ribbon with the pointy end of the spudger.
-
Pull the ribbon back towards you.
-
-
-
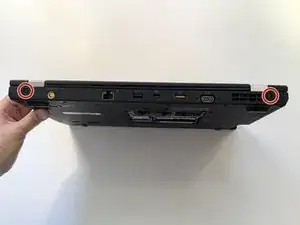
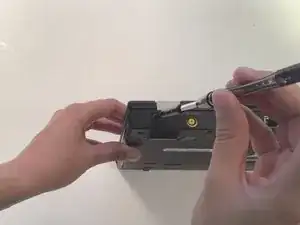
Rotate the ThinkPad so the back side faces you.
-
With the Phillips #1 screwdriver, unscrew the two 70 mm screws from the corners.
-
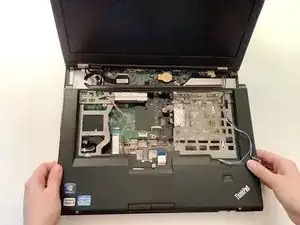
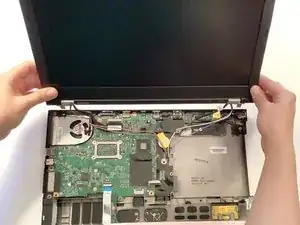
Lift the screen and pull it out of the hinges. Set the screen down behind the rest of the ThinkPad.
-
-
-
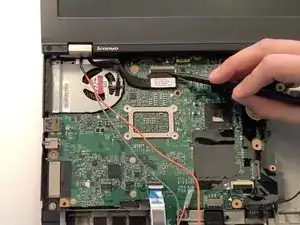
With the pointy end of the spudger, lift the plastic snap holding down the SN4 LVDS cable. Pull the cable out of the clasp towards you.
-
Pry the SN4 LED cable out of where it connects to the motherboard.
-
Set the display aside.
-
-
-
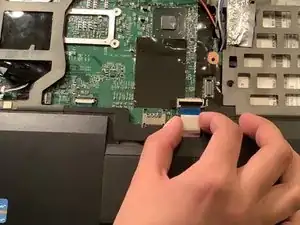
With the pointy end of the spudger, lift the plastic snap securing the ribbon at the front of the ThinkPad.
-
Pull the ribbon out of the clasp towards you.
-
-
-
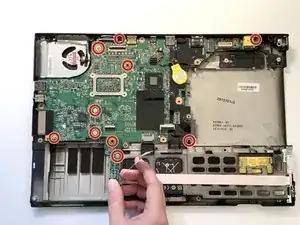
Unscrew the 90 mm screw, five 50 mm screws, and four 30 mm screws on the motherboard using a Phillips #0 screwdriver.
-
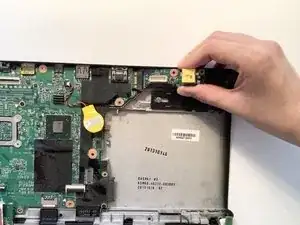
When you remove the screws, the small motherboard stick in the top right corner will pop out of the case. Pull it out.
-
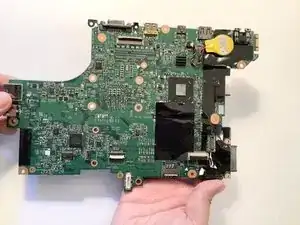
Lift the motherboard out of the case.
-
-
-
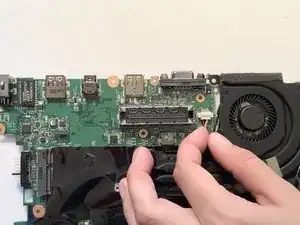
Flip the motherboard over so the back faces up.
-
Loosen the four screws securing the heat sink to the motherboard. The silver metal rectangle on the front of the motherboard will fall off. Set it aside.
-
Lift the fan and heat sink away from the motherboard.
-


To reassemble your device, follow these instructions in reverse order.
