Introduction
Use this guide to replace the charging port in your Lenovo ThinkPad T460 laptop.
The charging port (also called a DC-in cable) provides power to the laptop in the form of direct current (DC). If your battery fails to charge, or you need to wiggle the charging cable around to maintain a charge, the charging port may be failing.
Make sure to disable the internal battery, power down your device, and disconnect from any external power sources before you begin.
Parts
-
-
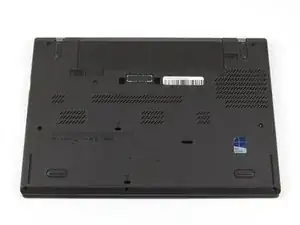
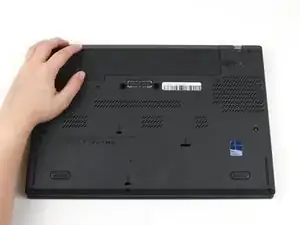
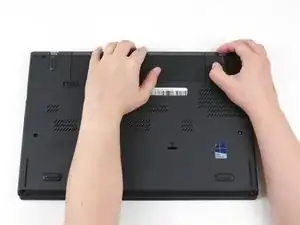
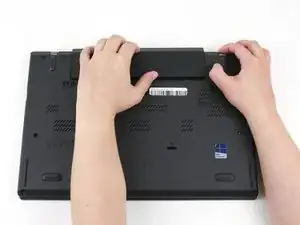
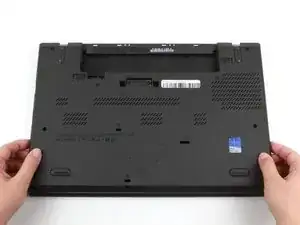
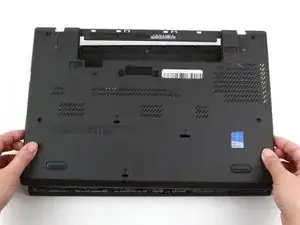
Place the laptop so that the bottom is facing upwards.
-
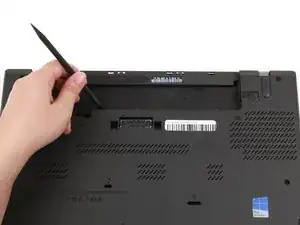
Slide the latch on the left side of the battery to the left until it clicks in place.
-
-
-
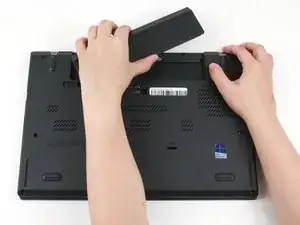
Slide the latch on the right side of the battery to the right and hold it in place with your thumb.
-
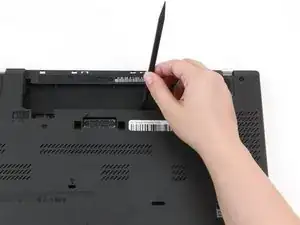
Use your other hand to slide the battery towards the back of the laptop.
-
Lift the battery up and away from the laptop.
-
-
-
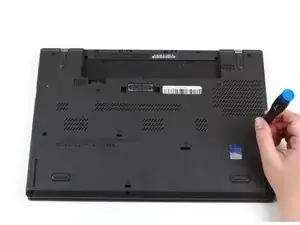
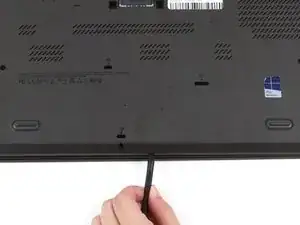
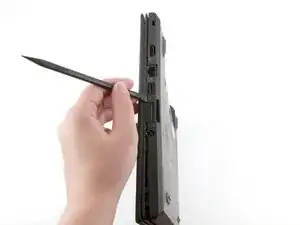
Insert the flat end of a spudger in between the bottom cover and the rest of the laptop, starting in the lower left corner.
-
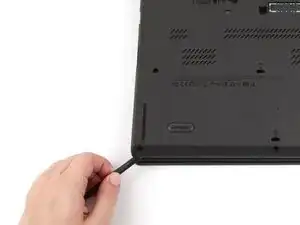
Pry the lower left corner of the bottom cover up by a few millimeters.
-
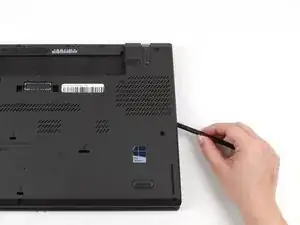
Slide the spudger along the bottom of the laptop to release the clips until you reach the lower right corner.
-
-
-
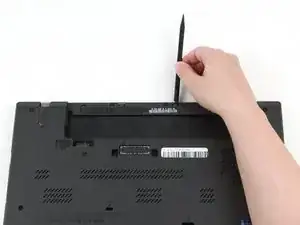
Use the spudger to pry the upper left corner up by a few millimeters.
-
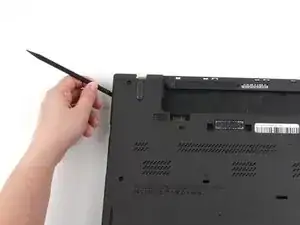
Pry up the sections of the bottom cover with printed logos of the ports.
-
-
-
Use the spudger to pry up the bottom cover in the lower portion of the external battery compartment by a few millimeters.
-
-
-
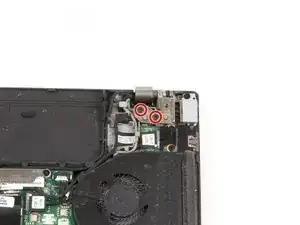
Remove two 4.7 mm screws from the hinge in the upper right-hand corner using a Phillips #1 screwdriver.
-
-
-
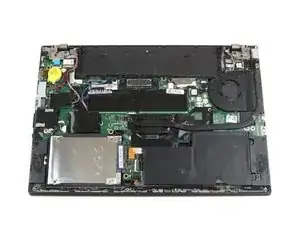
Lift the bottom of the laptop up by a few inches to rotate the upper right hinge.
-
Place the bottom of the laptop back down.
-
-
-
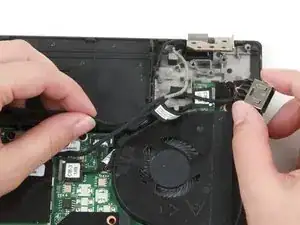
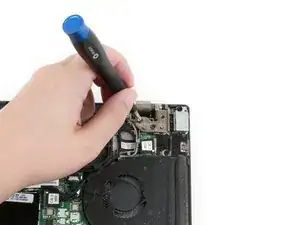
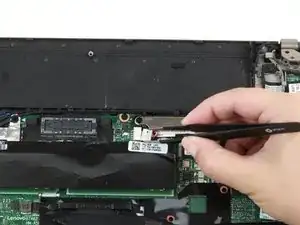
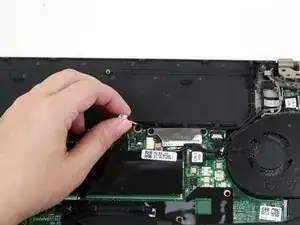
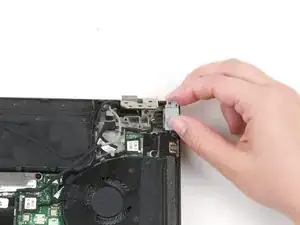
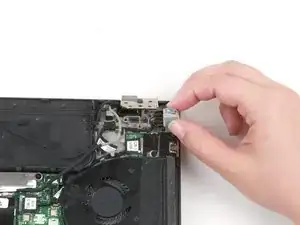
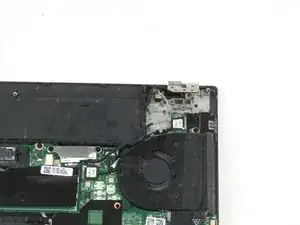
Remove the single 4.7 mm screw from the charging port bracket using a Phillips #1 screwdriver.
-
-
-
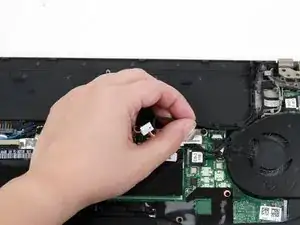
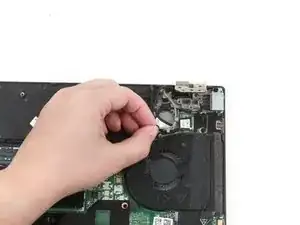
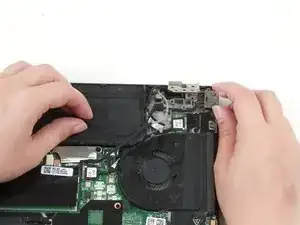
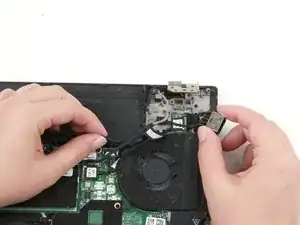
Use your fingers to slide the charging port out from beneath the gray cable to remove it from the laptop.
-


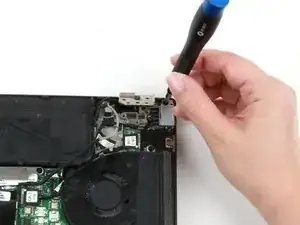
To reassemble your device, follow these instructions in reverse order.
Take your e-waste to an R2 or e-Stewards certified recycler.
Repair didn’t go as planned? Try some basic troubleshooting, or ask our Answers community for help.