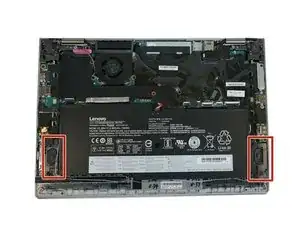
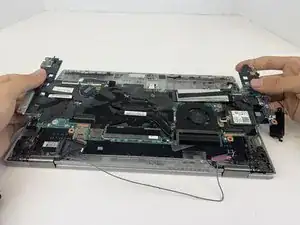
Introduction
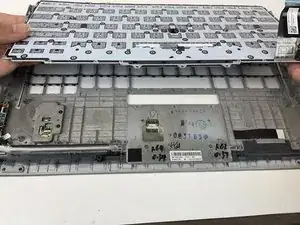
The process to replace the keyboard on the Lenovo X1 ThinkPad Yoga 2nd Generation is a relatively complicated task. Through the next steps, the guide will explain the process to fully remove the keyboard.
-
-
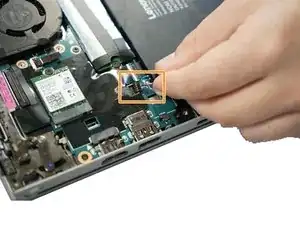
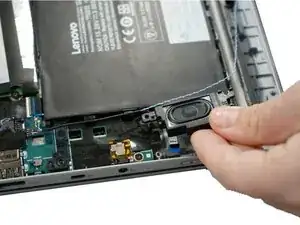
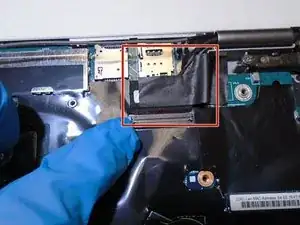
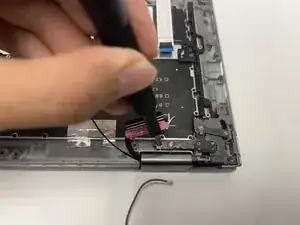
Follow the ribbon cable that runs from the left speaker to the motherboard.
-
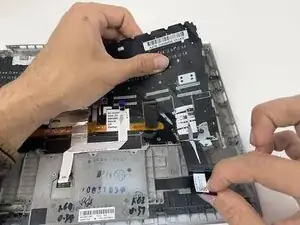
Pull the black connector up and release the cable wire by hand.
-
-
-
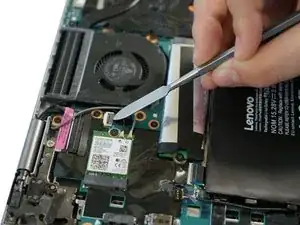
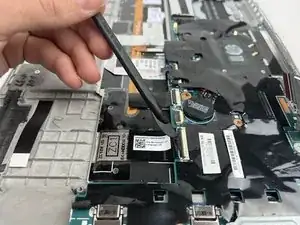
Use a spudger to pop the ribbon cable that runs from the upper-middle portion of the battery to the motherboard out of the motherboard.
-
-
-
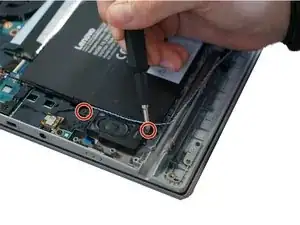
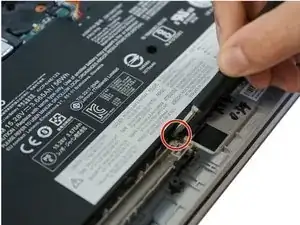
Use a Phillips #0 screwdriver to remove one 6 mm screw from the bottom-middle portion of the battery.
-
-
-
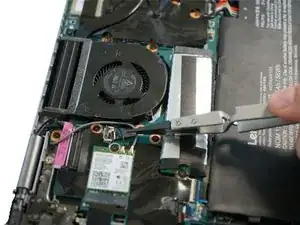
Loosen the four 5 mm screws in the metal extension attached to the fan.
-
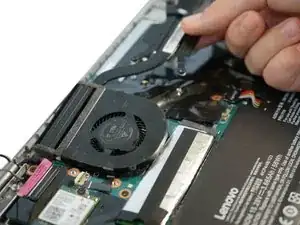
Remove the fan using your fingers.
-
-
-
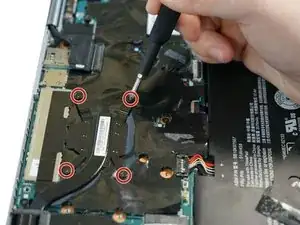
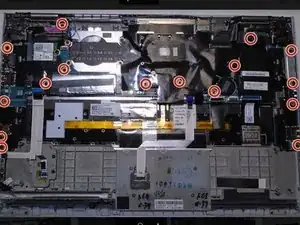
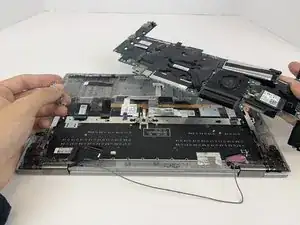
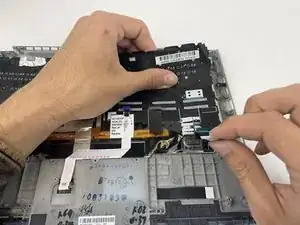
Using a Phillips #0 screwdriver, remove all 16 of the 6 mm screws connecting the motherboard to the computer.
-
-
-
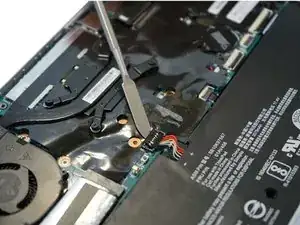
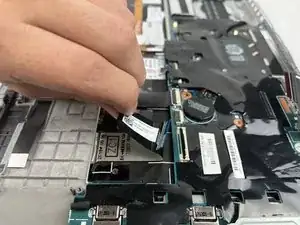
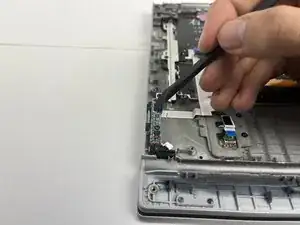
Using the nylon spudger, disconnect the grey and black wires.
-
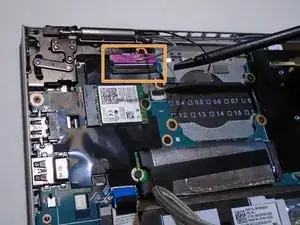
Using the nylon spudger, gently disconnect the pink tab from the motherboard.
-
-
-
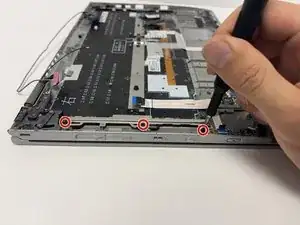
Use the Phillips #0 screwdriver to remove the three 2.8 mm screws holding down this metal plate.
-
Repeat the same process with the identical metal plate on the opposite side.
-
-
-
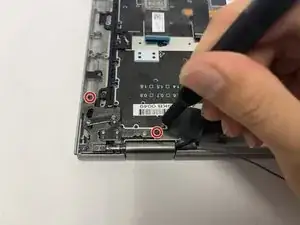
Use the Phillips #0 screwdriver to remove the two 5.4 mm screws connecting the hinge mount to the base.
-
Repeat on the opposite hinge mount.
-
-
-
Open the laptop hinge by pulling the screen away from the keyboard.
-
Lift the keyboard up and off the hinge brackets.
-
-
-
Use the Phillips #0 screwdriver to remove the two 3.2 mm screws securing the metal bar on the right side.
-
Repeat with the identical bar on the left.
-
-
-
Use the Phillips #0 screwdriver to remove the two 2.5 mm screws on the metal plate in the center of the keyboard.
-
-
-
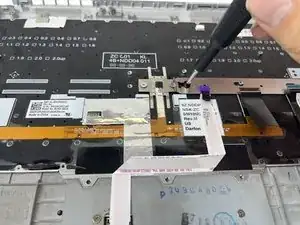
Carefully pull back on the black tab to remove the ribbon cable from the back of the keyboard.
-
-
-
Use the plastic spudger to pry up the black plastic sheet on the back of the keyboard.
-
Gently pull the sticky edges of the plastic sheet with your hands and a spudger.
-
Lift and carefully remove the plastic sheet.
-


To reassemble your device, follow these instructions in reverse order.
One comment
Thank You Mate !