
Introduction
Use this guide to replace the SSD in your Lenovo Yoga 3 11.
-
-
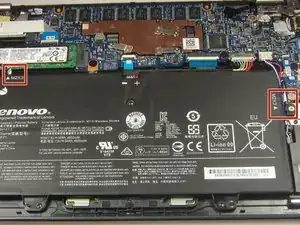
Remove the eleven 6 mm T5 Torx screws securing the lower case.
-
Gently lift the lower case up and away from the device.
-
-
-
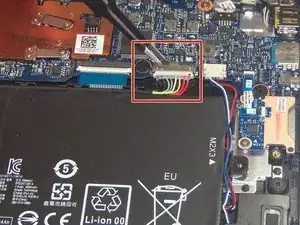
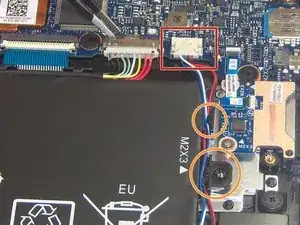
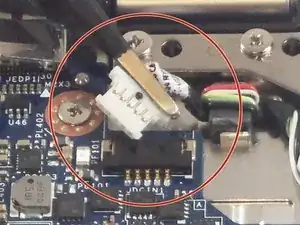
Use a pair of tweezers to gently disconnect the speaker cable.
-
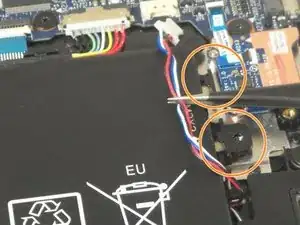
Remove the wires from underneath the battery tabs using the tweezers.
-
-
-
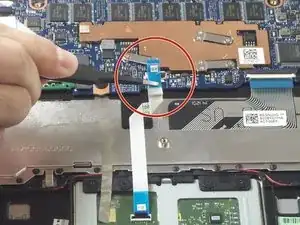
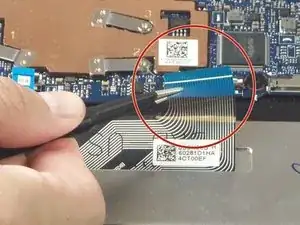
Use a pair of tweezers to disconnect the keyboard ribbon cable from the motherboard ZIF connector. Gently lift up the white tab, and the cable should come free.
-
-
-
Use a pair of tweezers to disconnect the motherboard-side of the SD board ribbon cable. Gently lift up the black tab, and then ribbon cable should come free from the ZIF connector.
-
-
-
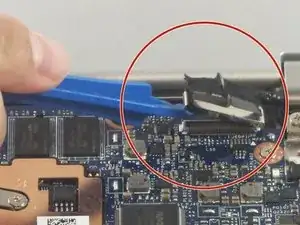
Use the tweezers to unplug the USB port from the motherboard by gently lifting the white connector up from the black motherboard connector.
-
-
-
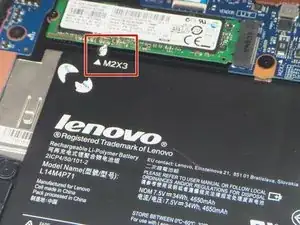
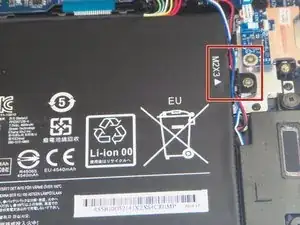
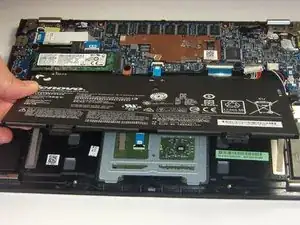
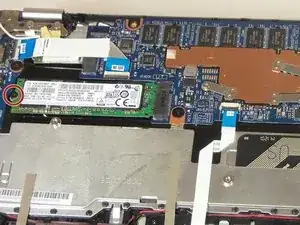
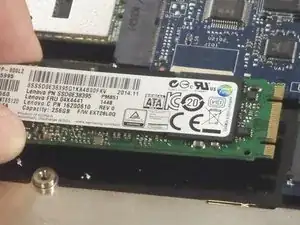
Remove the single 2 mm Phillips #00 screw securing the SSD.
-
Gently lift the SSD up and out of the device.
-


To reassemble your device, follow these instructions in reverse order.

4 comments
Perché non posso passare direttamente dallo step 2 allo step 11 ?
Keyman -
Same(ish) question as Keyman: why not steps 1, possibly 3, then 11? Why disconnect everything if the SSD is fully exposed when the bottom comes off?
ifaxit -
Basta infatti scollegare la batteria per evitare eventuali ritorni di massa prima di sostituire l'ssd
IRREAL -