
Introduction
Is nothing showing on your laptop's screen? Are you looking for a solution? Then you have come to the right place! This guide will help you remove and replace your laptop's screen.
-
-
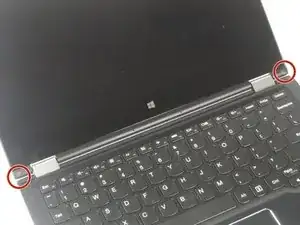
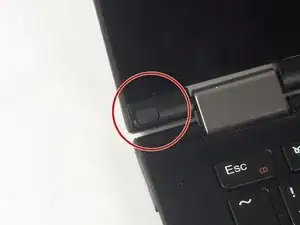
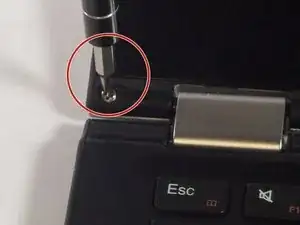
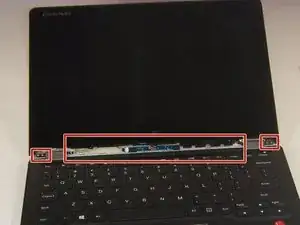
Use a plastic opening tool or the pointed end of a spudger to pry up the 2 rubber inserts in the bottom left and right corners of the screen.
-
-
-
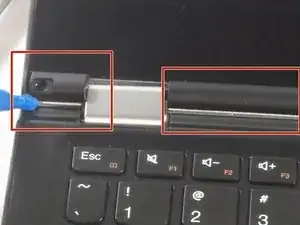
Work the plastic opening tool in between bezel and the upper case.
-
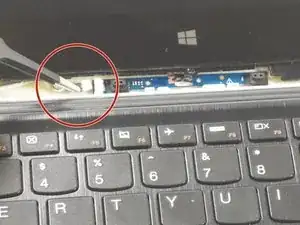
Once the plastic opening tool is wedged in between the two, work the plastic opening tool around the perimeter of the screen, separating the bezel from the display.
-
-
-
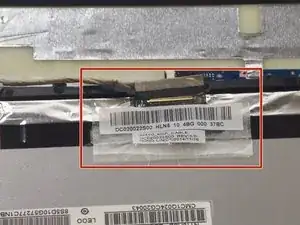
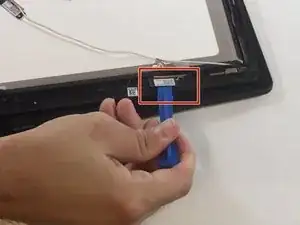
Use the tweezers to pull the tape upwards. The tape will pull the wires up with it, separating the connection.
-
-
-
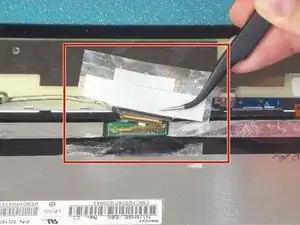
Use the tweezers to pull up the camera by simply pulling upwards on the tape that is over it.
-
-
-
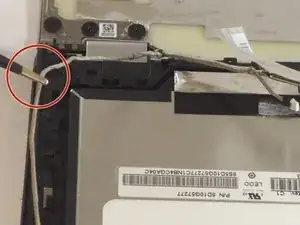
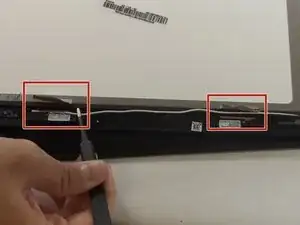
Use the tweezers to follow the wires and to pull them out from under the plastic black hooks. Also pull up any tape that is over the wires.
-
-
-
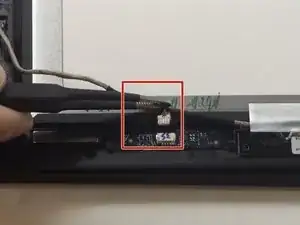
Use the plastic opening tool to work the black component up and out of its original spot, then pull out the following connected wires.
-
-
-
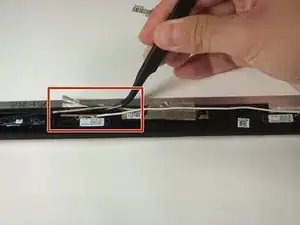
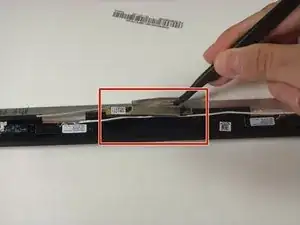
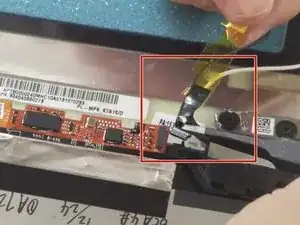
Use the tweezers to unplug the black connection near the hinge of the laptop, taking the yellow tape off with it.
-


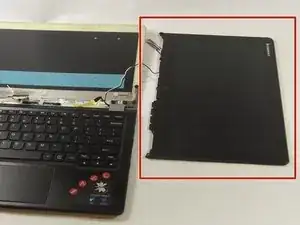
To reassemble your device, follow these instructions in reverse order.