Introduction
We disassemble the mouse to get to the connector cable for replacement with a brand new cable.
Parts
-
-
It's very common for this cord to fray with continued use. Let's open up this mouse and replace the cord!
-
-
-
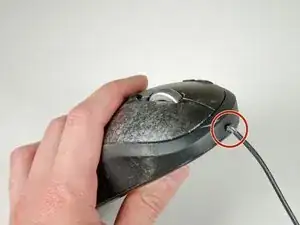
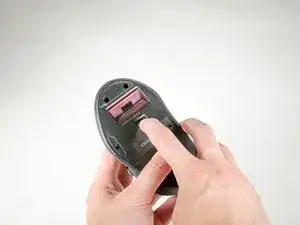
Locate the hidden screw hole behind the Logitech sticker.
-
Puncture the sticker to access the screw.
-
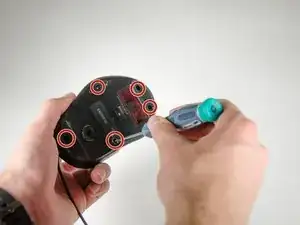
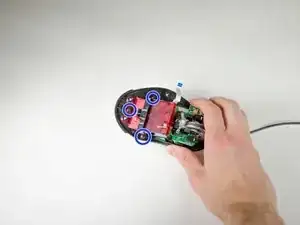
Remove all five Phillips screws.
-
-
-
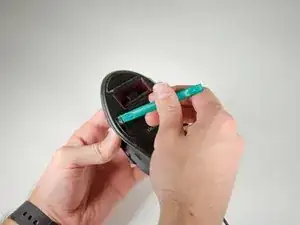
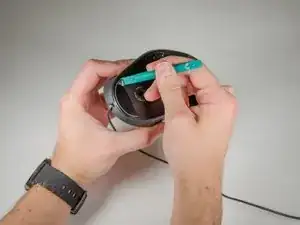
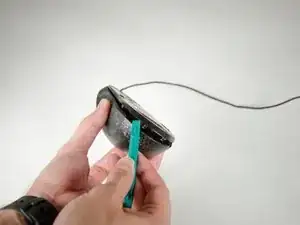
Using a spudger, lift the ZIF cable guard.
-
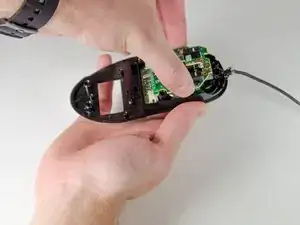
Remove the cable from the upper housing. The upper housing can now be set aside.
-
-
-
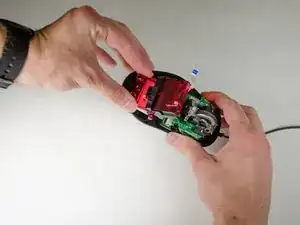
Remove the three Phillips screws to free the weight cartridge holder.
-
Lift the weight cartridge holder from the body.
-
-
-
Pry the pin securing the mouse wheel and housing to the left.
-
Remove the mouse wheel and housing.
-
-
-
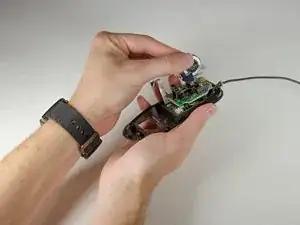
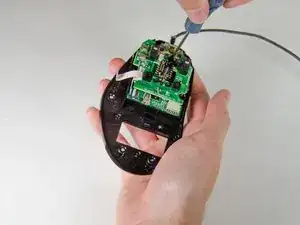
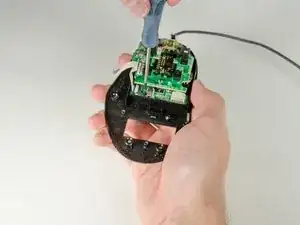
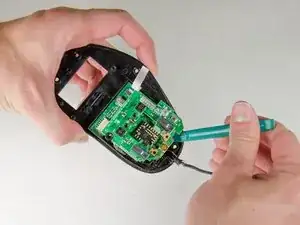
Remove the final two Phillips screws near the top of the mouse holding the circuit boards to the plate.
-
-
-
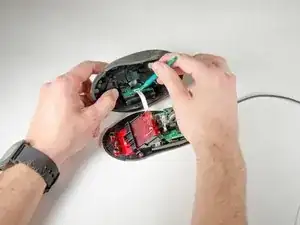
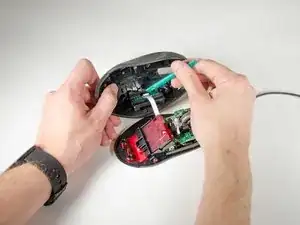
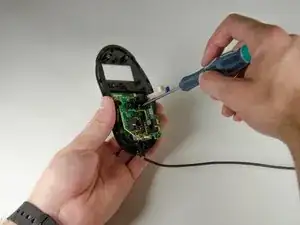
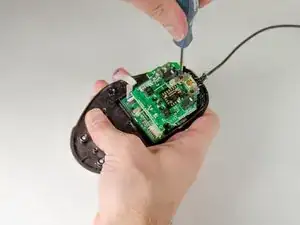
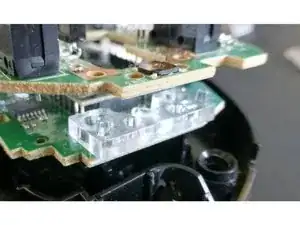
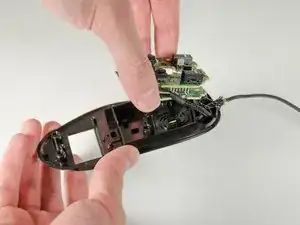
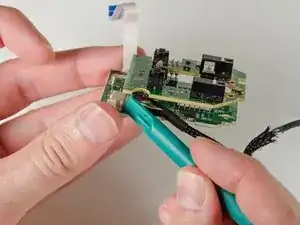
Pull the circuit boards loose from the bottom plate.
-
You may need to use a spudger to pry the circuit free.
-


To reassemble your device, follow these instructions in reverse order.

15 comments
Very helpful guide, thanks.
heretik -
thanks for the explanations.
pcinpact -
Thanks for the guide! Despite being super careful with the springs they managed to flick out when I was screwing the circuit board back in, one was never to be seen again. Thankfully the middle mouse button seems to work fine with just one!
It is a poor design. They should have put a rubber booth on the cable.
pbartkovjak -