Introduction
Does your classic Merc have a loose shifter? Follow along as I replace the interior shifter bushes
-
-
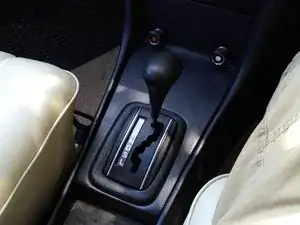
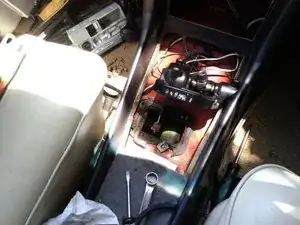
This guide only applies to floor-shift automatics, such as my 1976 230.6 (114.015)
-
This car was never sold in USA, as I'm in New Zealand, but the centre-console is the same for all the other 114 and 115 automatics (and probably other model ranges)
-
First step is to open and remove your Ashtray to gain access to the first set of screws
-
Push down on the metal tab - while pulling the ashtray out
-
-
-
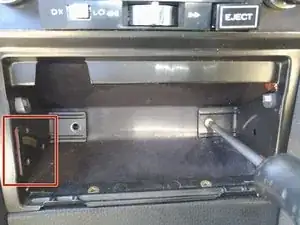
After you've removed the ashtray you'll see the ashtray frame/bracket
-
Remove the two pan-head screws at the rear of the opening - ignore the two counter-sunk screws at the bottom for now
-
Careful when you pull it out as the connector for the cigar lighter contacts on left sticks out so you can't just pull it straight-out
-
-
-
Now you can remove those two counter-sunk screws holding in the front of the shifter/center console panel.
-
-
-
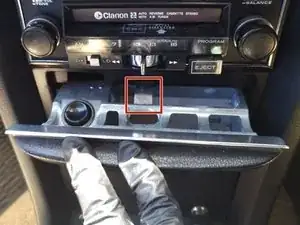
The hardest, or second-hardest step
-
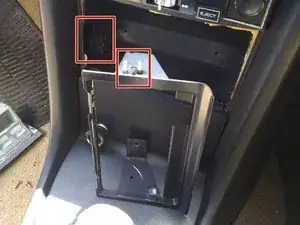
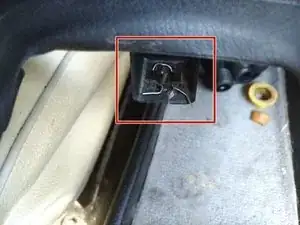
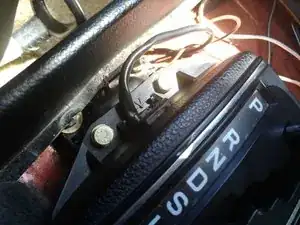
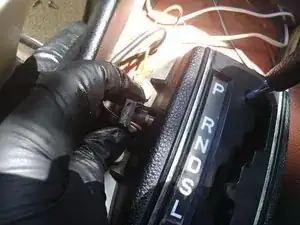
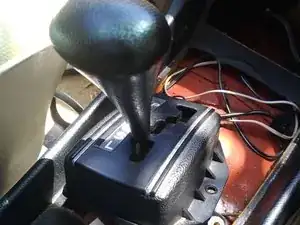
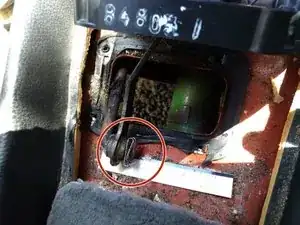
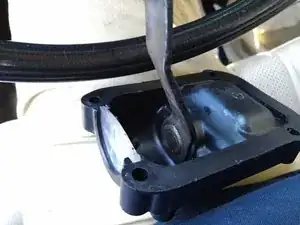
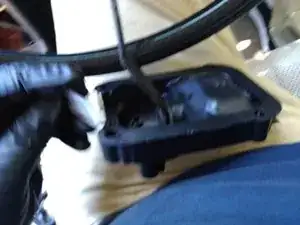
There is a simple metal trim clip holding the rear of the centre-console trim panel down (marked by a yellow box in photo 2)
-
You won't be able to see it easily, you can pry back the rubber trim in the marked area to gain a view of the clip (blue box area in photo)
-
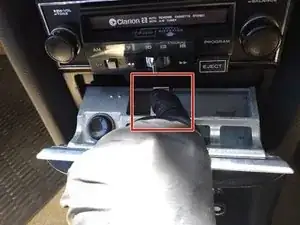
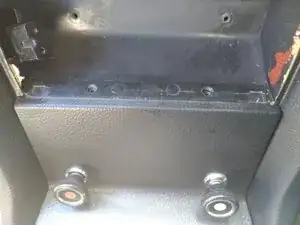
In my car the plastic foot with the metal clip attached to it is cracked, so I added a small bit of wire to help pull it out next time so as not to break it (see red box in 3rd photo)
-
-
-
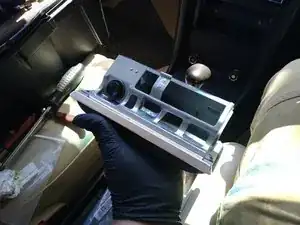
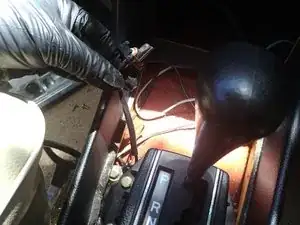
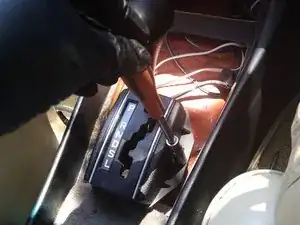
Ensure your handbrake is set, or you're not on a slope
-
Shift to neutral or other gears as required to get the console panel out
-
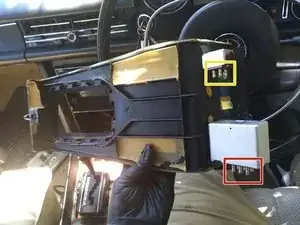
You'll need to angle the trim panel back and forth a little as the plugs for your hazards and rear defroster/demister get in the way
-
I've shown the units and their plugs in Yellow (demister) and Red (hazards)
-
-
-
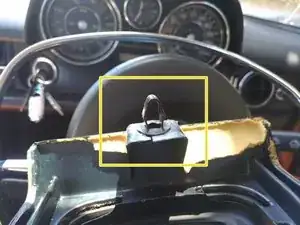
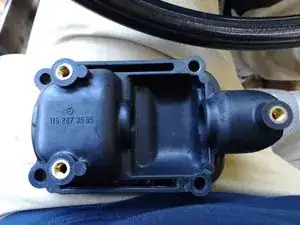
It's simply clipped-in and you can pry using a small flat-head at the top to get it started
-
When you're re-installing it, you simply line up the V symbol on the shifter housing with the V symbol on the lamp holder
-
-
-
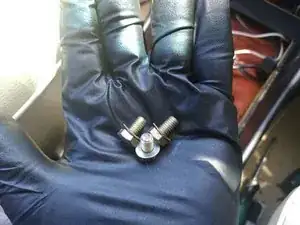
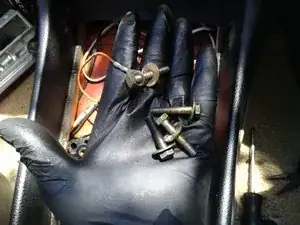
You'll need a 10mm socket - I used a 1/4in deep
-
There are 3 bolts, one on the right-side and 2 on the left
-
They have a small wavy washer, don't drop it down the centre-console when you pull them out
-
You won't be able to remove the surround fully until the next step
-
-
-
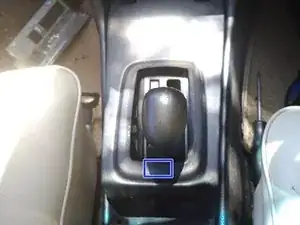
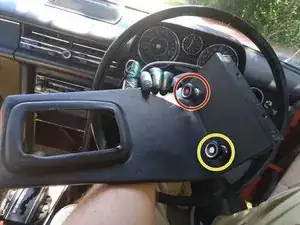
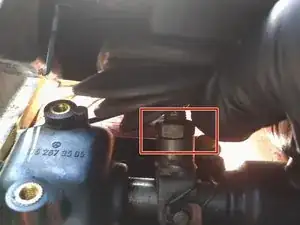
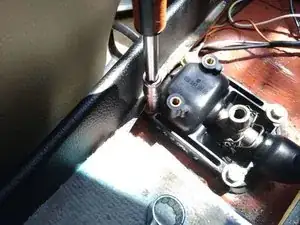
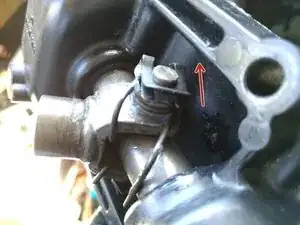
First loosen the 15mm jam nut (outlined in red)
-
Now you can unscrew the shift lever/knob
-
When you're re-installing it ensure it's clocked correctly before tightening the jam nut
-
-
-
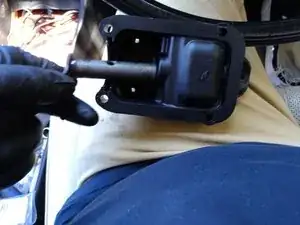
There are four 10mm bolts, the left two bolts are hard to see, you'll need to pry the trim back a bit
-
The top-left bolt has the ground cable for the shifter backlight on it
-
The bolts have large flat washers on them, be careful not to drop them down the side of the console - use a magnet if necessary
-
-
-
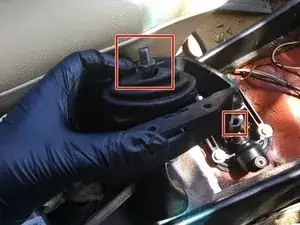
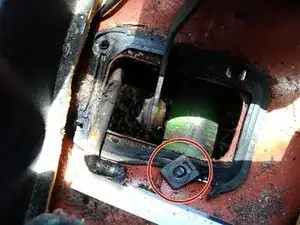
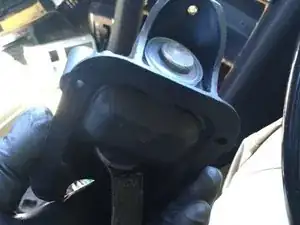
After lifting up the shifter housing (black plastic part) you'll see it's attached to the shift rod below
-
The green thing in the picture is the driveshaft
-
To get better access, you can pull the shift rod towards the rear of the car (go through a few gears) as I did
-
The clip is fairly easy to remove with needle nose pliers and/or a small flat-head screwdriver
-
Be careful not to drop the clip down the side of the centre console or through the hole in the tunnel now revealed
-
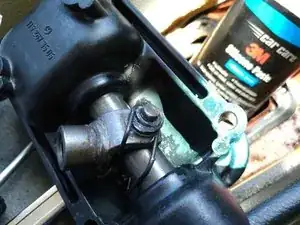
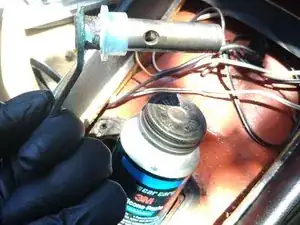
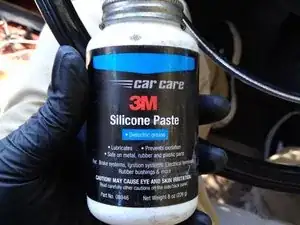
These photos are actually from re-assembly, as you can see I lubed up all bushings with 3M Silicone paste - you could use any plastic-safe lube
-
-
-
You'll see a plastic half-moon part (to stop dust and noise from entering the car) - it just pulls out
-
-
-
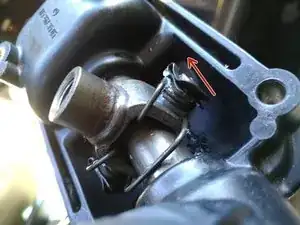
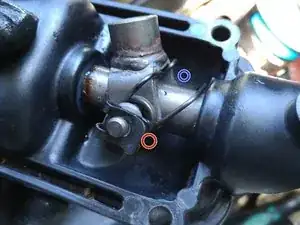
Remove a clip from one end of the small rod connecting the shift lever yoke to the main rod
-
Again as these photos were taken during re-assembly there is silicone lube present
-
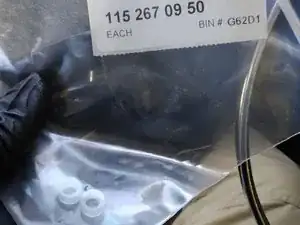
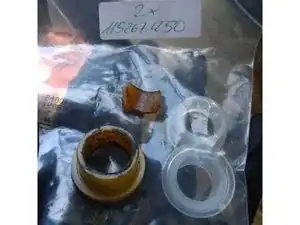
You can see there is a tiny bushing in between the spring and the small rod on each end - these bushing are optional but cheap, mine were completely gone
-
The small bushing part number is: 1152670950
-
I used a small screwdriver and needle-nose pliers to remove the clip (slide in direction of red arrow)
-
-
-
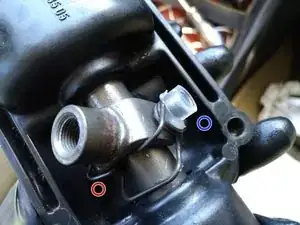
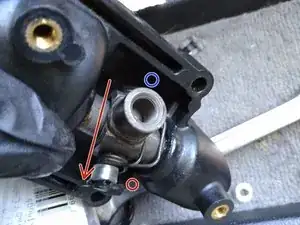
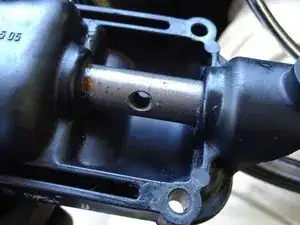
Some better views of those tiny bushings as you pull the small rod out (slide rod out in direction of arrow)
-
These photos were during re-assembly so the bushing is fresh and clear, the old ones would probably be yellowed or cracked or missing
-
I put a blue circle on one end of the small rod and a red circle on the other end so you can identify them better
-
I used again the small screwdriver and needle-nose pliers to pry the spring back while re-inserting the bushings
-
-
-
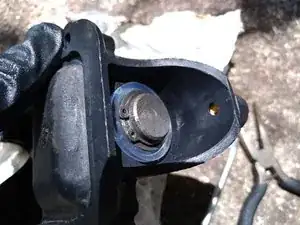
Now the hardest or second-hardest step
-
Removing the snap-ring
-
If you have small snap-ring pliers this is probably pretty easy
-
If not you might be lucky like I was and the needle-nose tips fit into the holes
-
Even so it was a challenge to install and remove the snap-ring
-
Also the part will probably go flying, so do the disassembly in a place where you can find it if it goes flying
-
The washer goes under the snap ring
-
As you can see these photos are from re-assembly, my old bushing was yellowed and the left-side in pieces
-
-
-
Finally you can slide out the main rod from the plastic housing
-
Here you'll see why you had to remove the plastic half-moon part
-
After you've got it all apart, the bushings (if any remain) should just push out
-
I cleaned up and then lubed the parts before reassembling
-
-
-
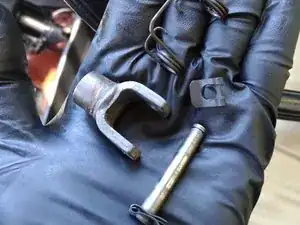
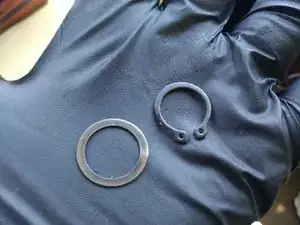
My old bushing(s) vs the new parts
-
The second image is how the bushings are oriented on the part
-
The third image is the silicone paste lubricant on the bushing, ready to be slid back into the housing
-
Follow the steps in reverse order to re-assemble
-
-
-
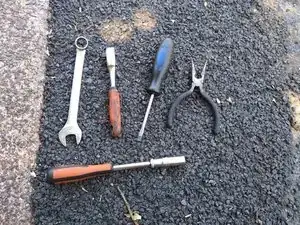
The main tools I used were Philips #2 screwdriver (not pictured), small flat-head screwdriver, small needlenose pliers, 10mm deep socket and drivers
-
Consumables were 3M Silicone Paste, paper towels and a bit of Brake cleaner
-
The car being worked on, an Orange Mercedes-Benz 1976 230.6 (type 114.015) with automatic transmission, in Right-hand drive as this is in New Zealand
-


To reassemble your device, follow these instructions in reverse order.

One comment
Make more /8 guides these are great!
Kaelor -